
This article applies to the following countries
- All countries
- Add the dimensions and their values
- Set visibility of the dimensions in connection with the expense categories
- Add an extra report recipient and configure the file
- 1. Add dimensions and values
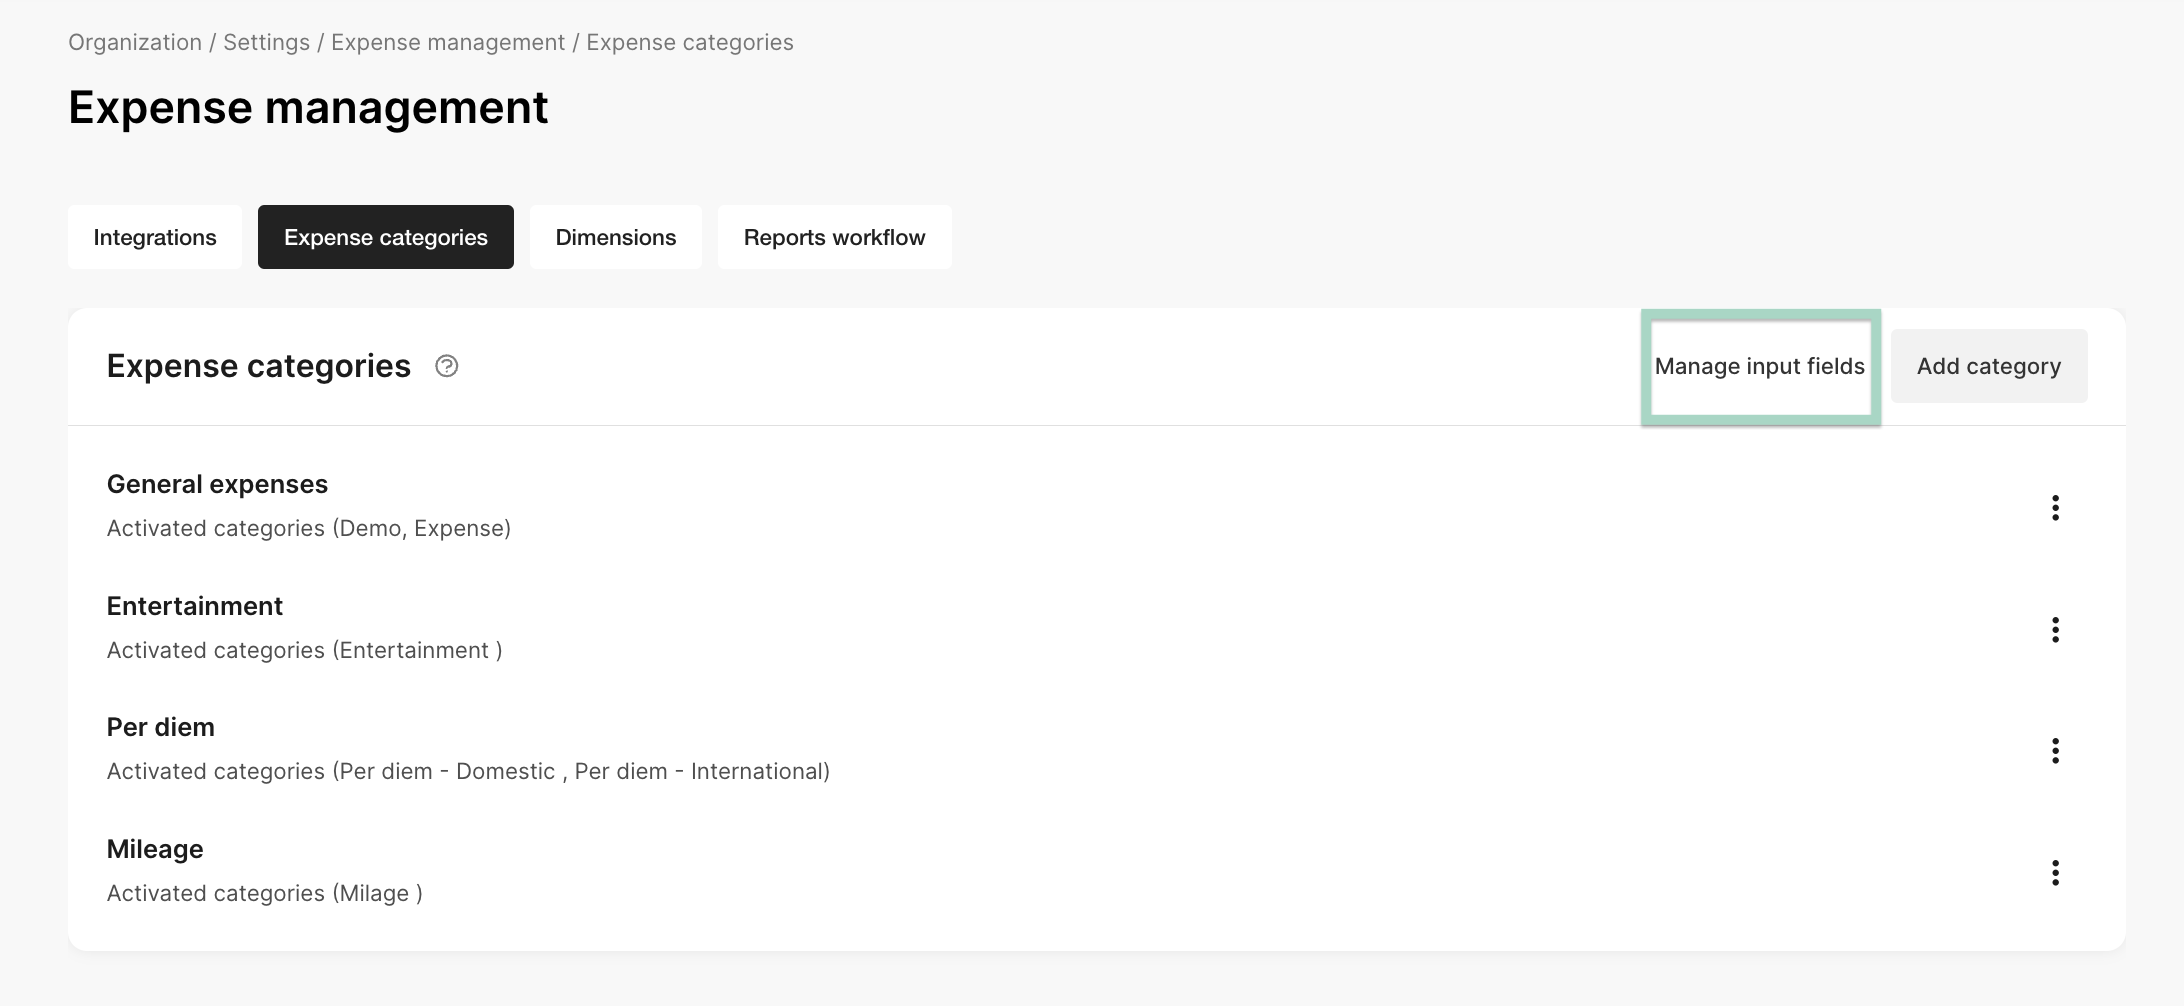
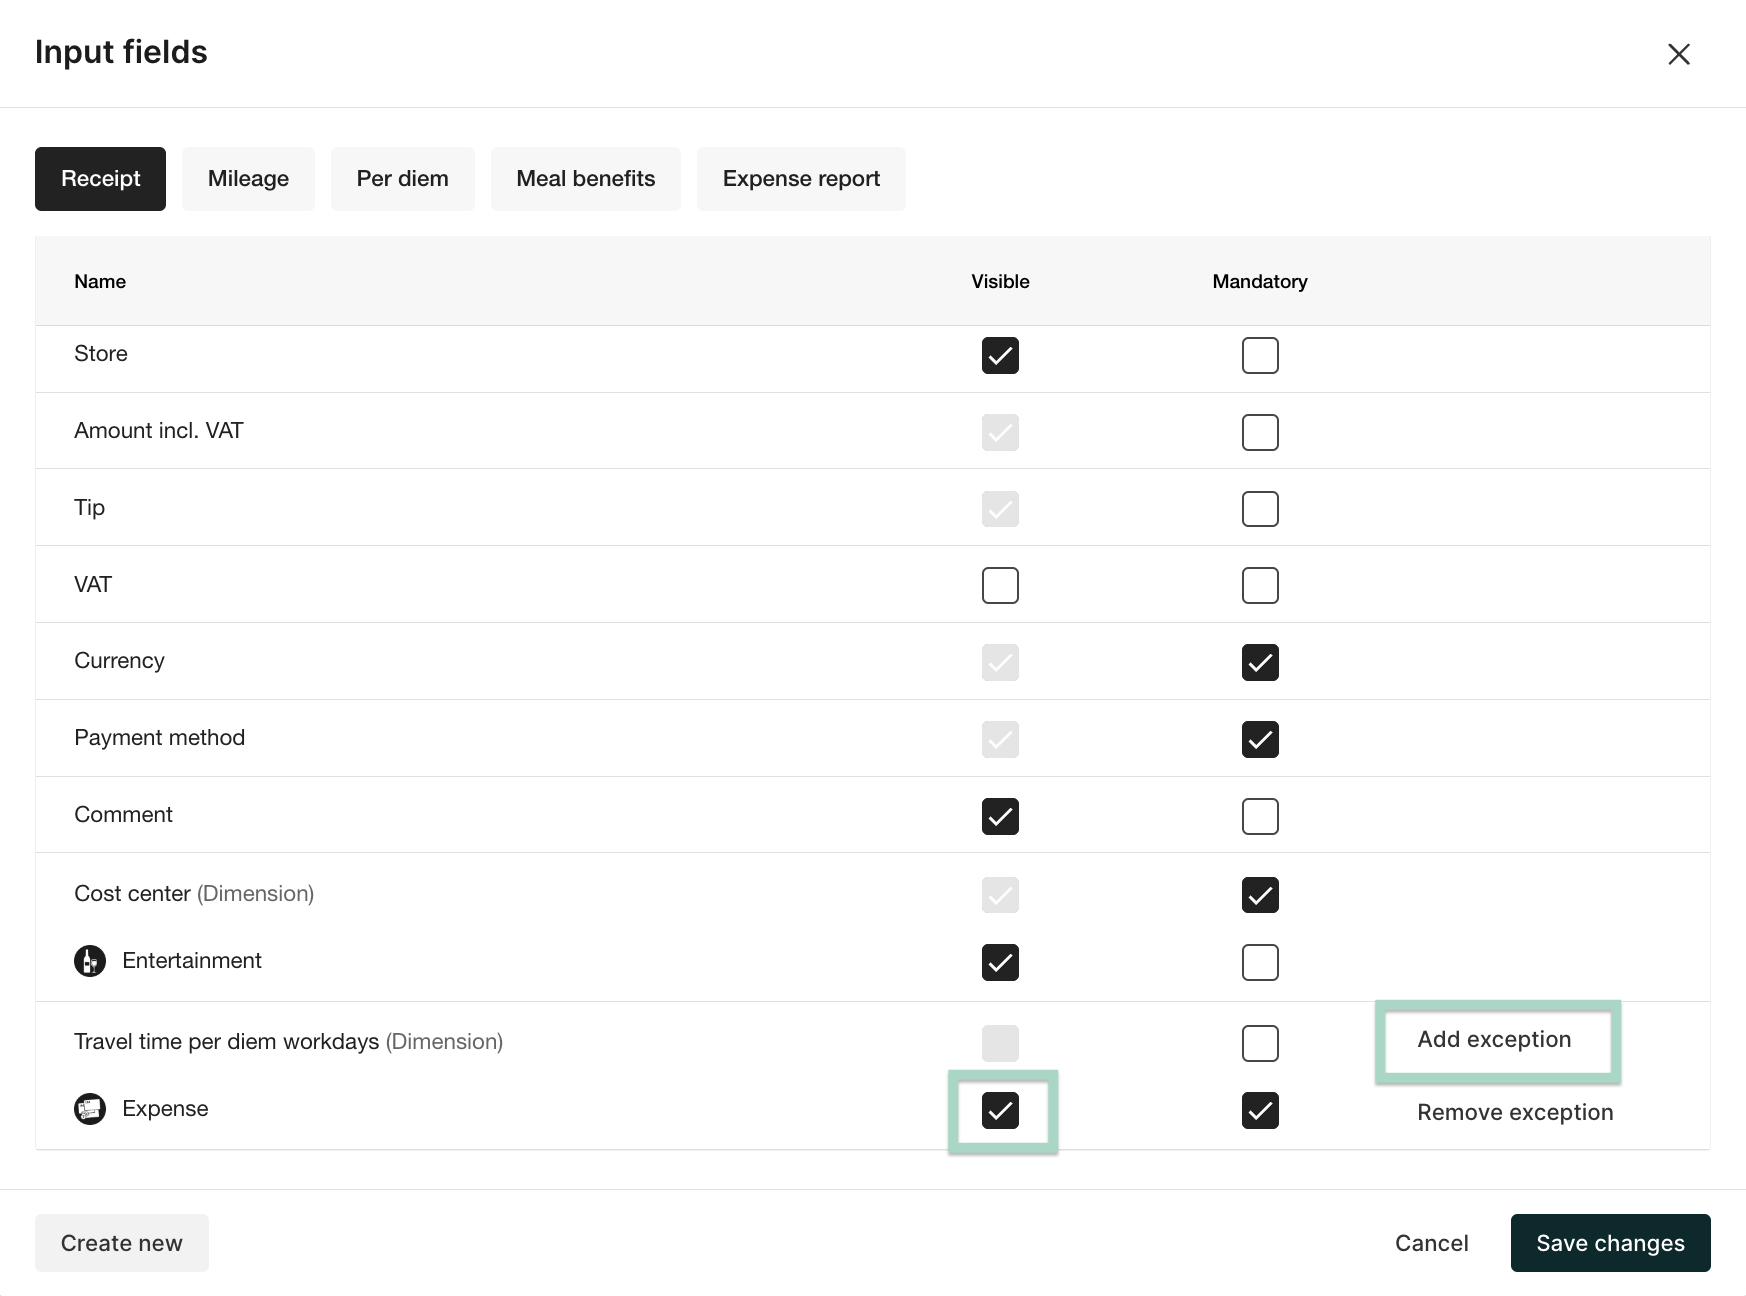
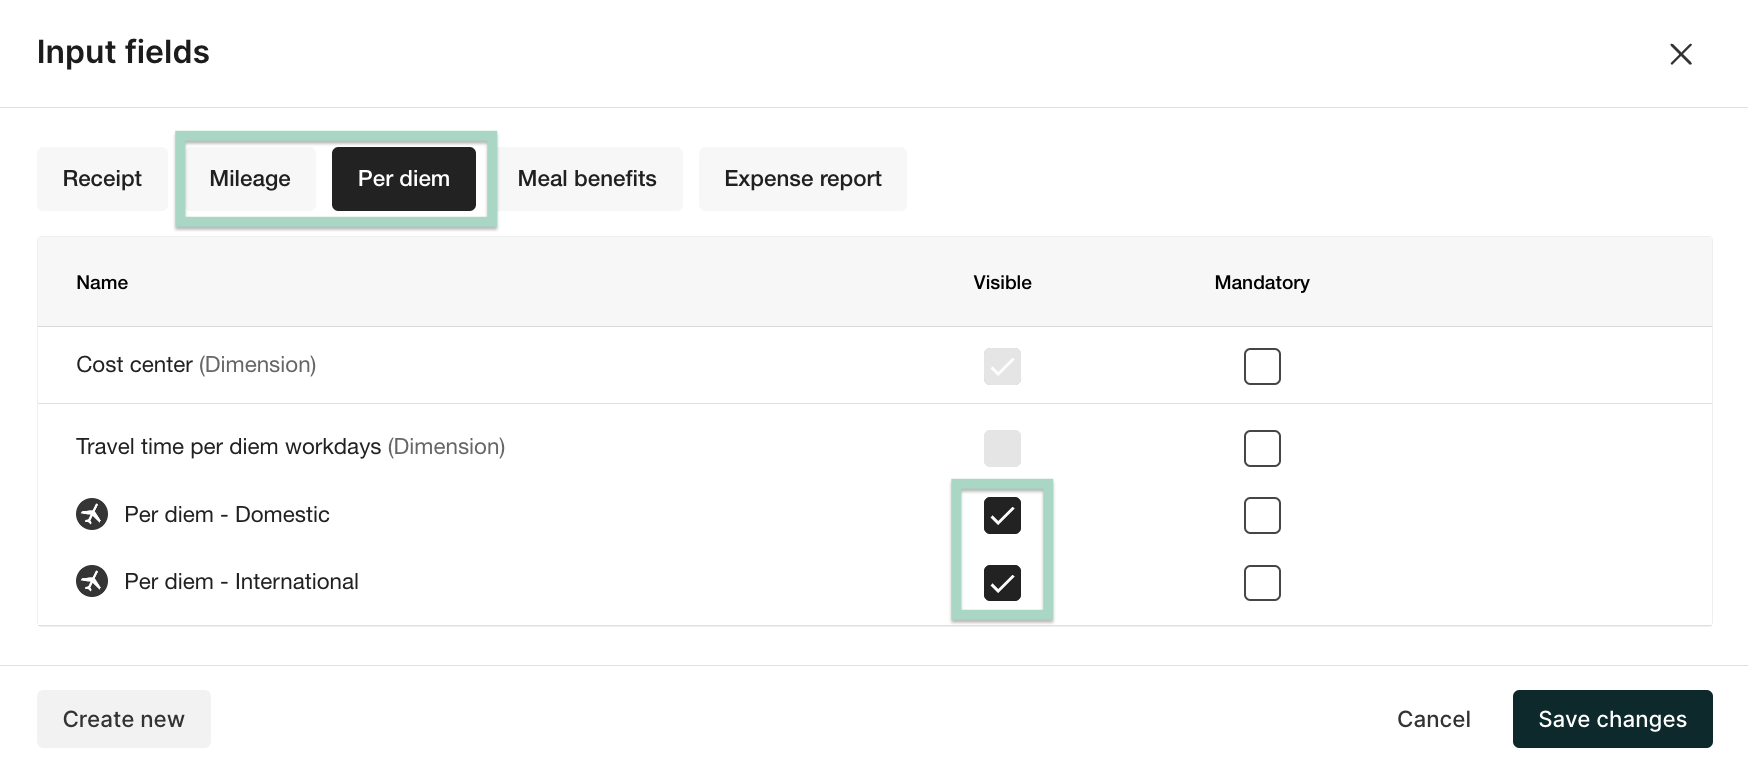
- 2. Set visibility of the dimensions
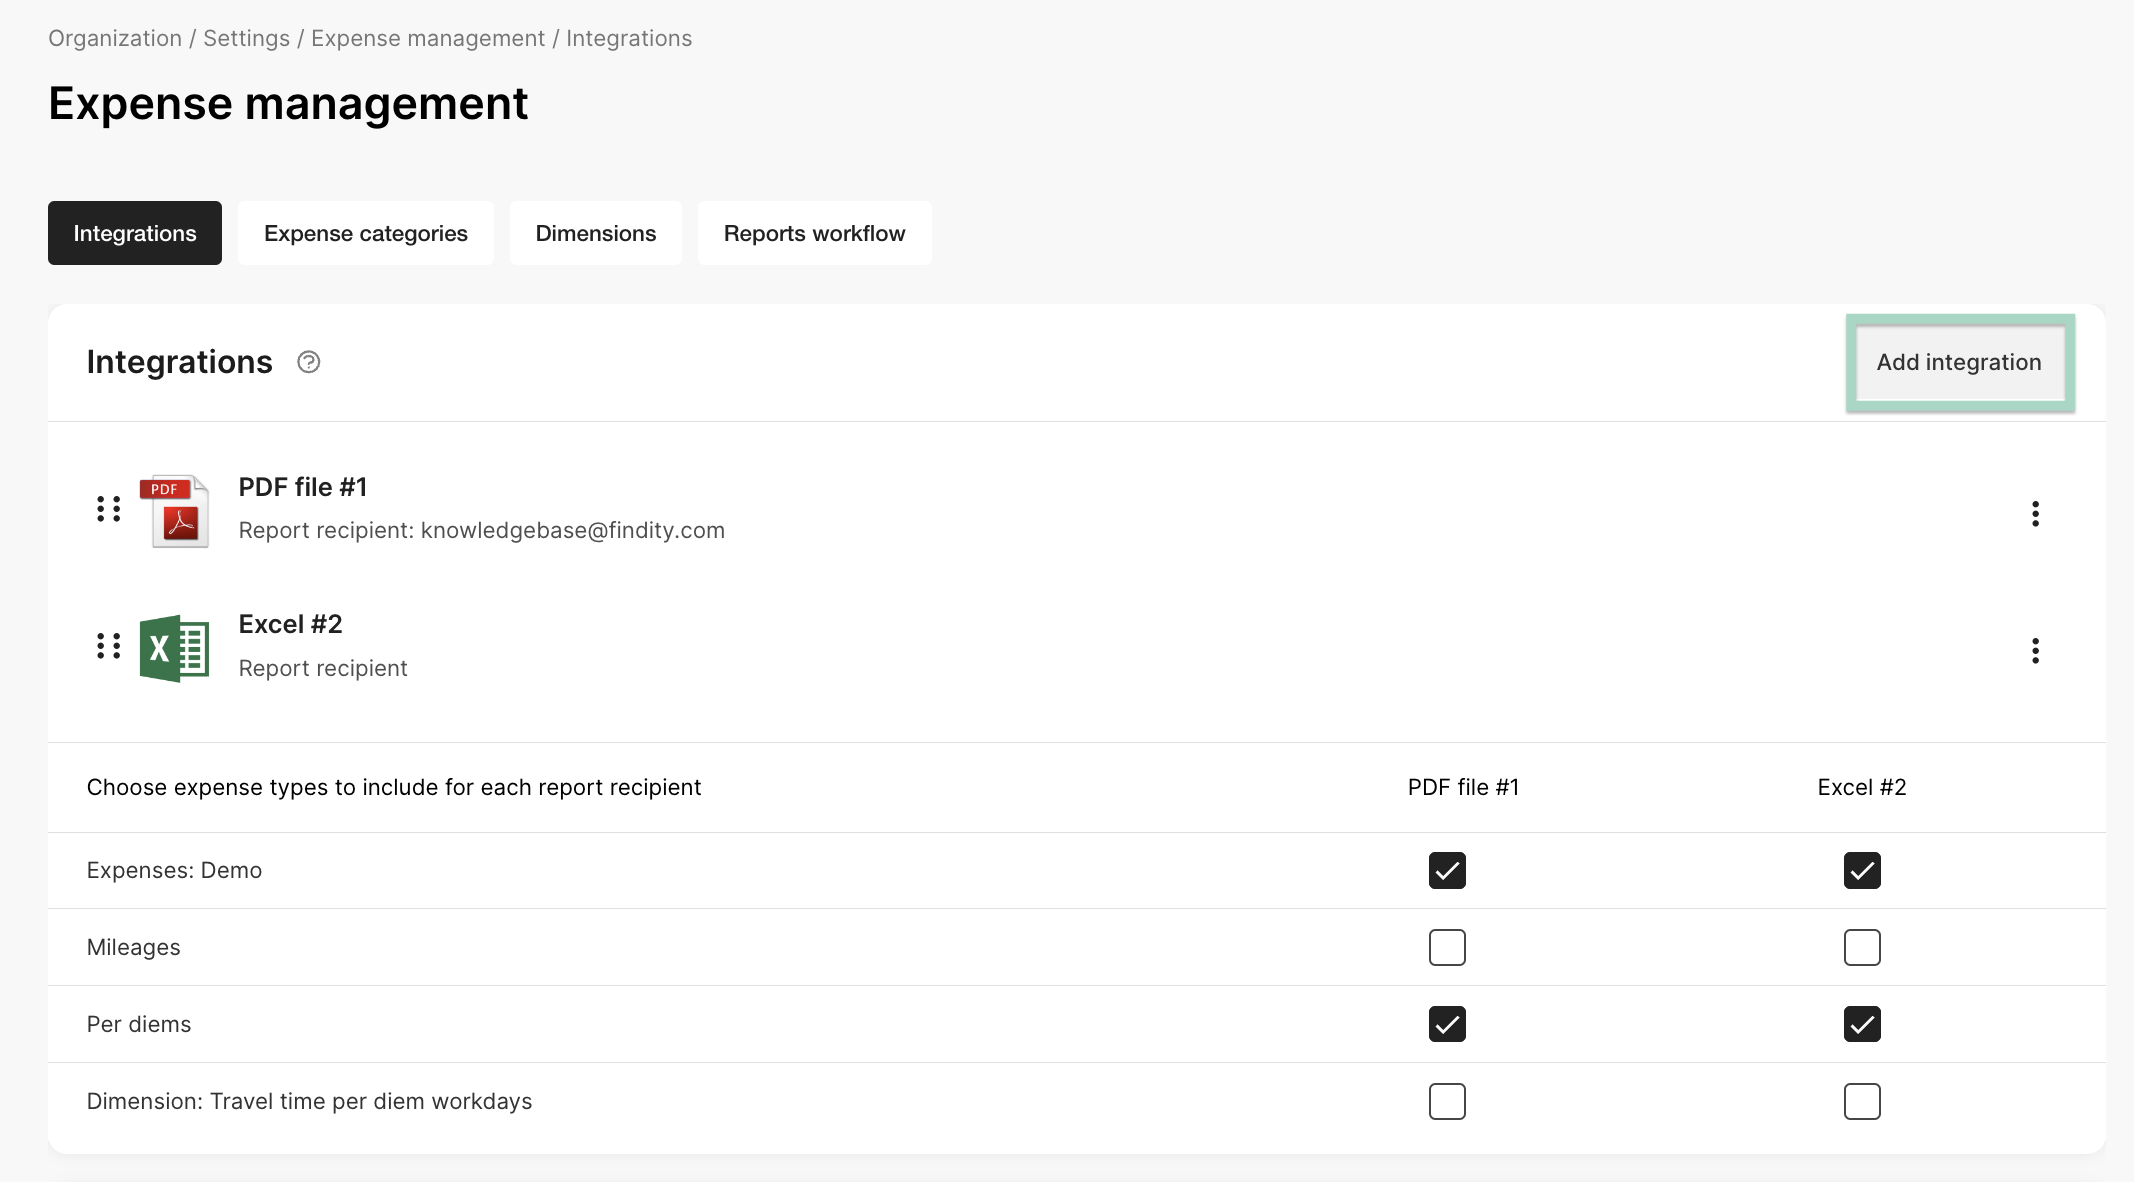
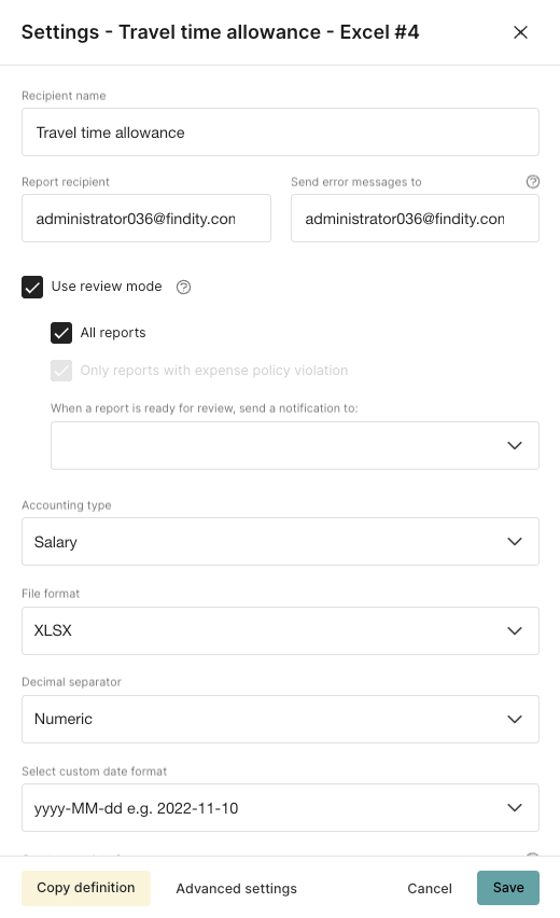
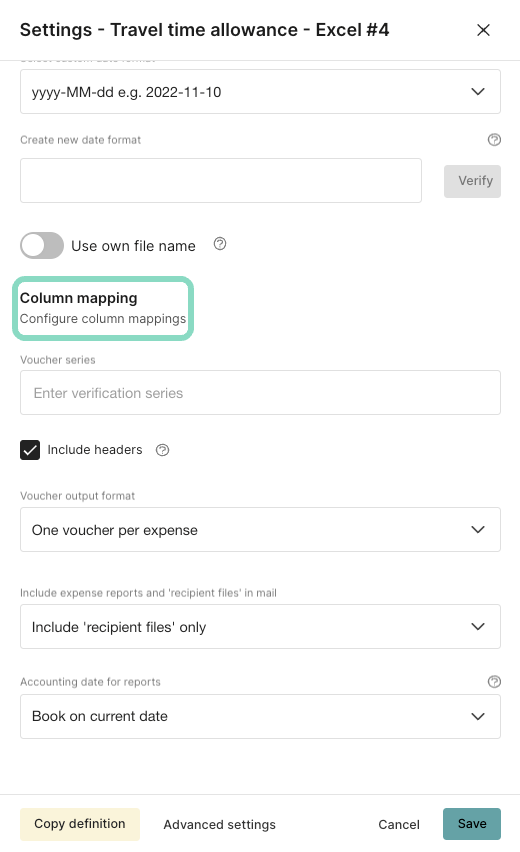
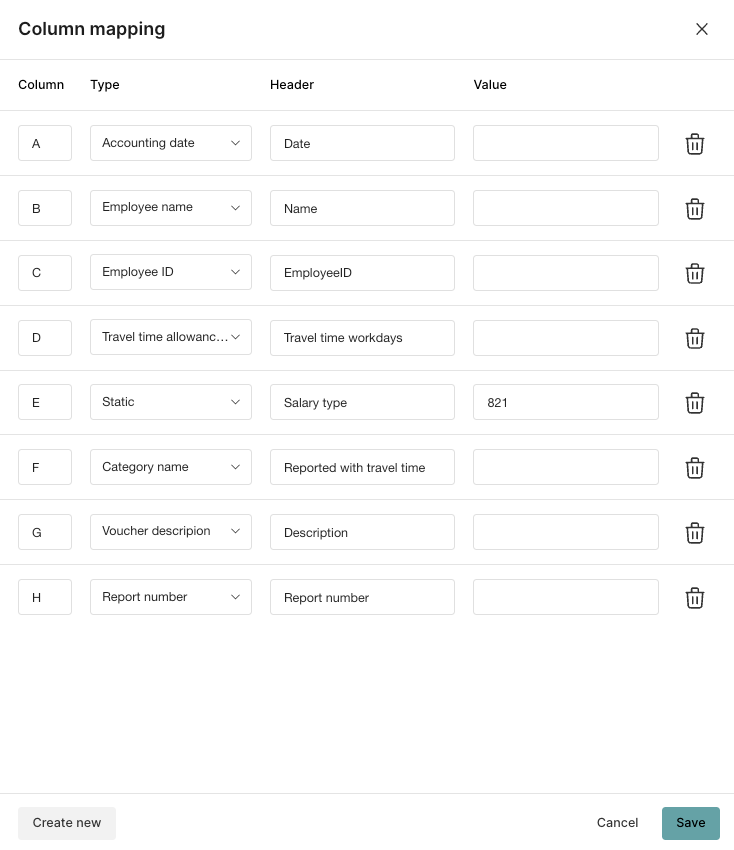
- 3. Add report recipient and configure the file
Go to Settings/Expense management/Dimensions. If the tab Dimensions doesn’t show up, it has to be activated in the Marketplace in the sectionFunctions.Click Add dimension.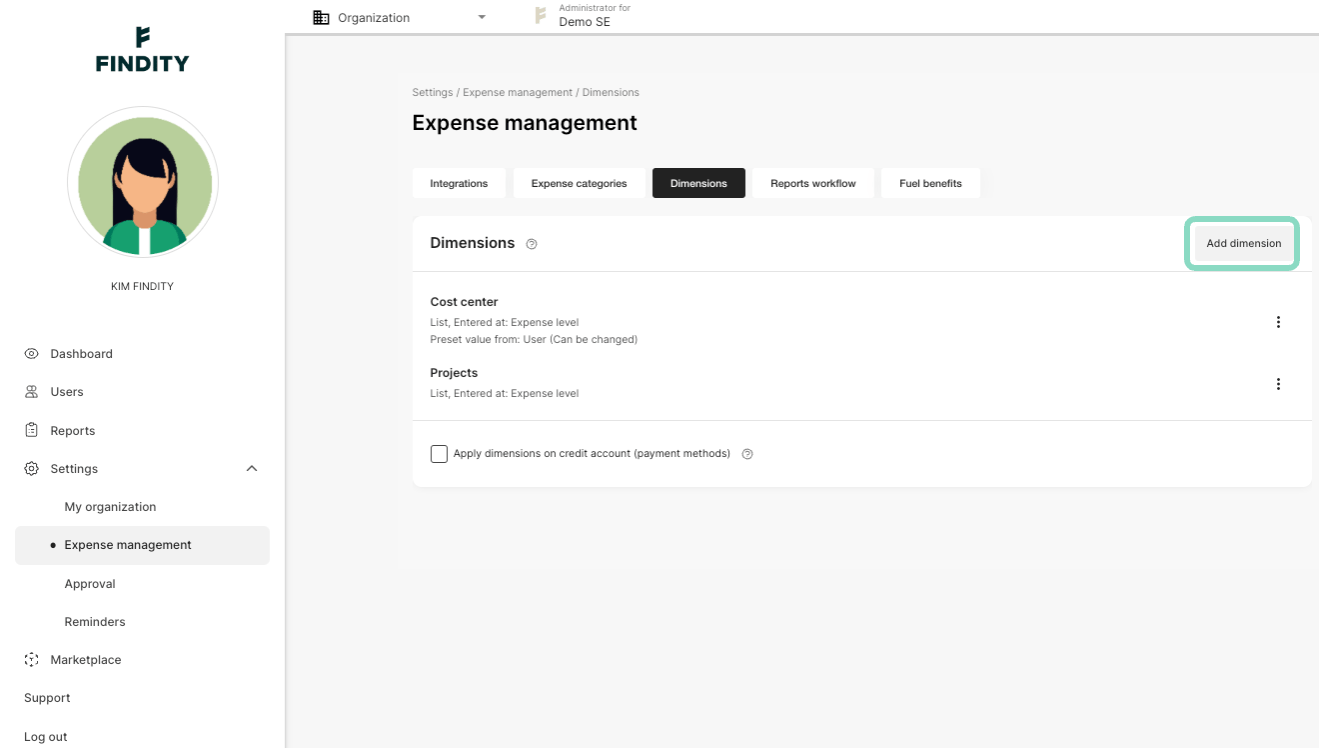
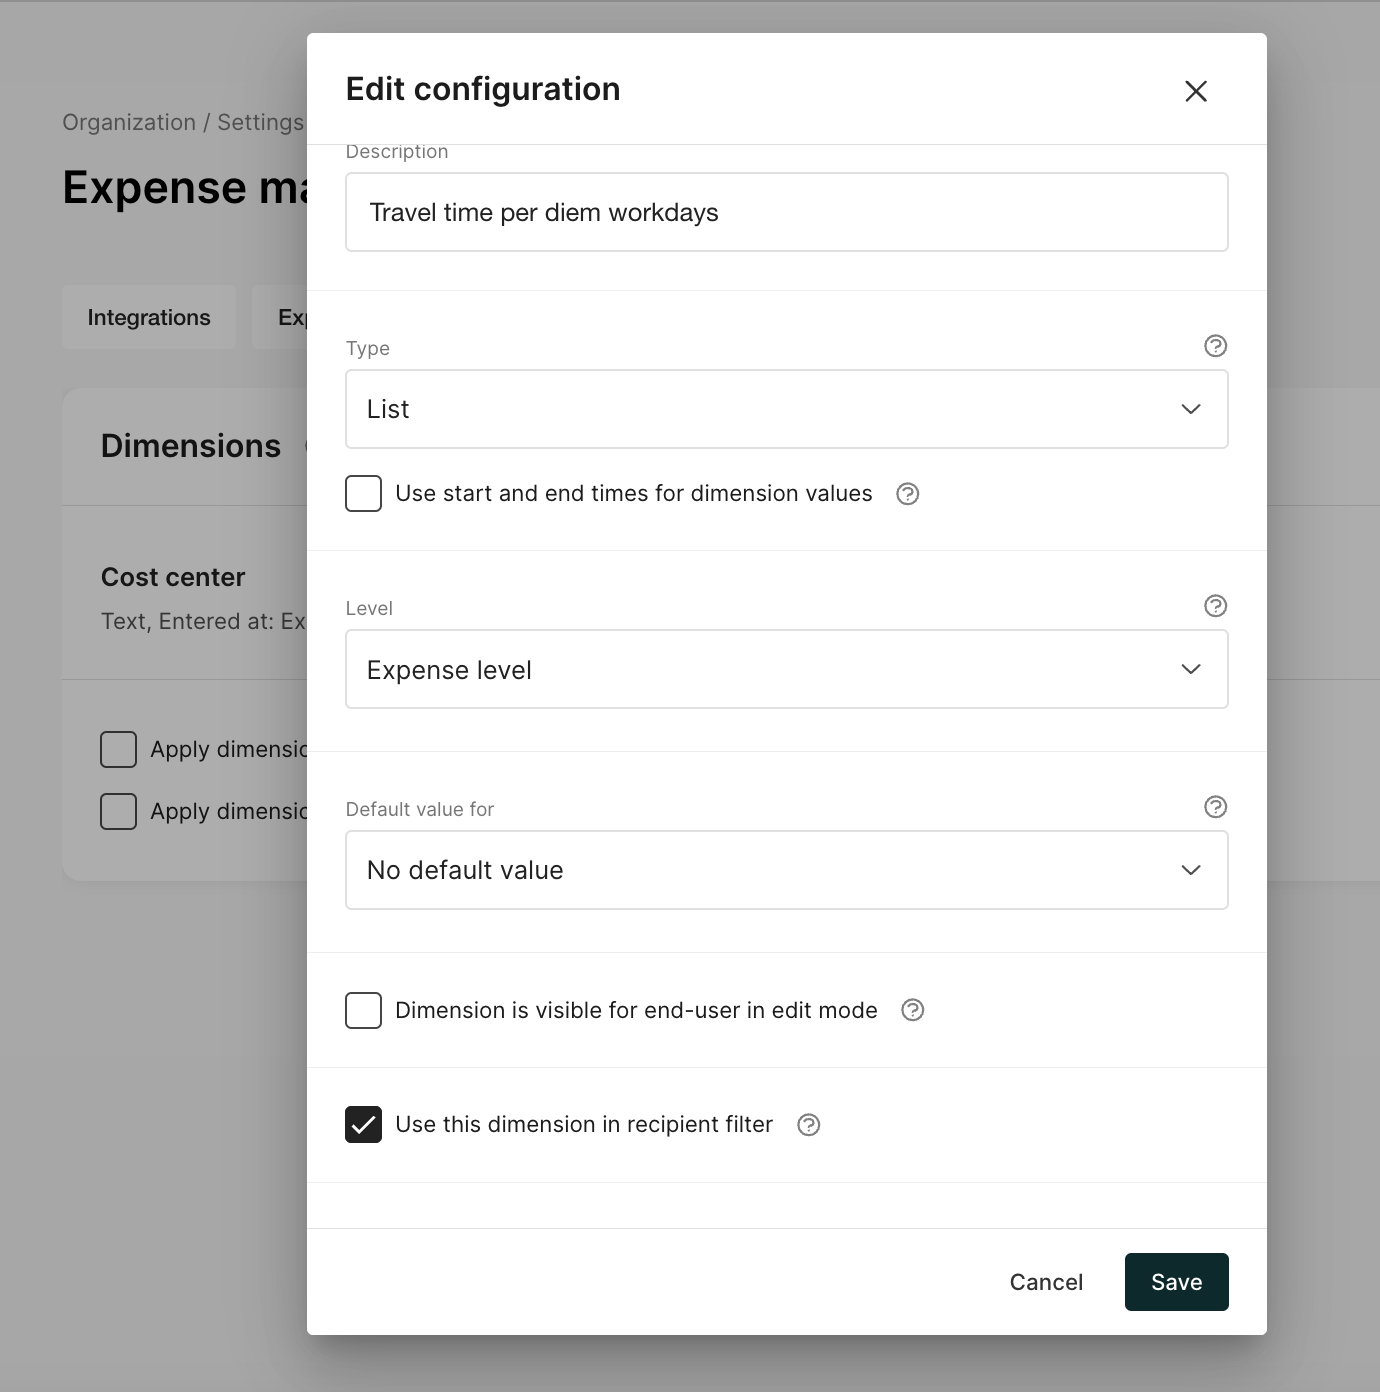
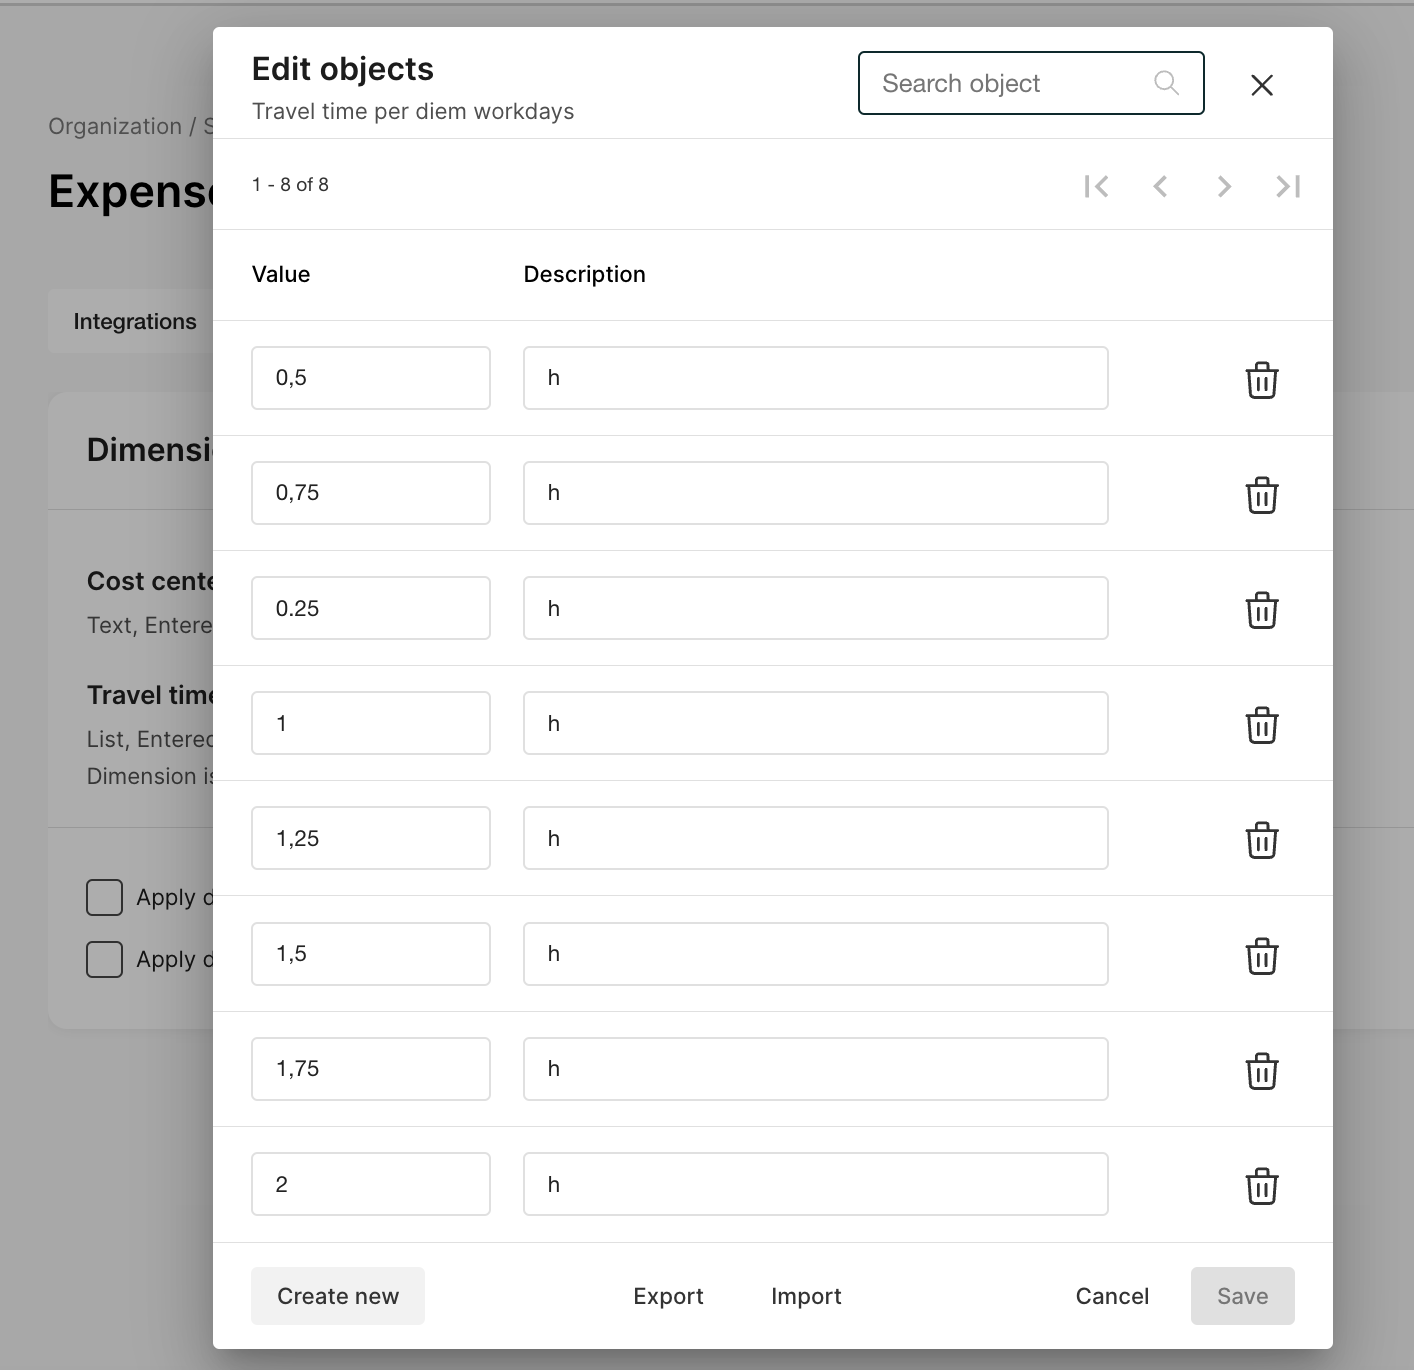
- Write aDescription, for example “Travelling time per diem Mon-Fri” or write it as a prompt to the user, for example “Please state the amount of travelling hours exceeding the usual working hours”
- ChooseType. You can choose from Text or List (List and Searchable list). Text = free text field, and List = the user will get a list with values (1h, 2h, 3h etc.) to choose from.
- Choose theLevel“Expense level”
- Default valueshould be set as “No default value”
- The dimension should not be visible for end user (so tick off the box “Dimension is visible for end user”)
- Tick the box “Use this dimension in recipient filter”
- Click Save.