

This article applies to the following countries
- All countries
- App
- Web
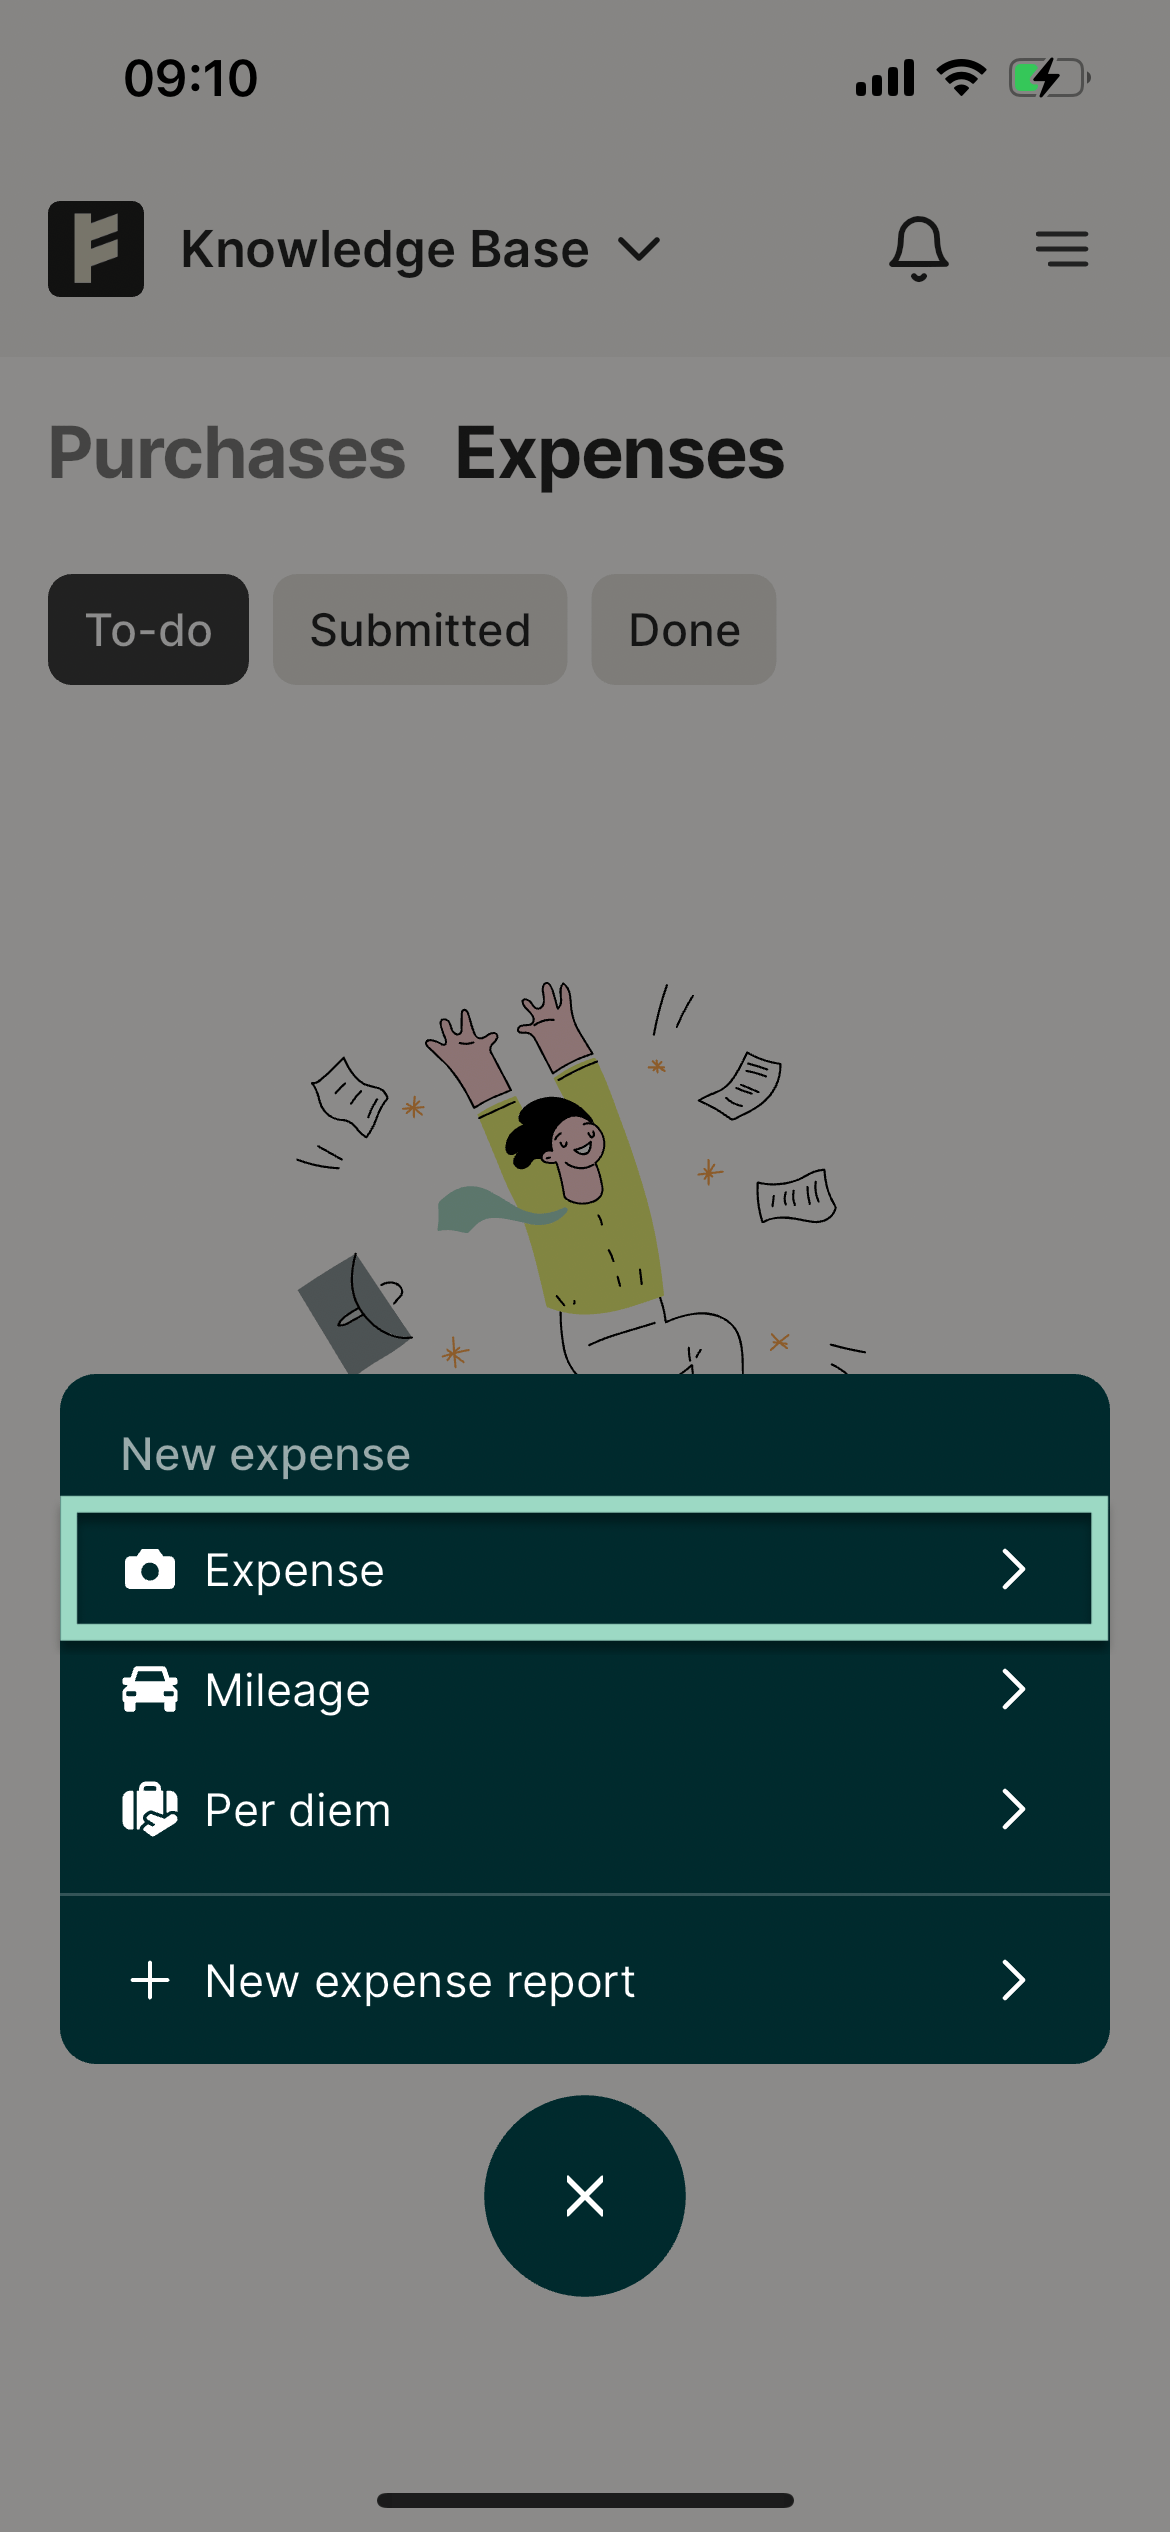
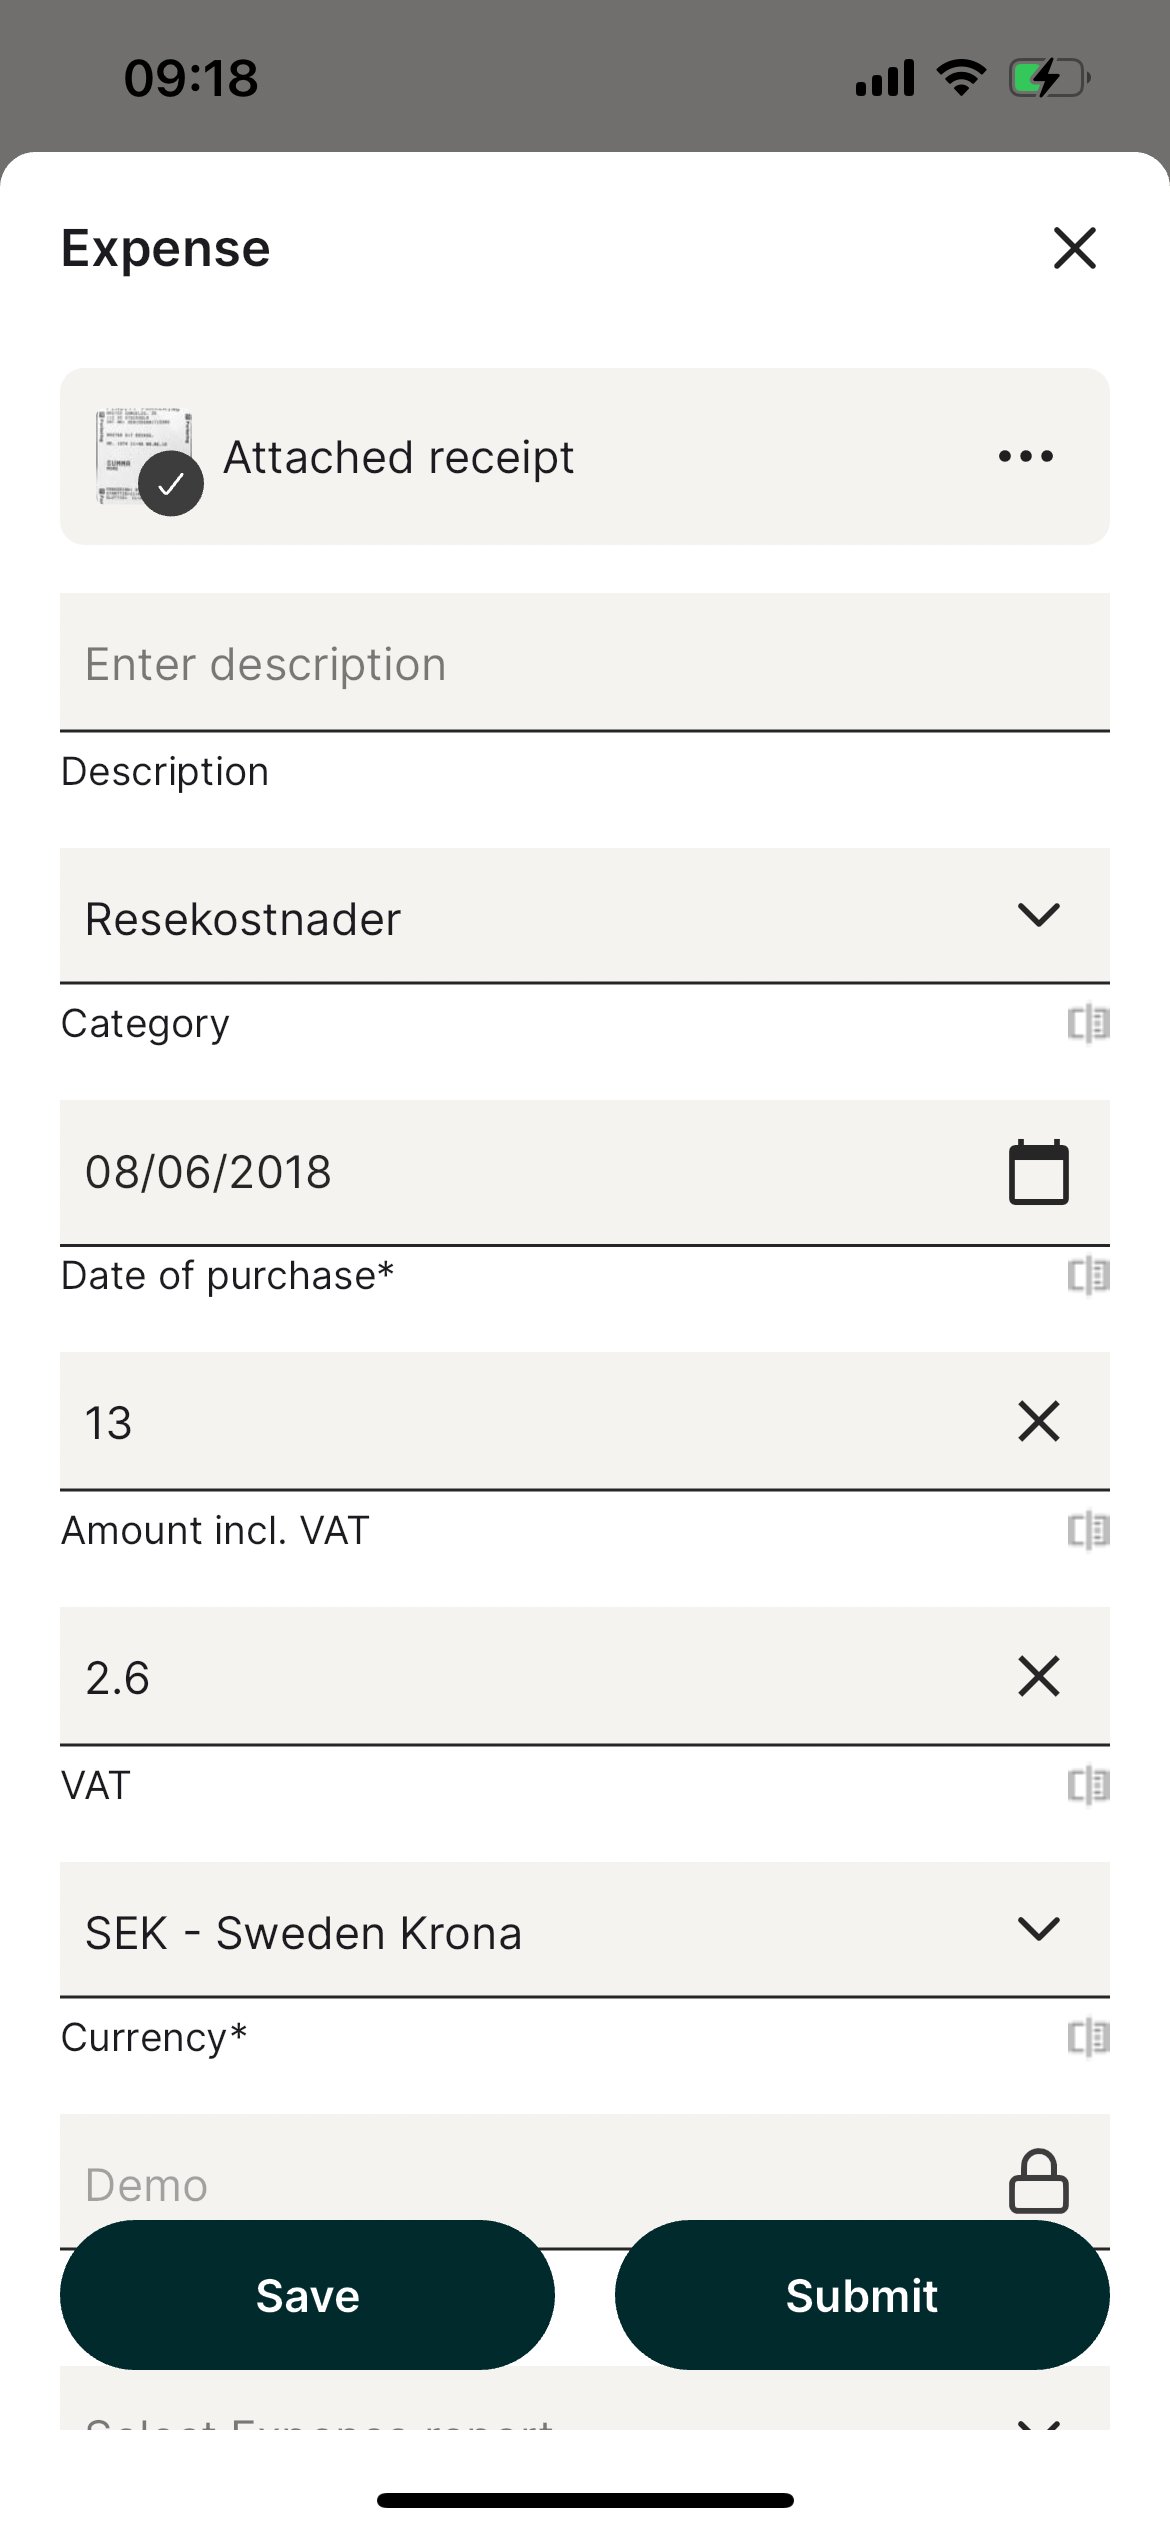
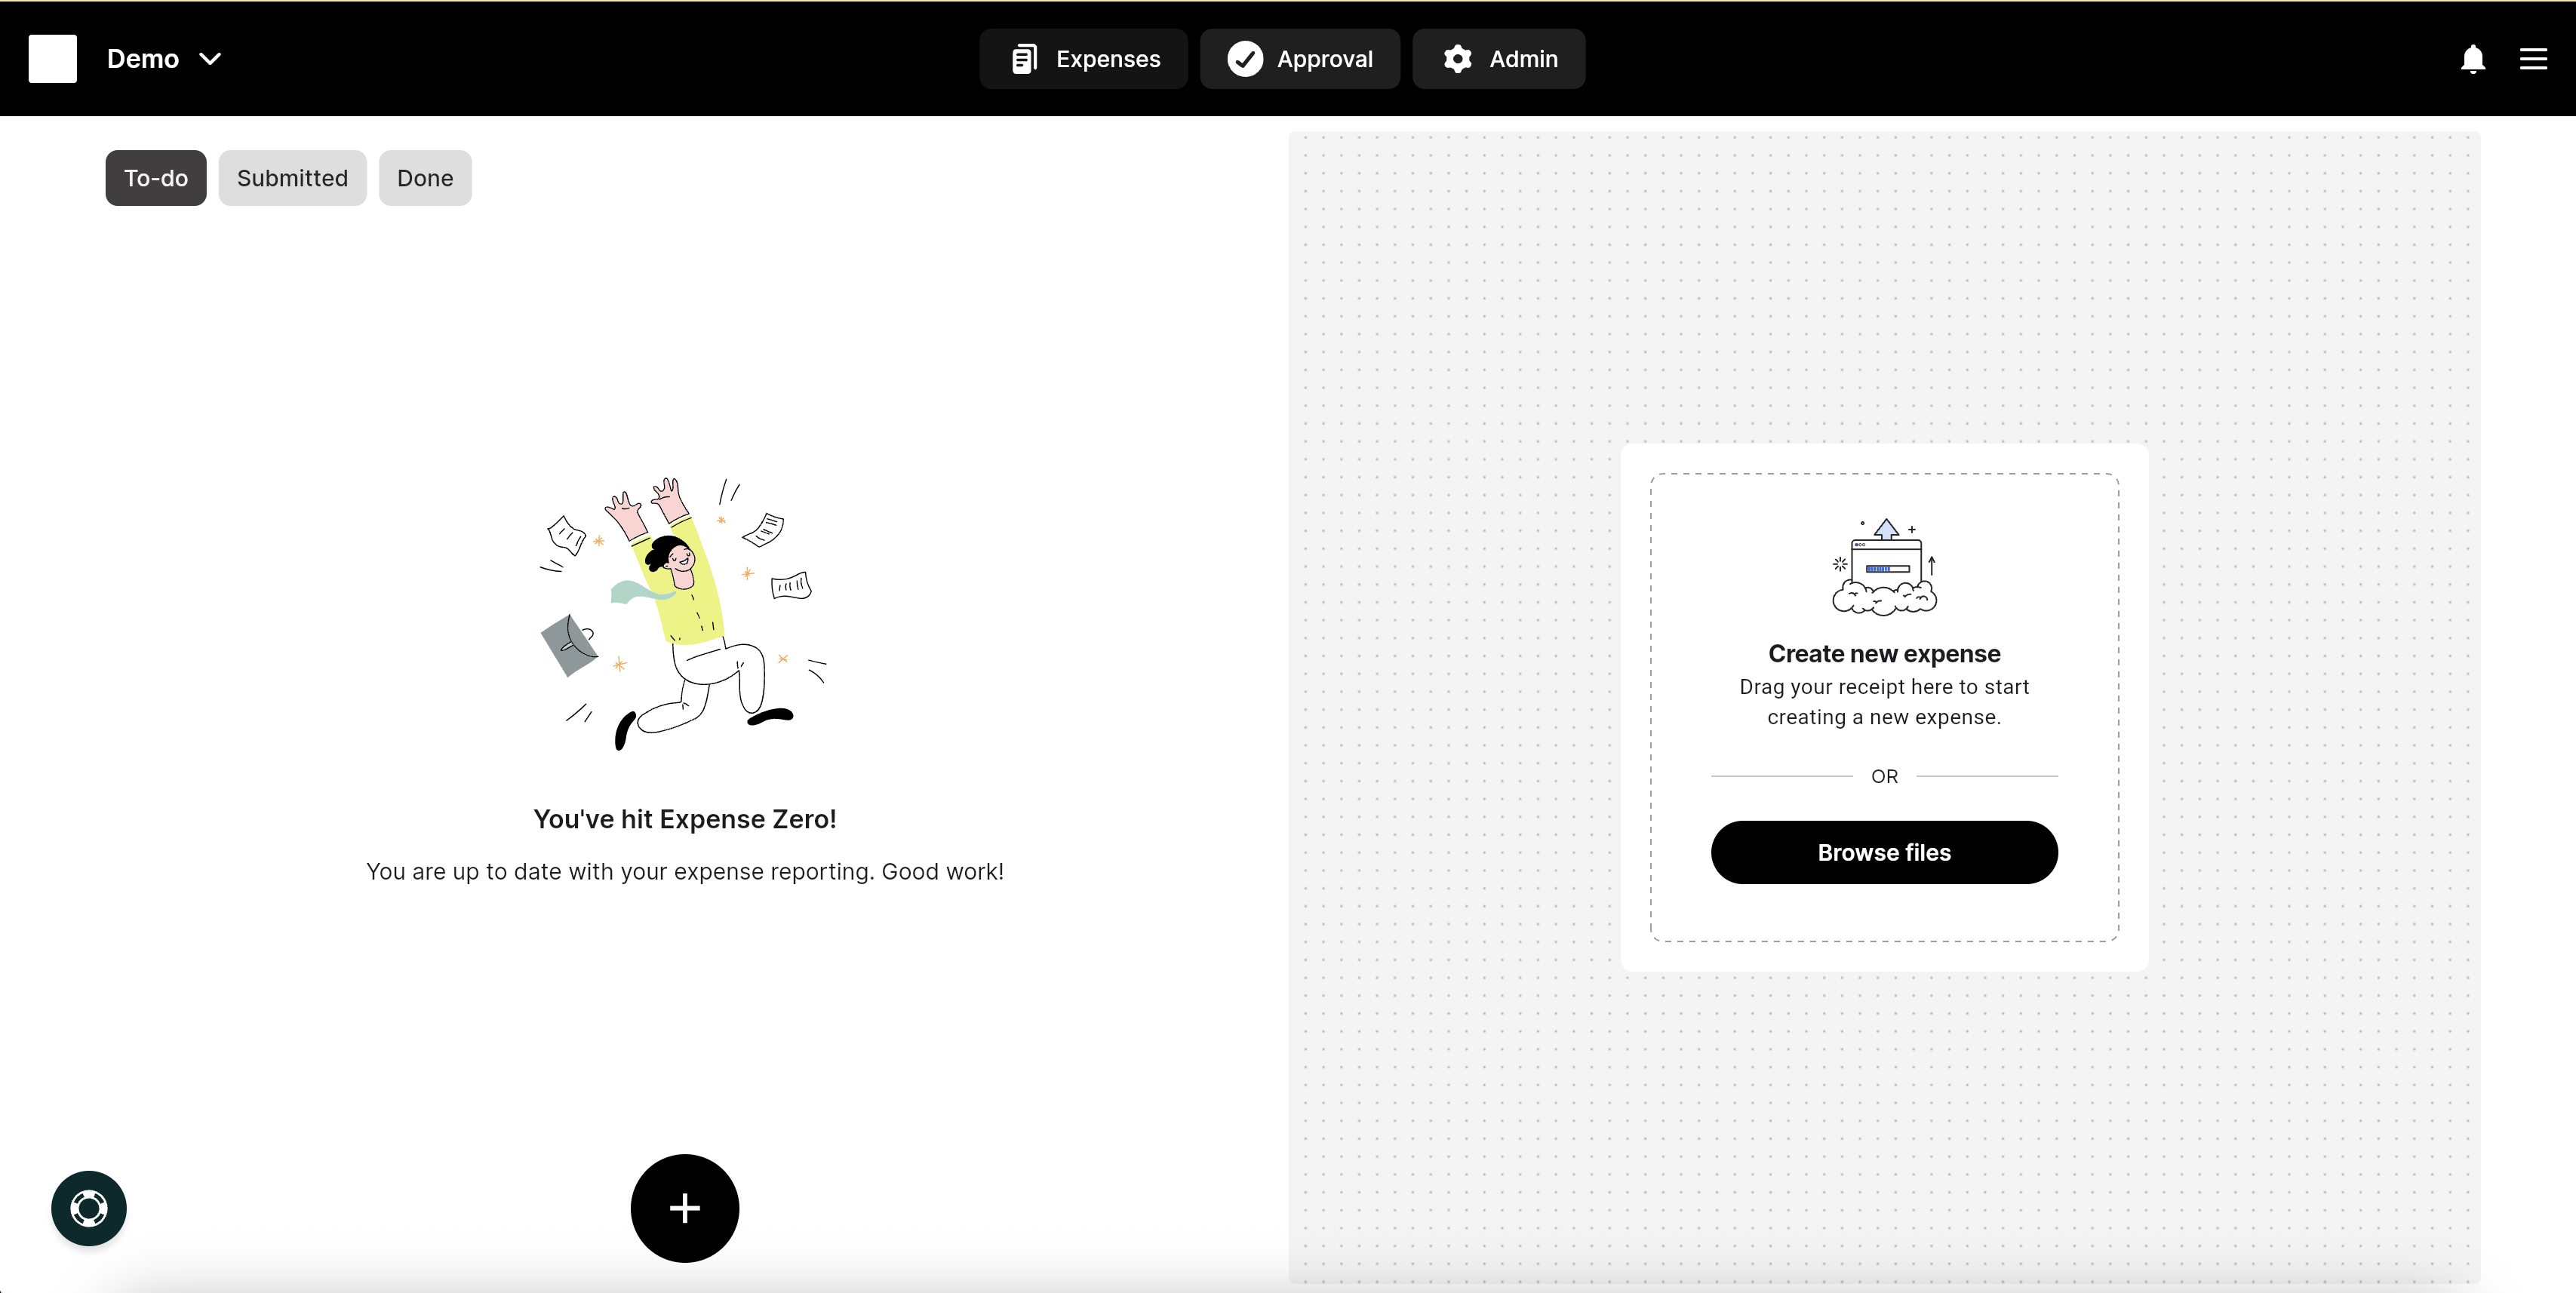
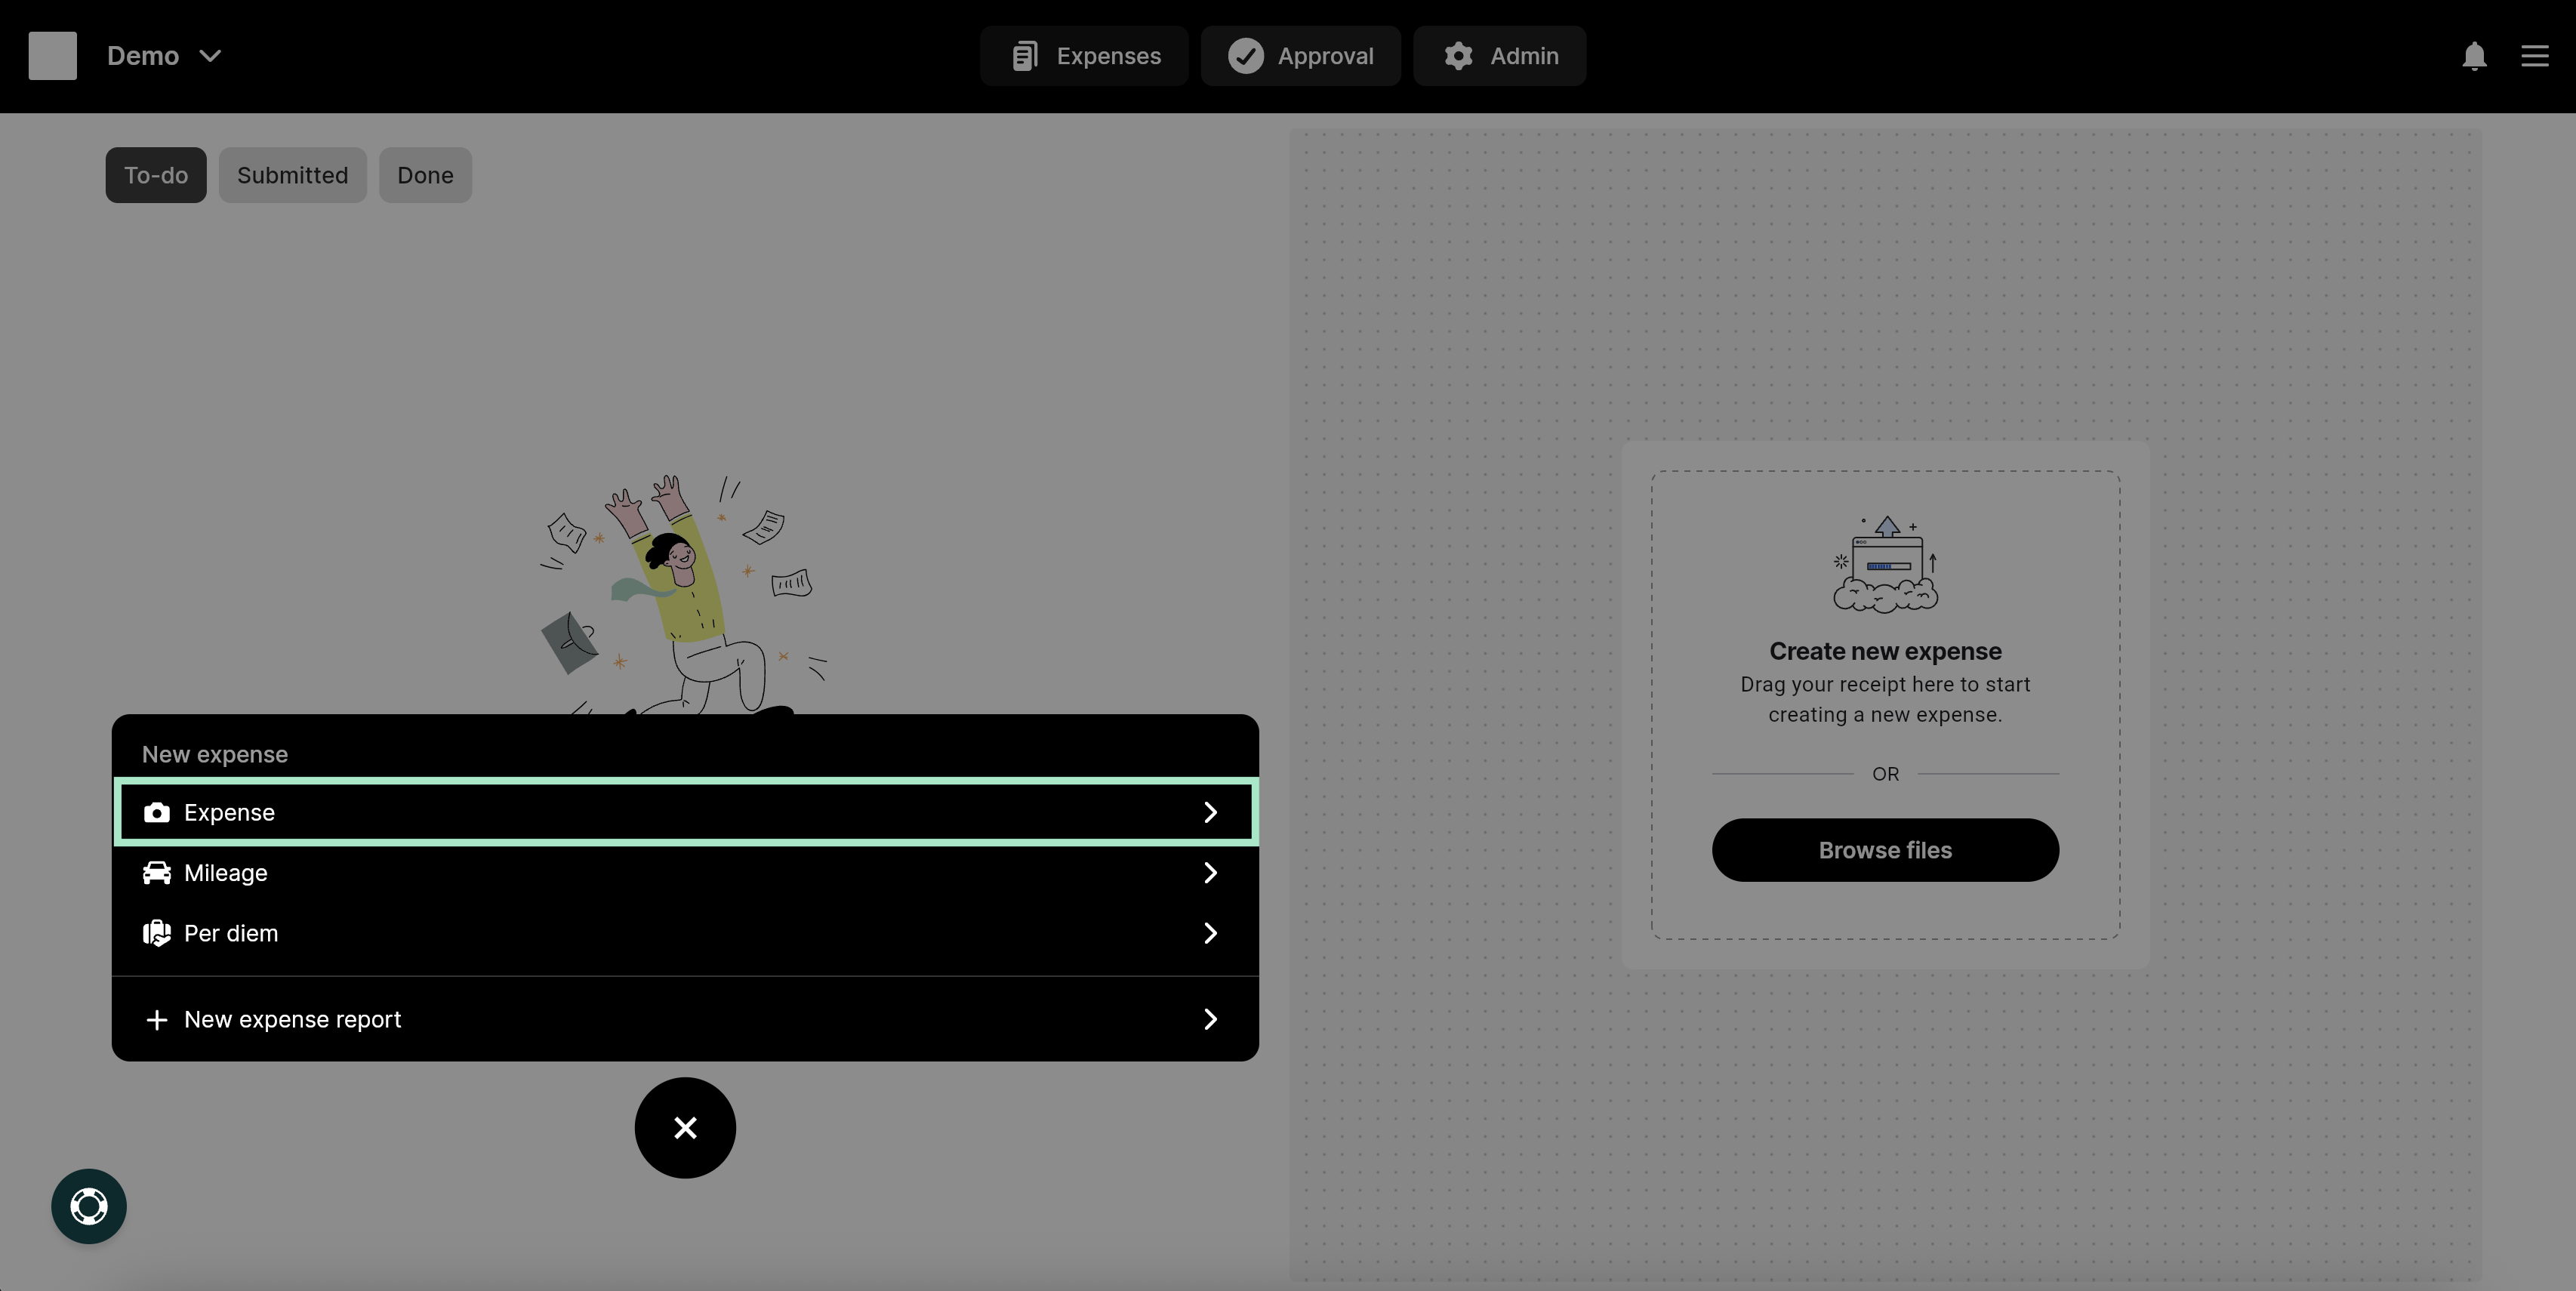
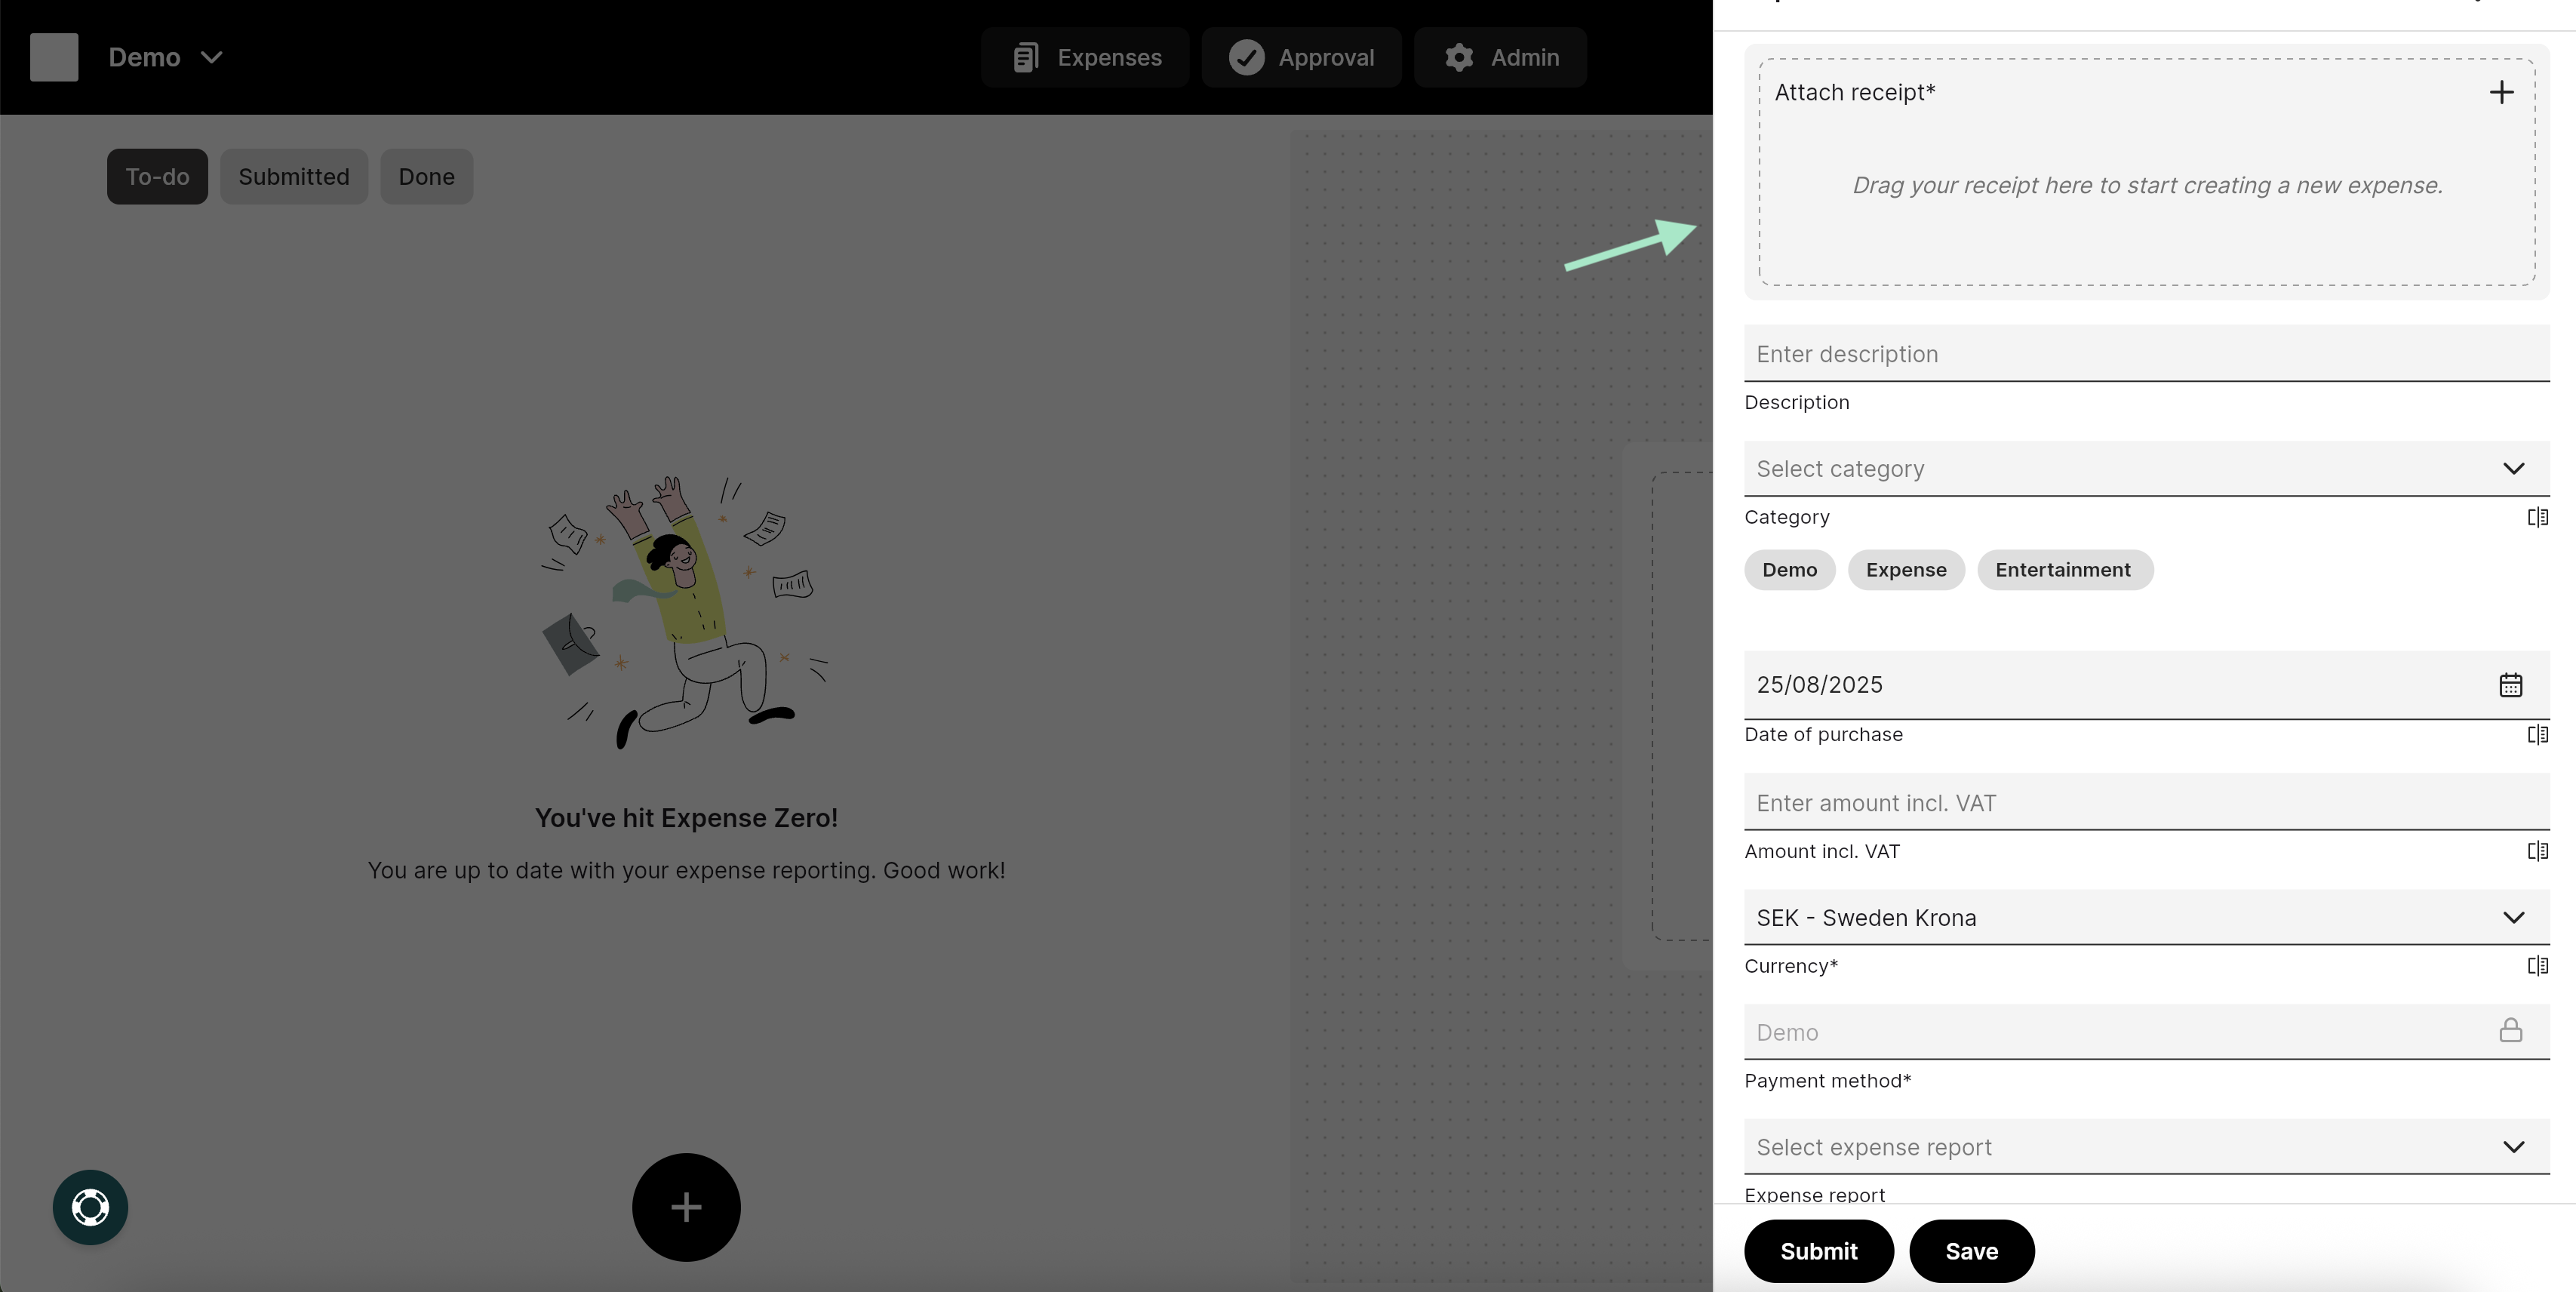
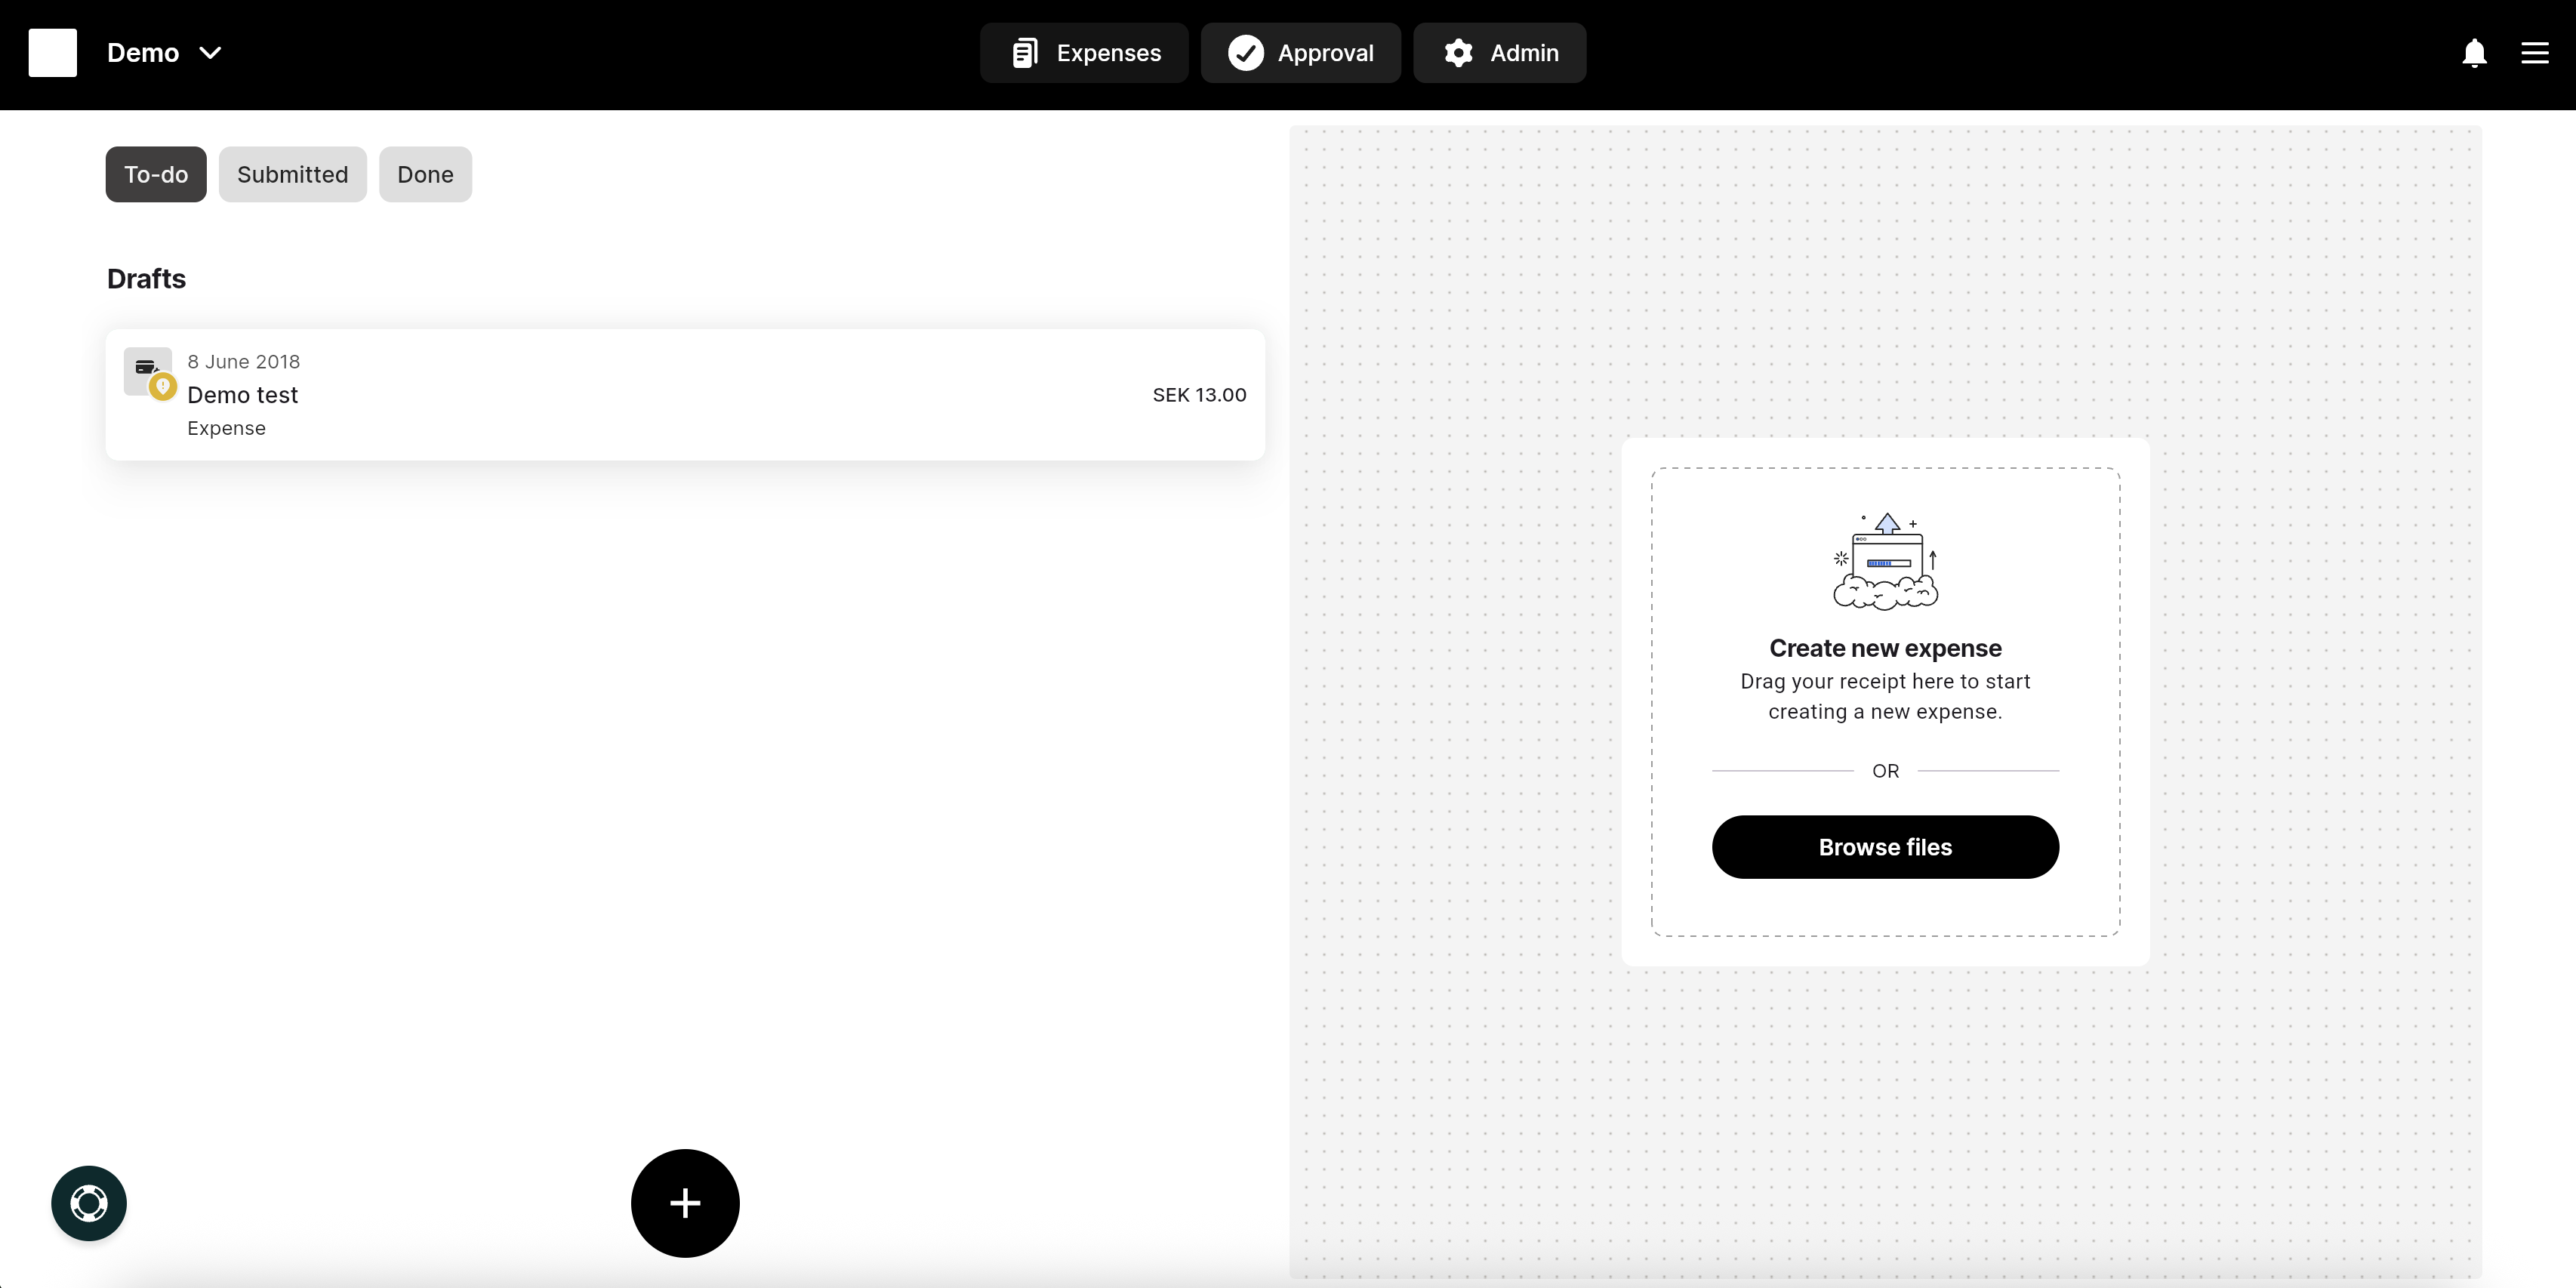
Click on the plus-sign to create a new expense (depending on your organisation’s setting this pop up might have different alternatives). Choose to create a new expense.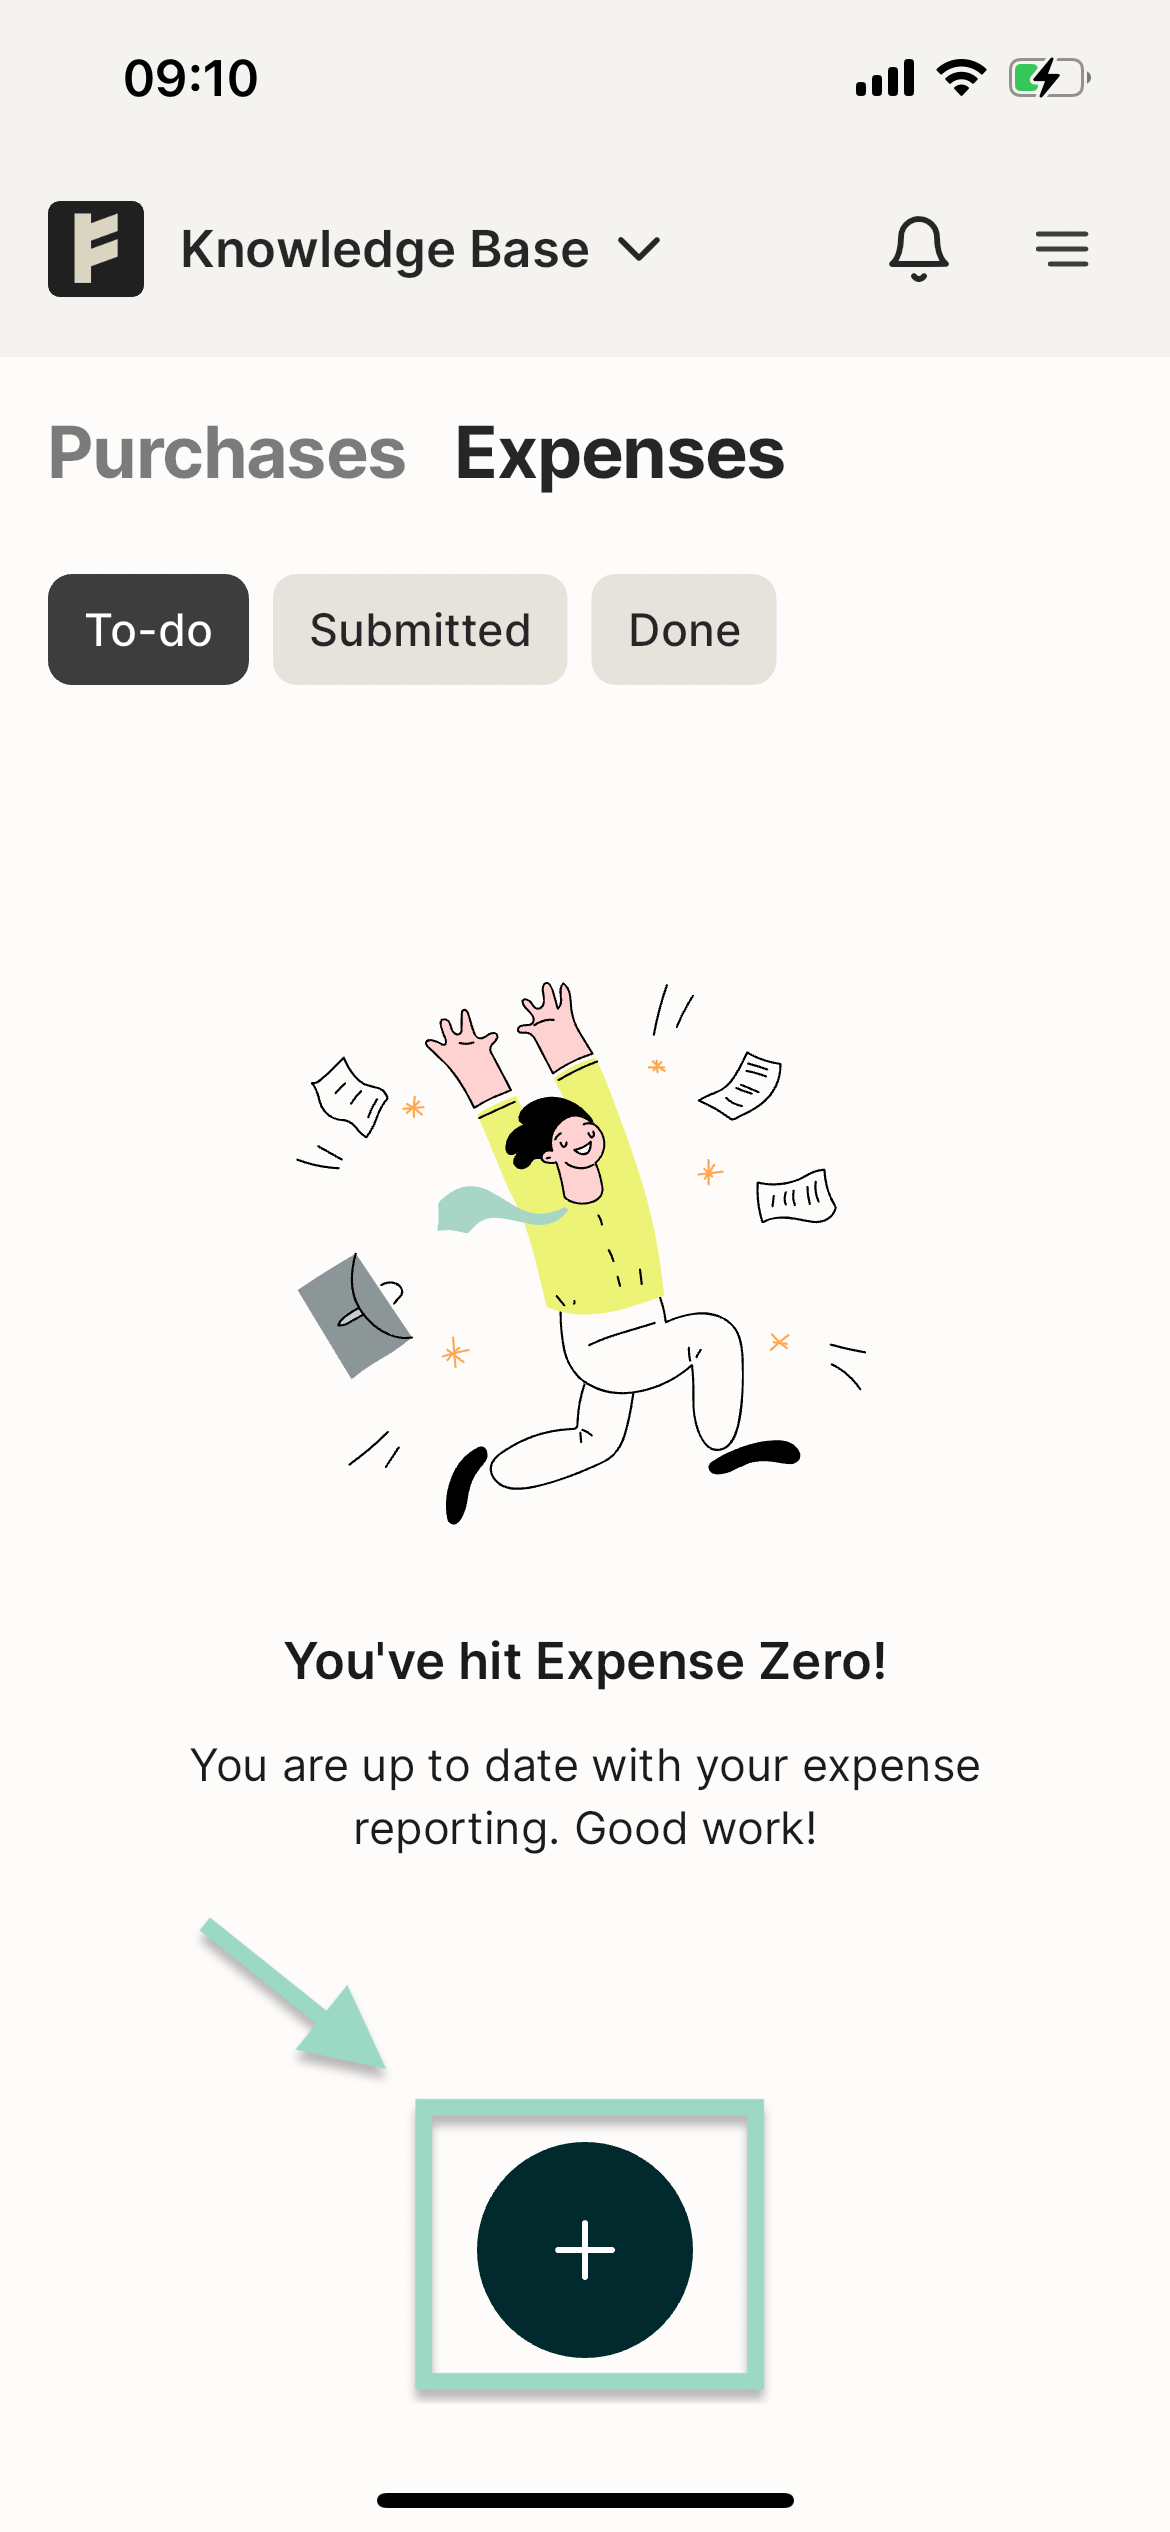
Related articles
- I made a mistake in my expense report, how can I get my report back so I can make the changes?
- I have registered my receipt in the wrong organisation, can I move that to another organisation?
- Can I email my receipts to the service?
- Can I split an expense into two separate expenses?
- How can I add an attachment to my expense in the system?