Settings for the integration Swish Payout

Written by Elin Ivarsson
Updated at January 28th, 2025
Table of Contents
Swish Payout gives your company the opportunity to pay your users directly when a report is submitted.
Before you start with the set-up for Swish, the reports under the tab Ready to send need to be handled so that tab is empty. When this is done, click on the tab Marketplace and activate Swish payout.
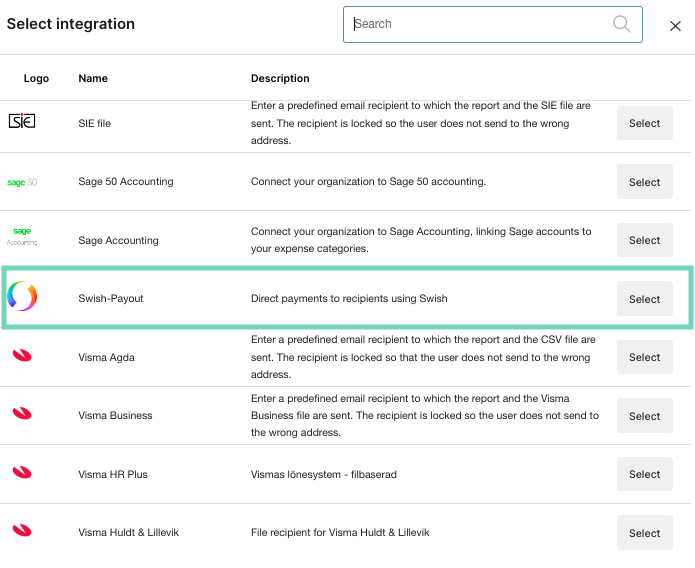
To add Swish Payout as an integration on your organization go to the tab Settings - Integration - Add integration. Click on Select on the integration Swish.
 Swish integration is now available under the tab Integration. Click on the report recipient Swish Payout to complete the settings.
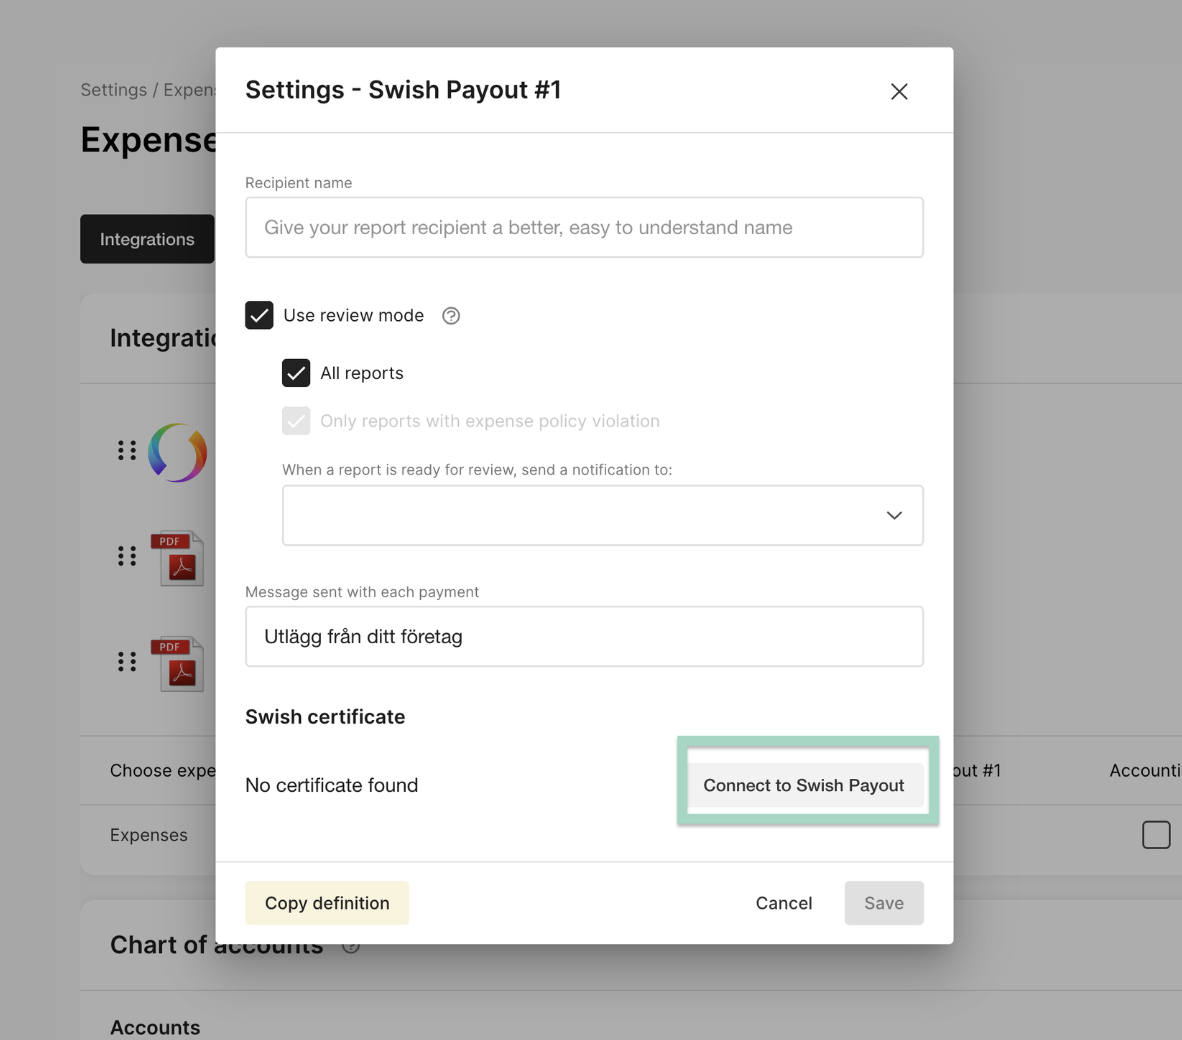
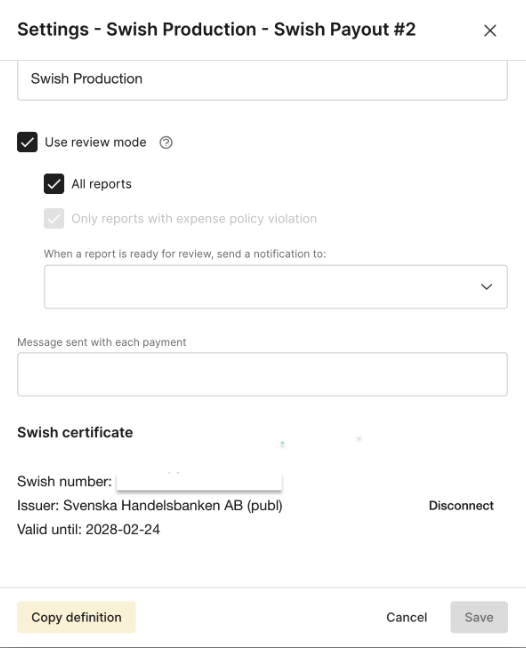
Mark the box next to Use review mode. Read more about this setting in this article
Now it's time to add the certificate. When you create your Swish account on your bank, Findity must be specified as the technical supplier. Each bank has different routines for setting up Swish Payout. If you have any further questions regarding the set-up to swish on your bank, you must contact your bank directly.
Click on Connect to Swish Payout on the field under Swish certificate.
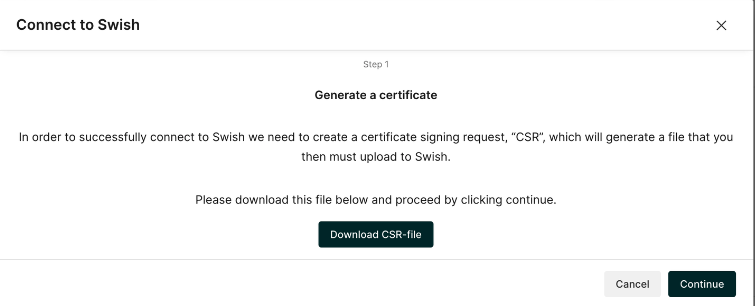
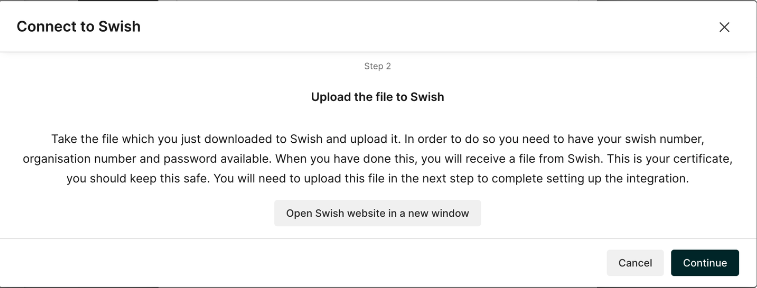
A guide now starts on your page. Download the CSR file and click on the button Continue.
The next step is to open the Swish portal in a new window in your browser.
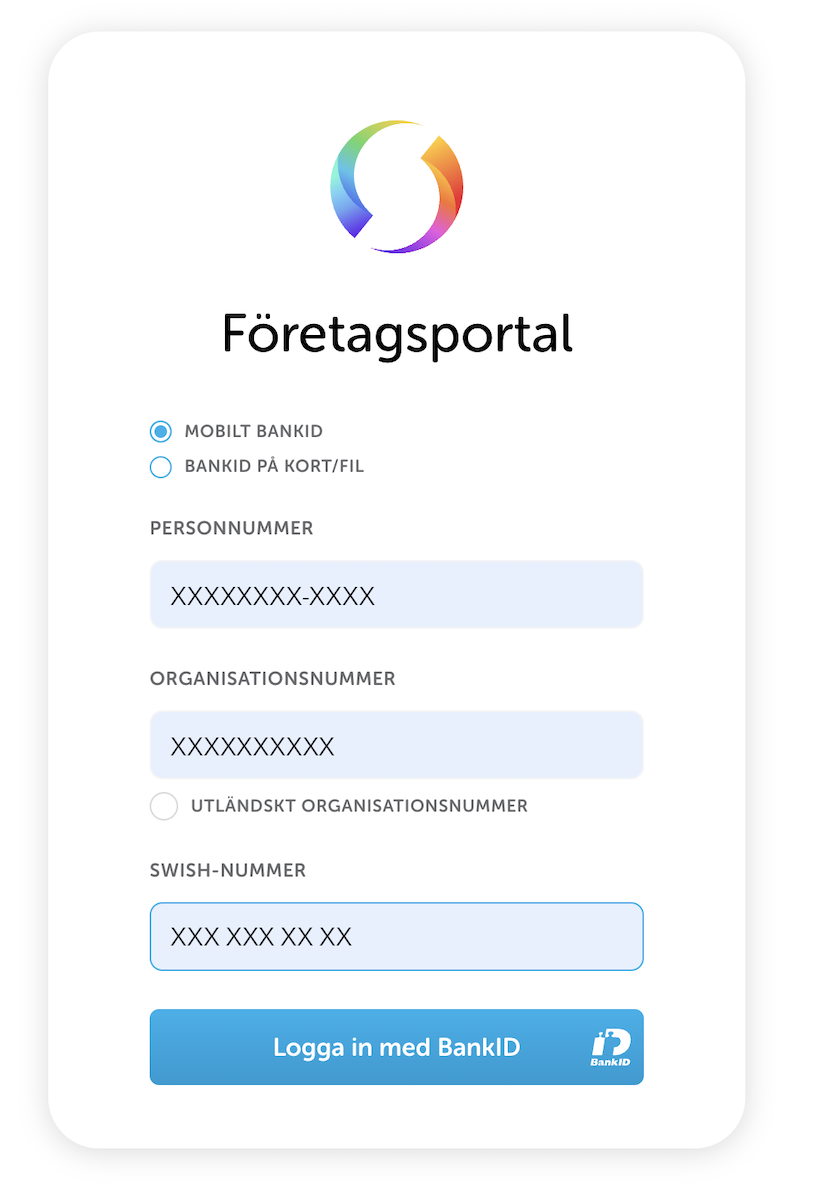
Log in to Swish portal with bank-ID. This needs to be a person with authority in your company to log in.
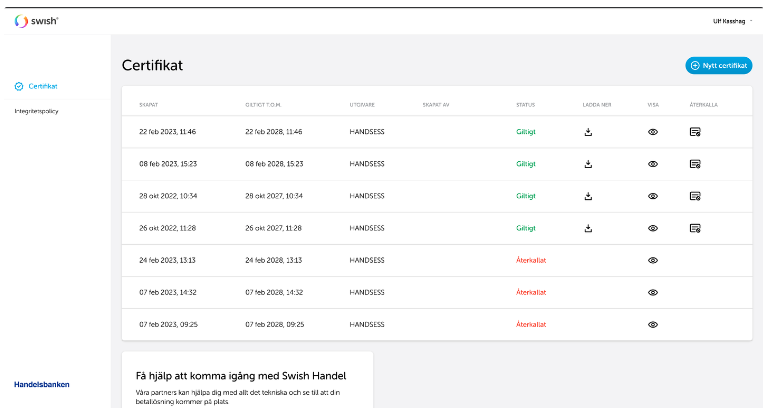
A list of zero or more certificates is now visible. Click on the button Nytt certifikat (New certificate). A new setting were you can choose to create a CSR file will now appear on your page. Choose to Skip that step as we already have created that file.
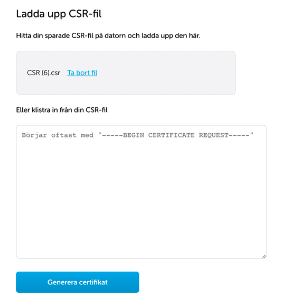
Upload the CSR file.
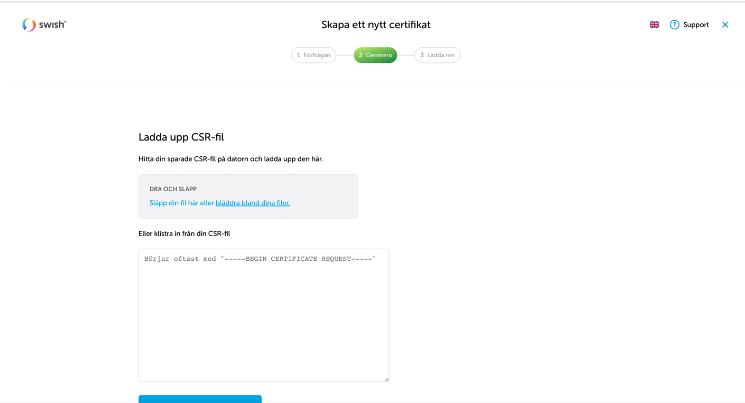
Click on the button Generate certificate.
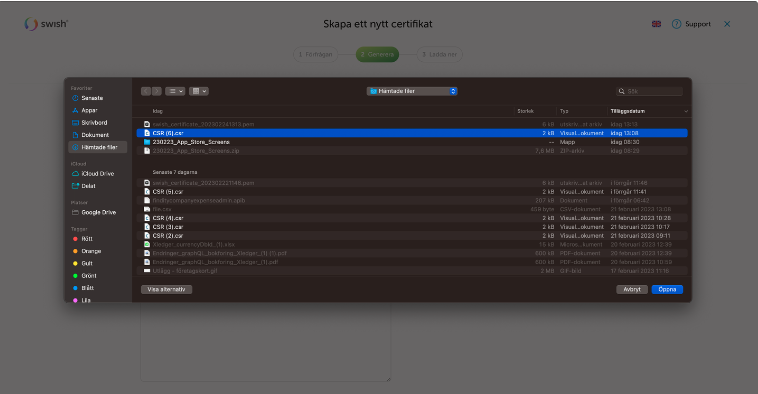
The file will be downloaded to your disk in .pem format.

Now go back to Findity and proceed to step 3 and choose to upload the file from your disk (in .pem format). When the file is selected, choose to Verify certificate.

Now you can see what is uploaded under the field Swish certificate. This shows your Swish number, Issuer and date for Valid until. Press Cancel to close this box.
The last step is to contact all users on your organization about adding their Phone number and Personal ID number to their settings. Every user needs to add this in their Settings in order for you to be able to make payments with swish.
Now the settings are complete!