How do I add an expense?

Written by Elin Ivarsson
Updated at April 2nd, 2024
Table of Contents
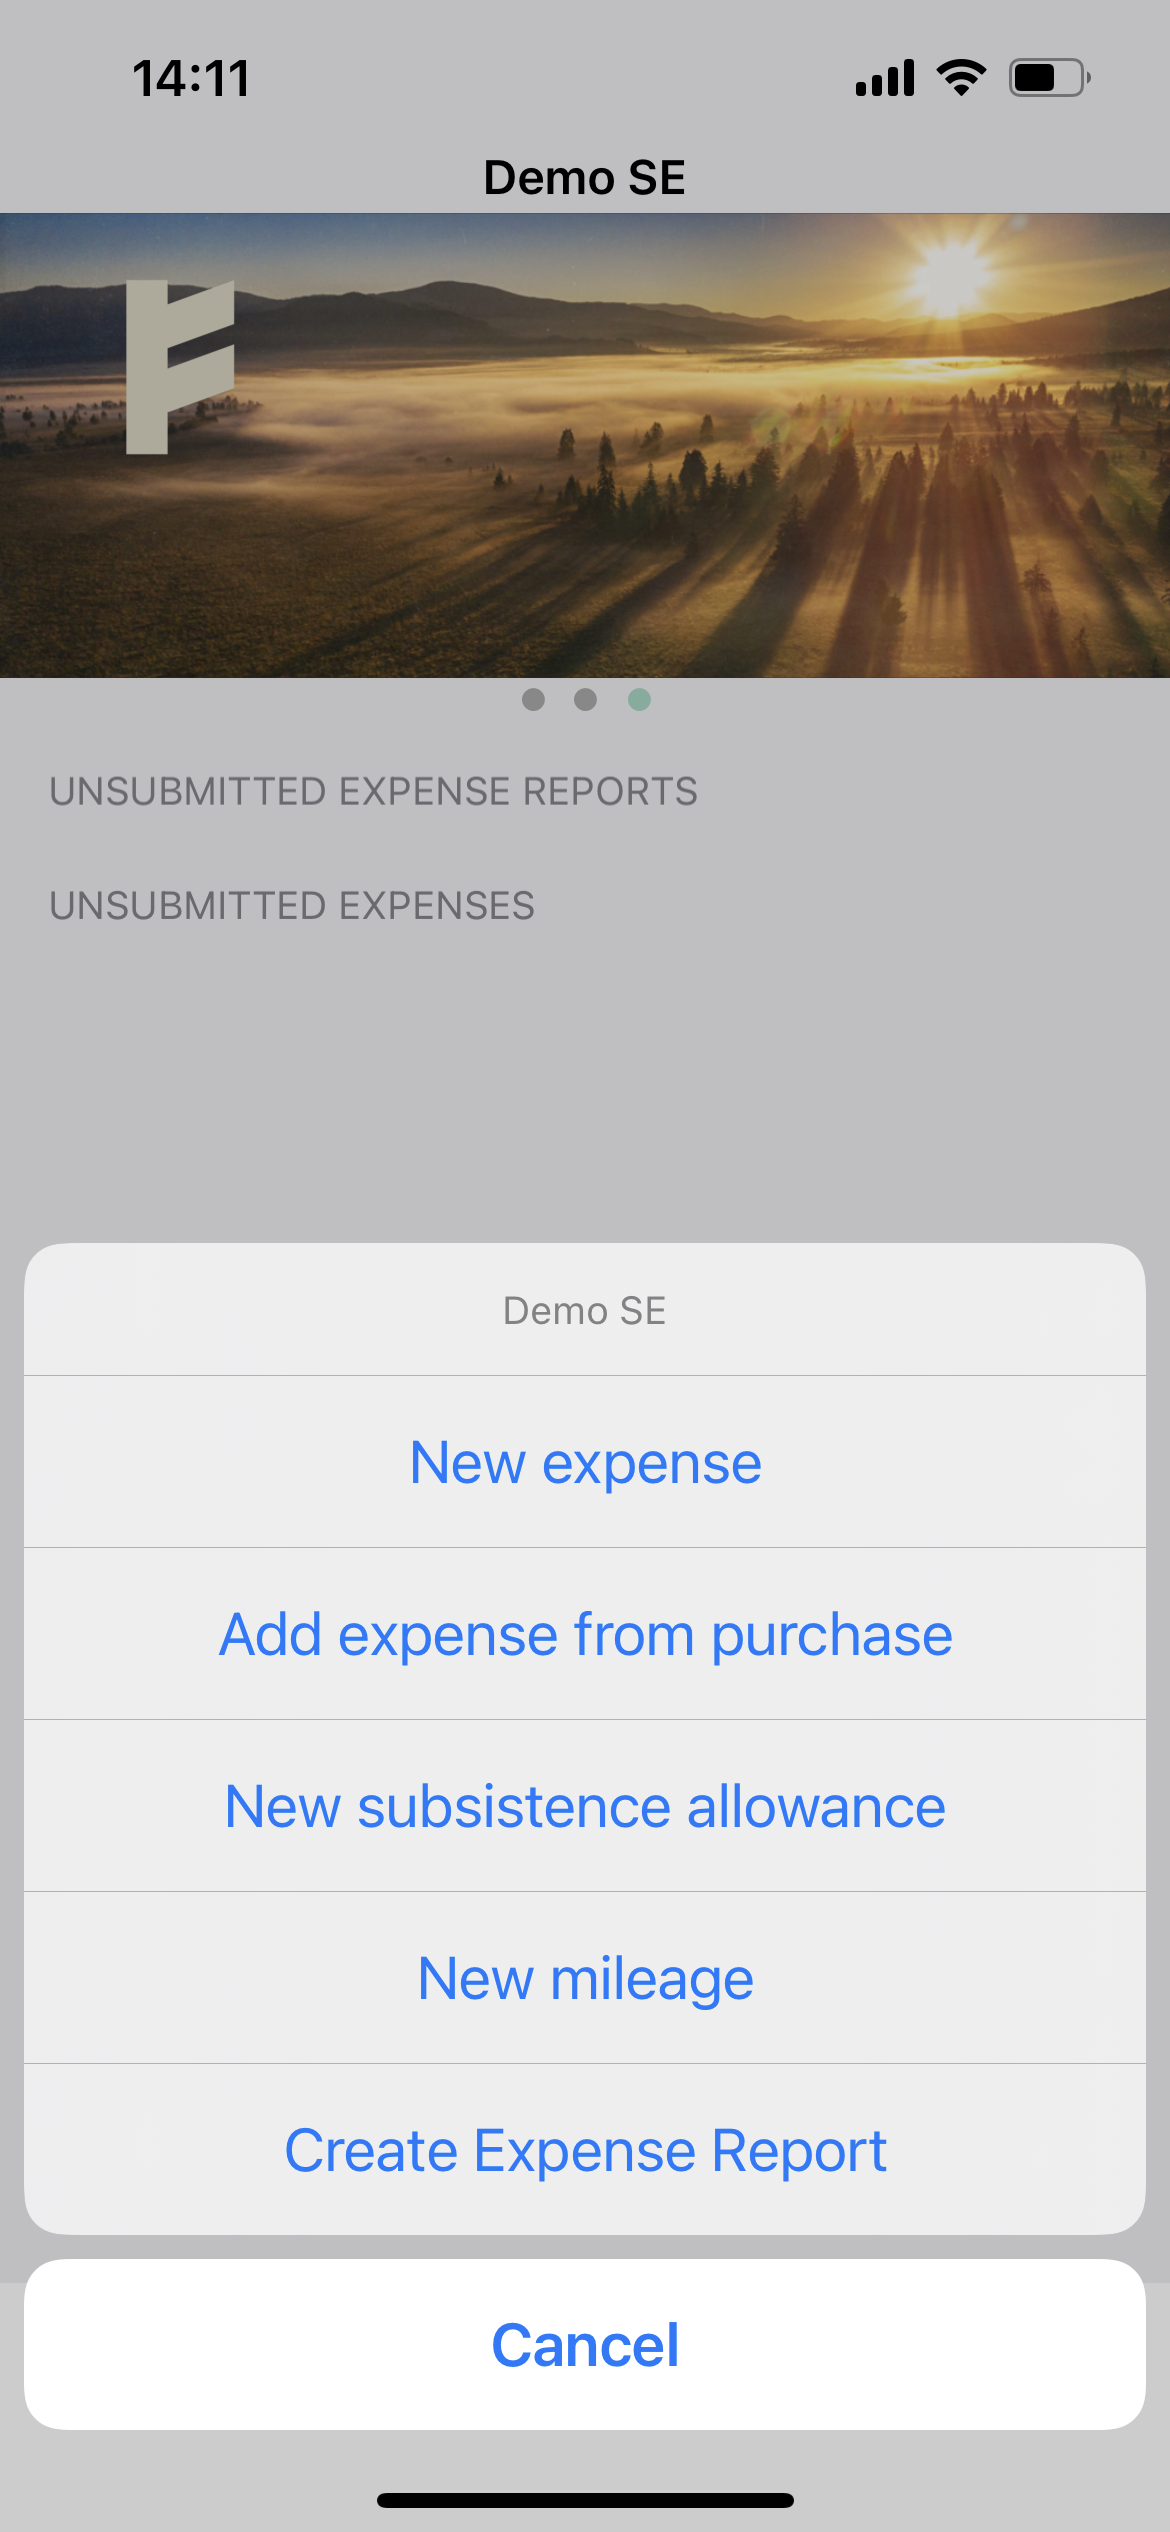
To add an expense you press the Plus-button and choose New expense in the pop up menu. If you're using the Findity mobile app the camera will open and you can take a photo of the receipt, otherwise attach the receipt into the expense view and fill in mandatory and relevant fields. Verify that the Purchase date, Category, Amount, VAT and Currency is correct. Save and you're done!
To send the expense to your organization for reimbursement attach the expense to an expense report and send in the report. Read more here: Submit expenses how to submit your expenses.
Please see below for step by step guidence.
App
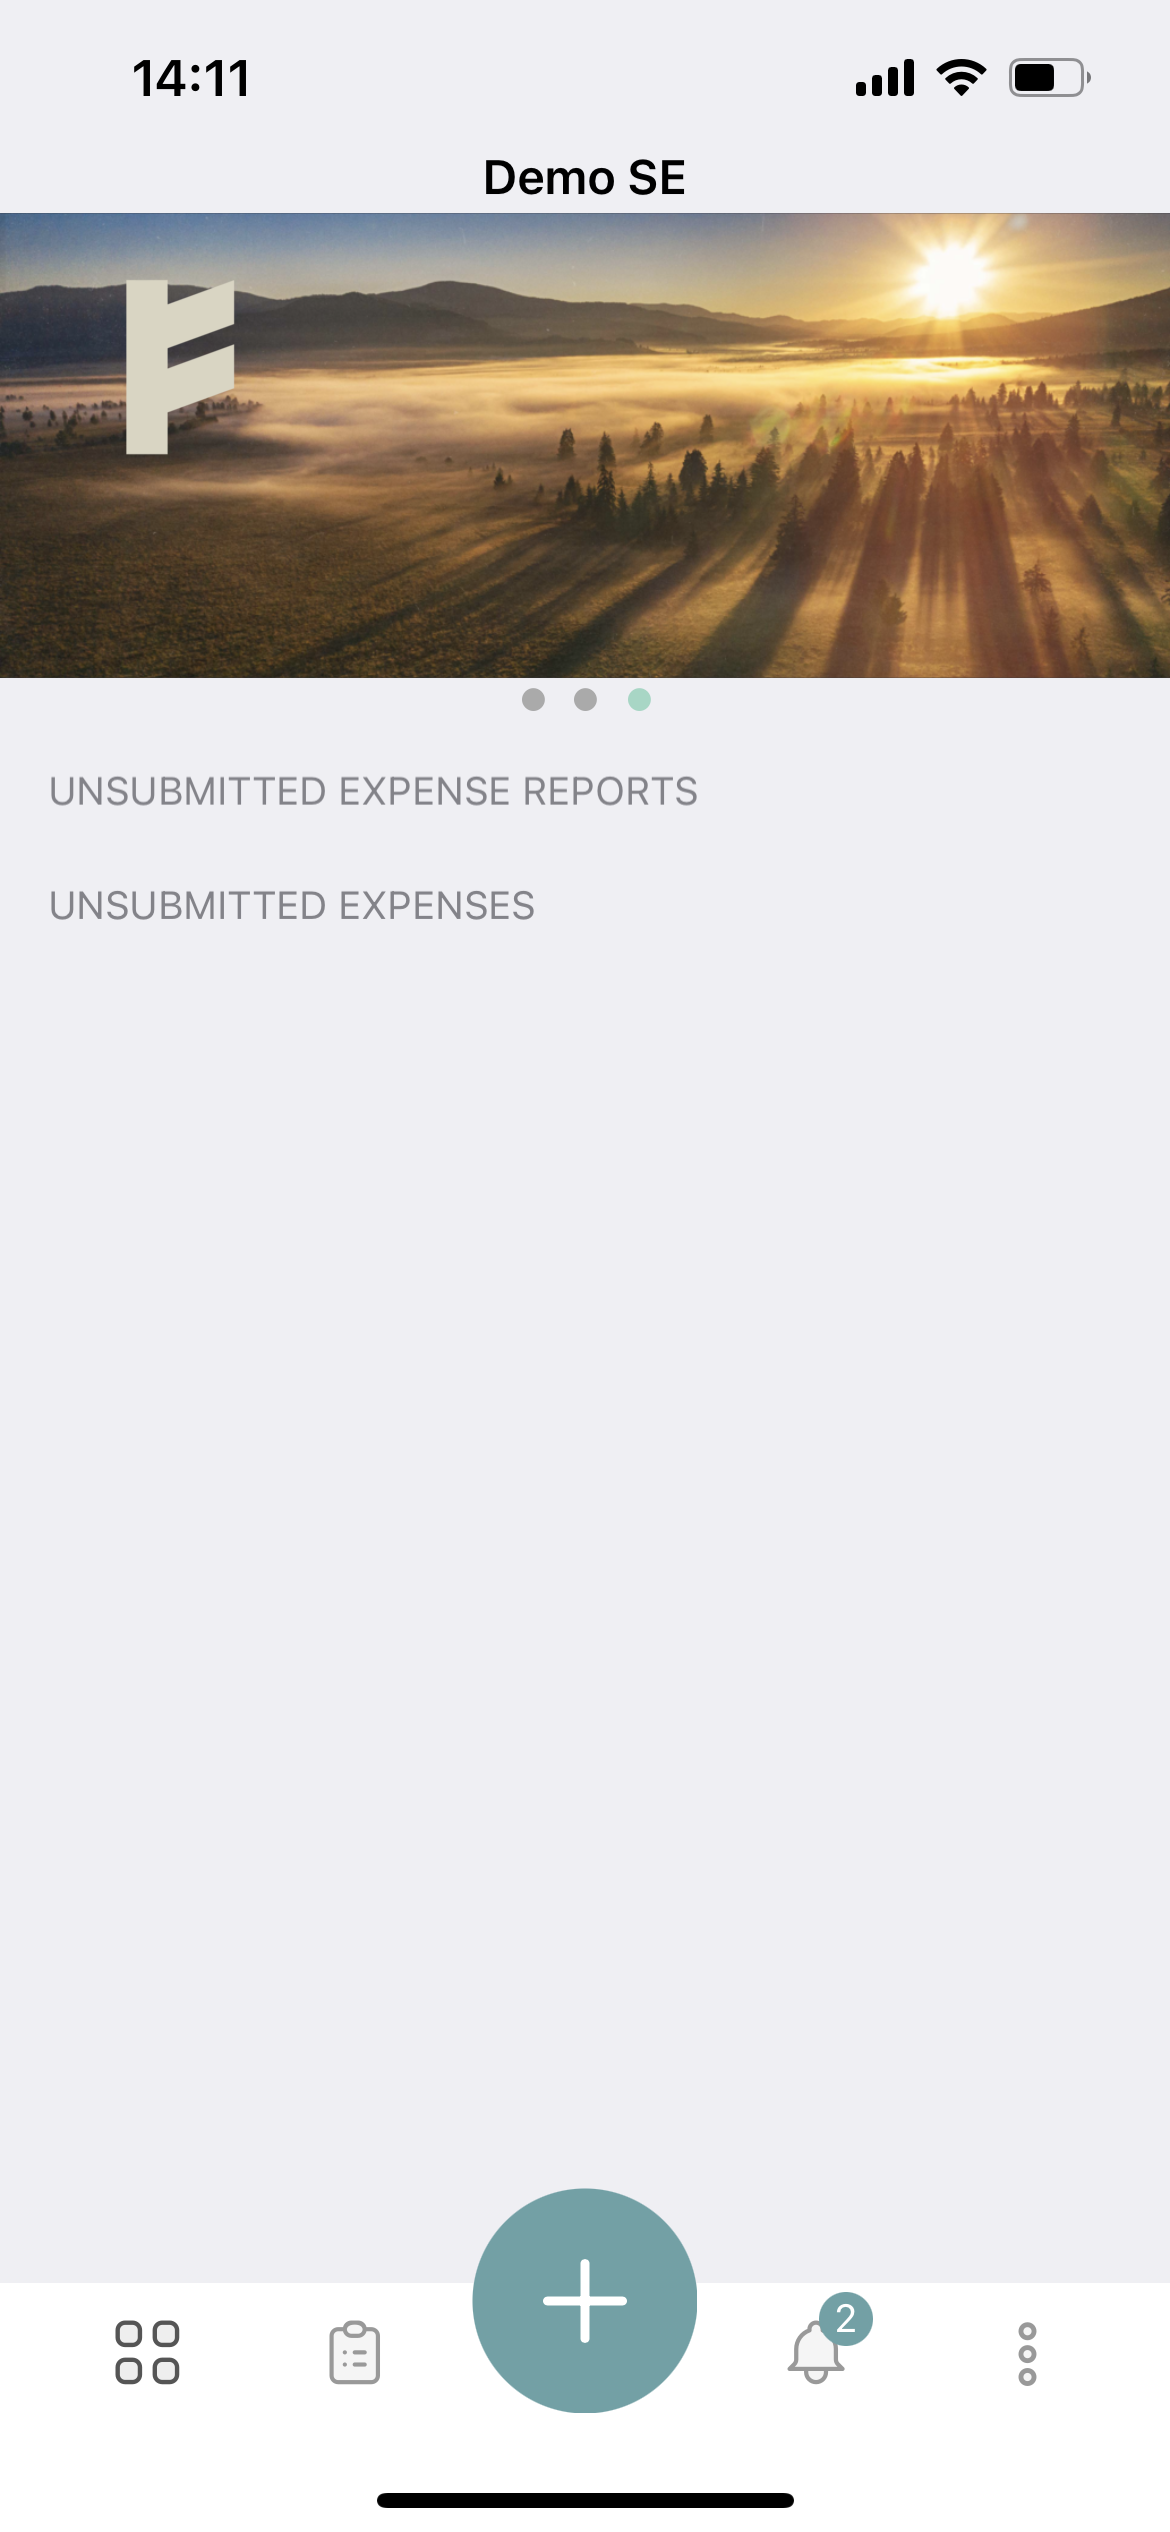
- Press the Plus-button at the bottom
- Choose New expense. Depending on your organisation's setting this pop up might have different alternatives.
- Take a photo of the receipt. (your camera will open automatically)
- Fill in relevant fields and verify that the Category, Purchase date, Amount, VAT and Currency is correct (will be filled automatically after the receipt is scanned). Please note that what fields are visible might differ due to your organisation's settings.
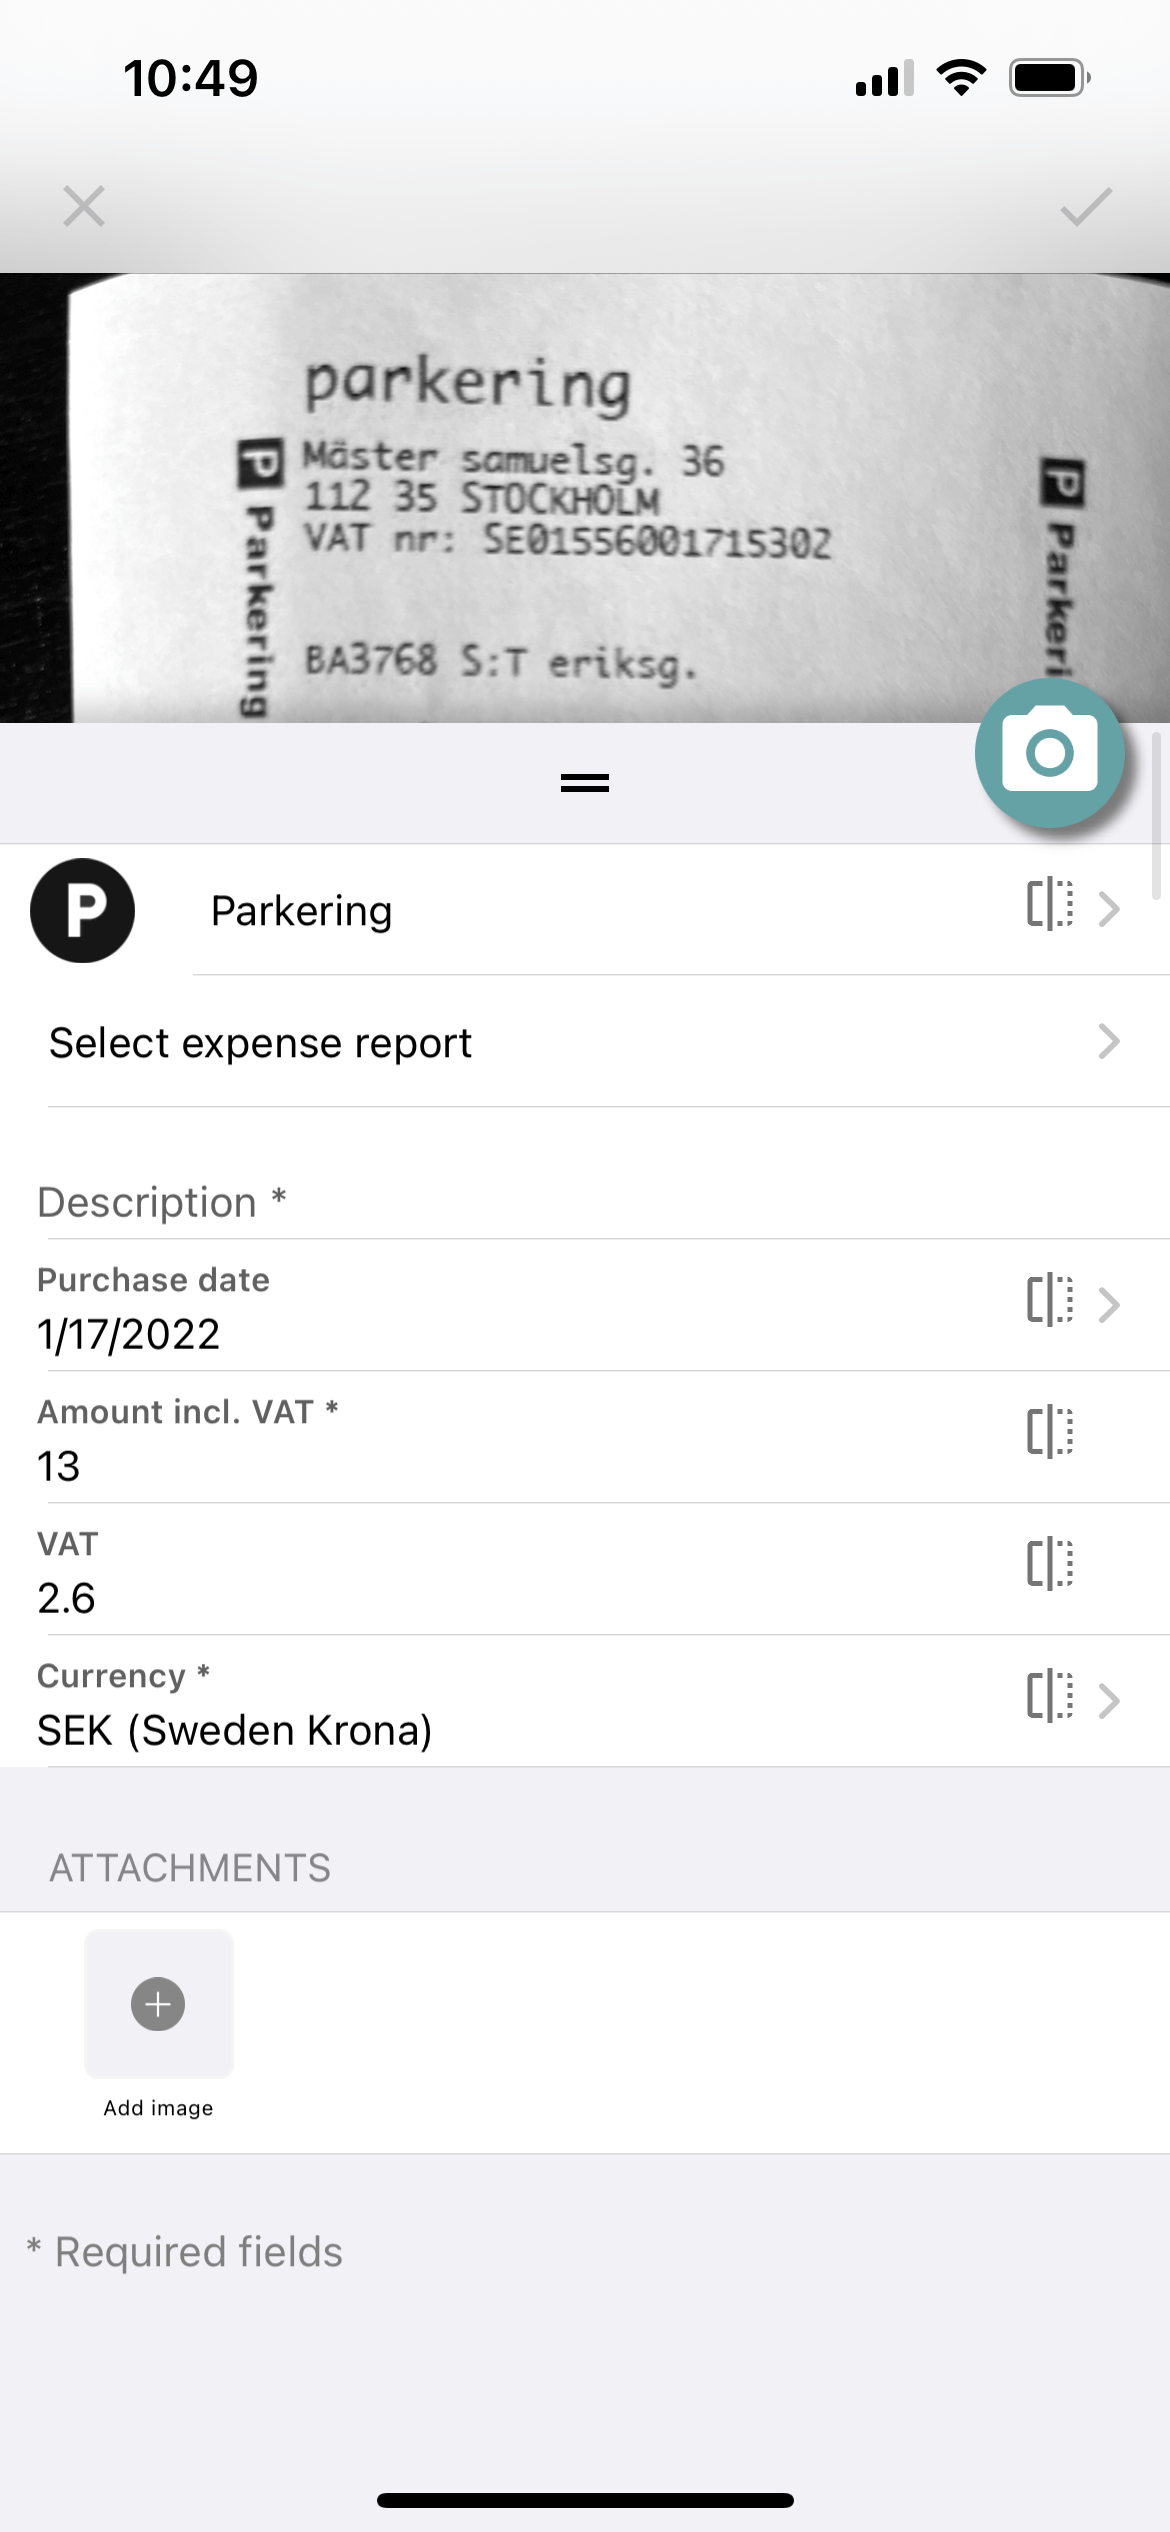
- Save and your done.
Web
- Press the Plus-button in the upper right corner.

- Choose New Expense. Depending on your organisation's setting this pop up might have different alternatives.

- Attach the receipt by drag and drop or click to choose from your hard drive.
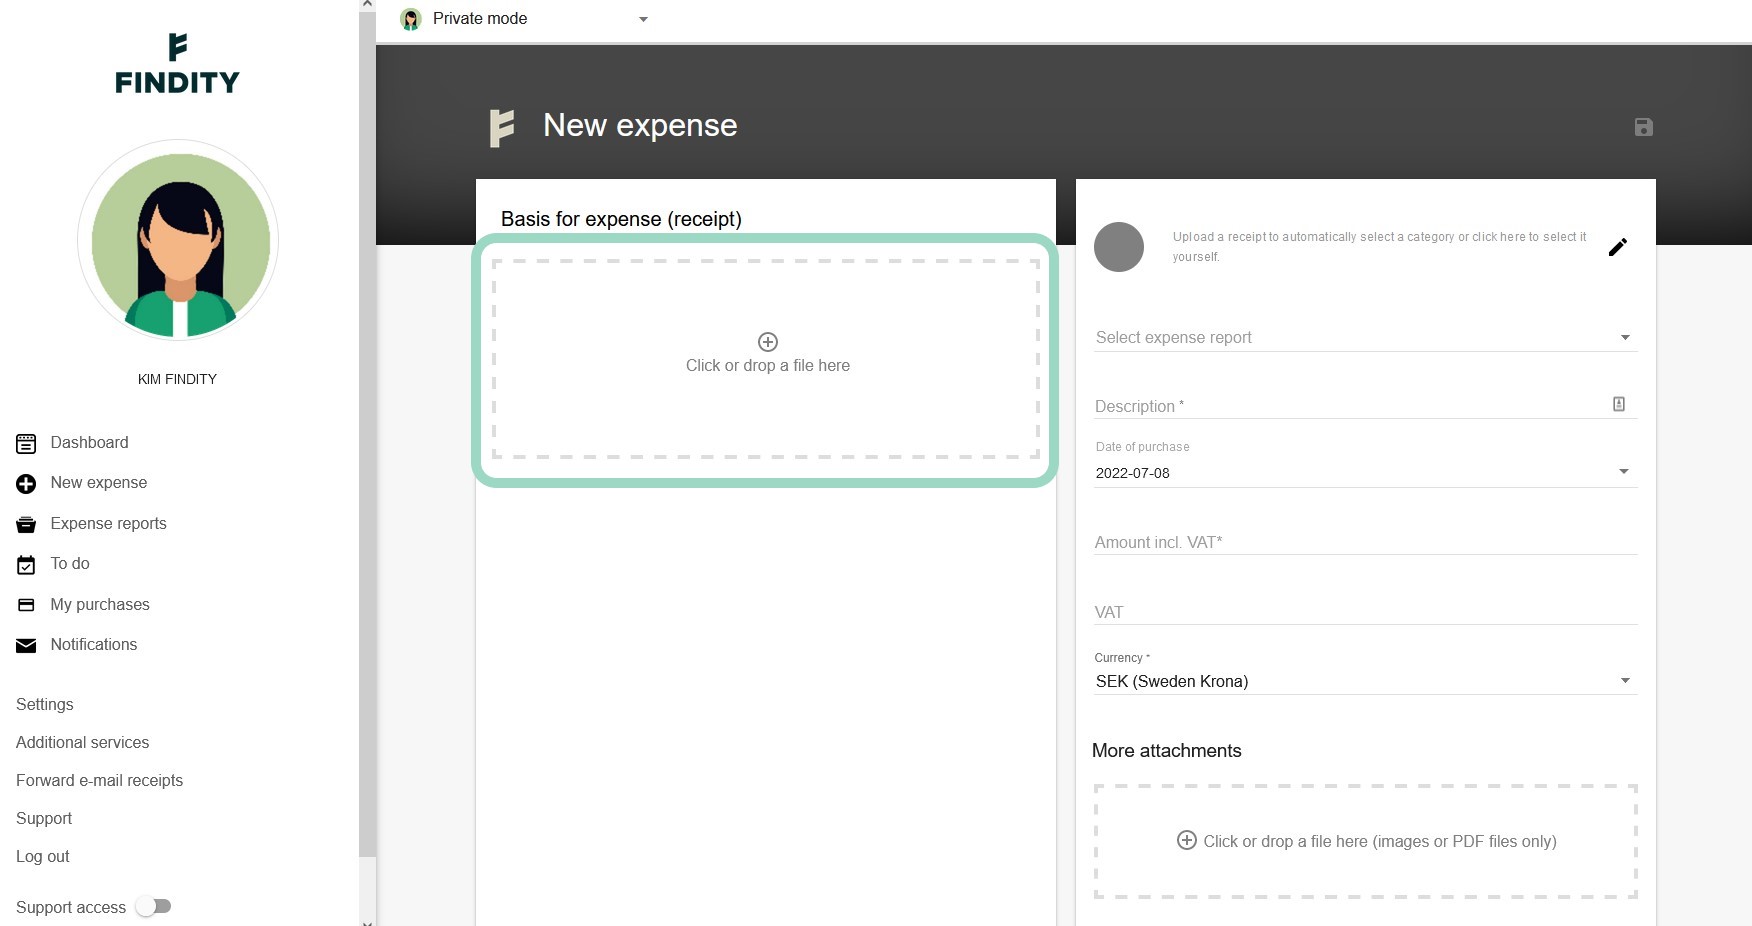
- Fill in relevant fields and verify that the Category, Purchase date, Amount, VAT and Currency is correct (will be filled automatically after the receipt is scanned). Please note that what fields are visible might differ due to your organisation's settings.
- Save and you're done.