I'm a new user. How do I get started? (New app)
Table of Contents
This article applies to the following countries
- All countries
Our platform enables you to report your business and travel expenses using your web browser and our mobile app. The service also gives you an overview of all your reports, messages and personal settings.
Creating an account
When your organization invites you to use our platform, you receive your invitation in a welcome e-mail which contains a link you use to activate your user account. The invitation is sent from the person who administers the organization, to which you will be submitting expense reports.
In the email, click Activate account. Your browser will open up the service and here you enter your first and last names and a strong password. Click Create account. Your account will now be created and you will be signed in. You will receive an email containing a link to help you download the app for your mobile device.
Click on the tabs below to see how to get started with the app and on the web.
App
Download the App
You can download our app from the App Store or Google Play. Once you’ve downloaded and installed it, open the app and log in using your credentials. If you are part of more than one organization, you can easily switch between them by clicking the dropdown menu at the top of your view, where you’ll find the organization name.

App Icons
Below, we will explain the icons in the app.
Dashboard

Under this menu option, located in the top-right corner, you will find Settings, Card management, Policy (internal), Support, Feedback, Privacy Policy, and the option to Log Out.
Notifications

Under Notifications, you will find notifications related to your reports, such as approved or rejected reports, reminders, or reports returned by the administrator.
Expenses

Under Expenses, you will find three tabs.

To-Do: This tab contains your unsubmitted expenses and reports, as well as reports that have been rejected or returned by the administrator.
Submitted: Once you have submitted your expenses or reports, and they are in the organization’s approval process, you will find them under this tab.
Done: After your expenses or reports have been approved, processed, and finalized by the organization’s administrator, they will appear under the Done tab.
New expense

Create a new expense, per diem, or mileage by clicking the plus sign in the center of the bottom menu.
Approval

If you are an approver in the organization, you will find the button for this in the bottom-right corner of your view.
There are two tabs available: To-Do and Approved.
- Under To-Do, you will find reports waiting for your approval.
- Under Approved, you will see the reports you have previously approved.
In both tabs, you can choose to view the reports by Timeline (date order) or by Employee. Simply click on the tab of your choice.
Start to manage your expenses
Now you're ready to start managing your expenses in the app! Please see related articles on how to add different types of expenses and how to handle the different features and steps:
Web
The service is also available in a web version, and the same login credentials apply for both the app and the web.
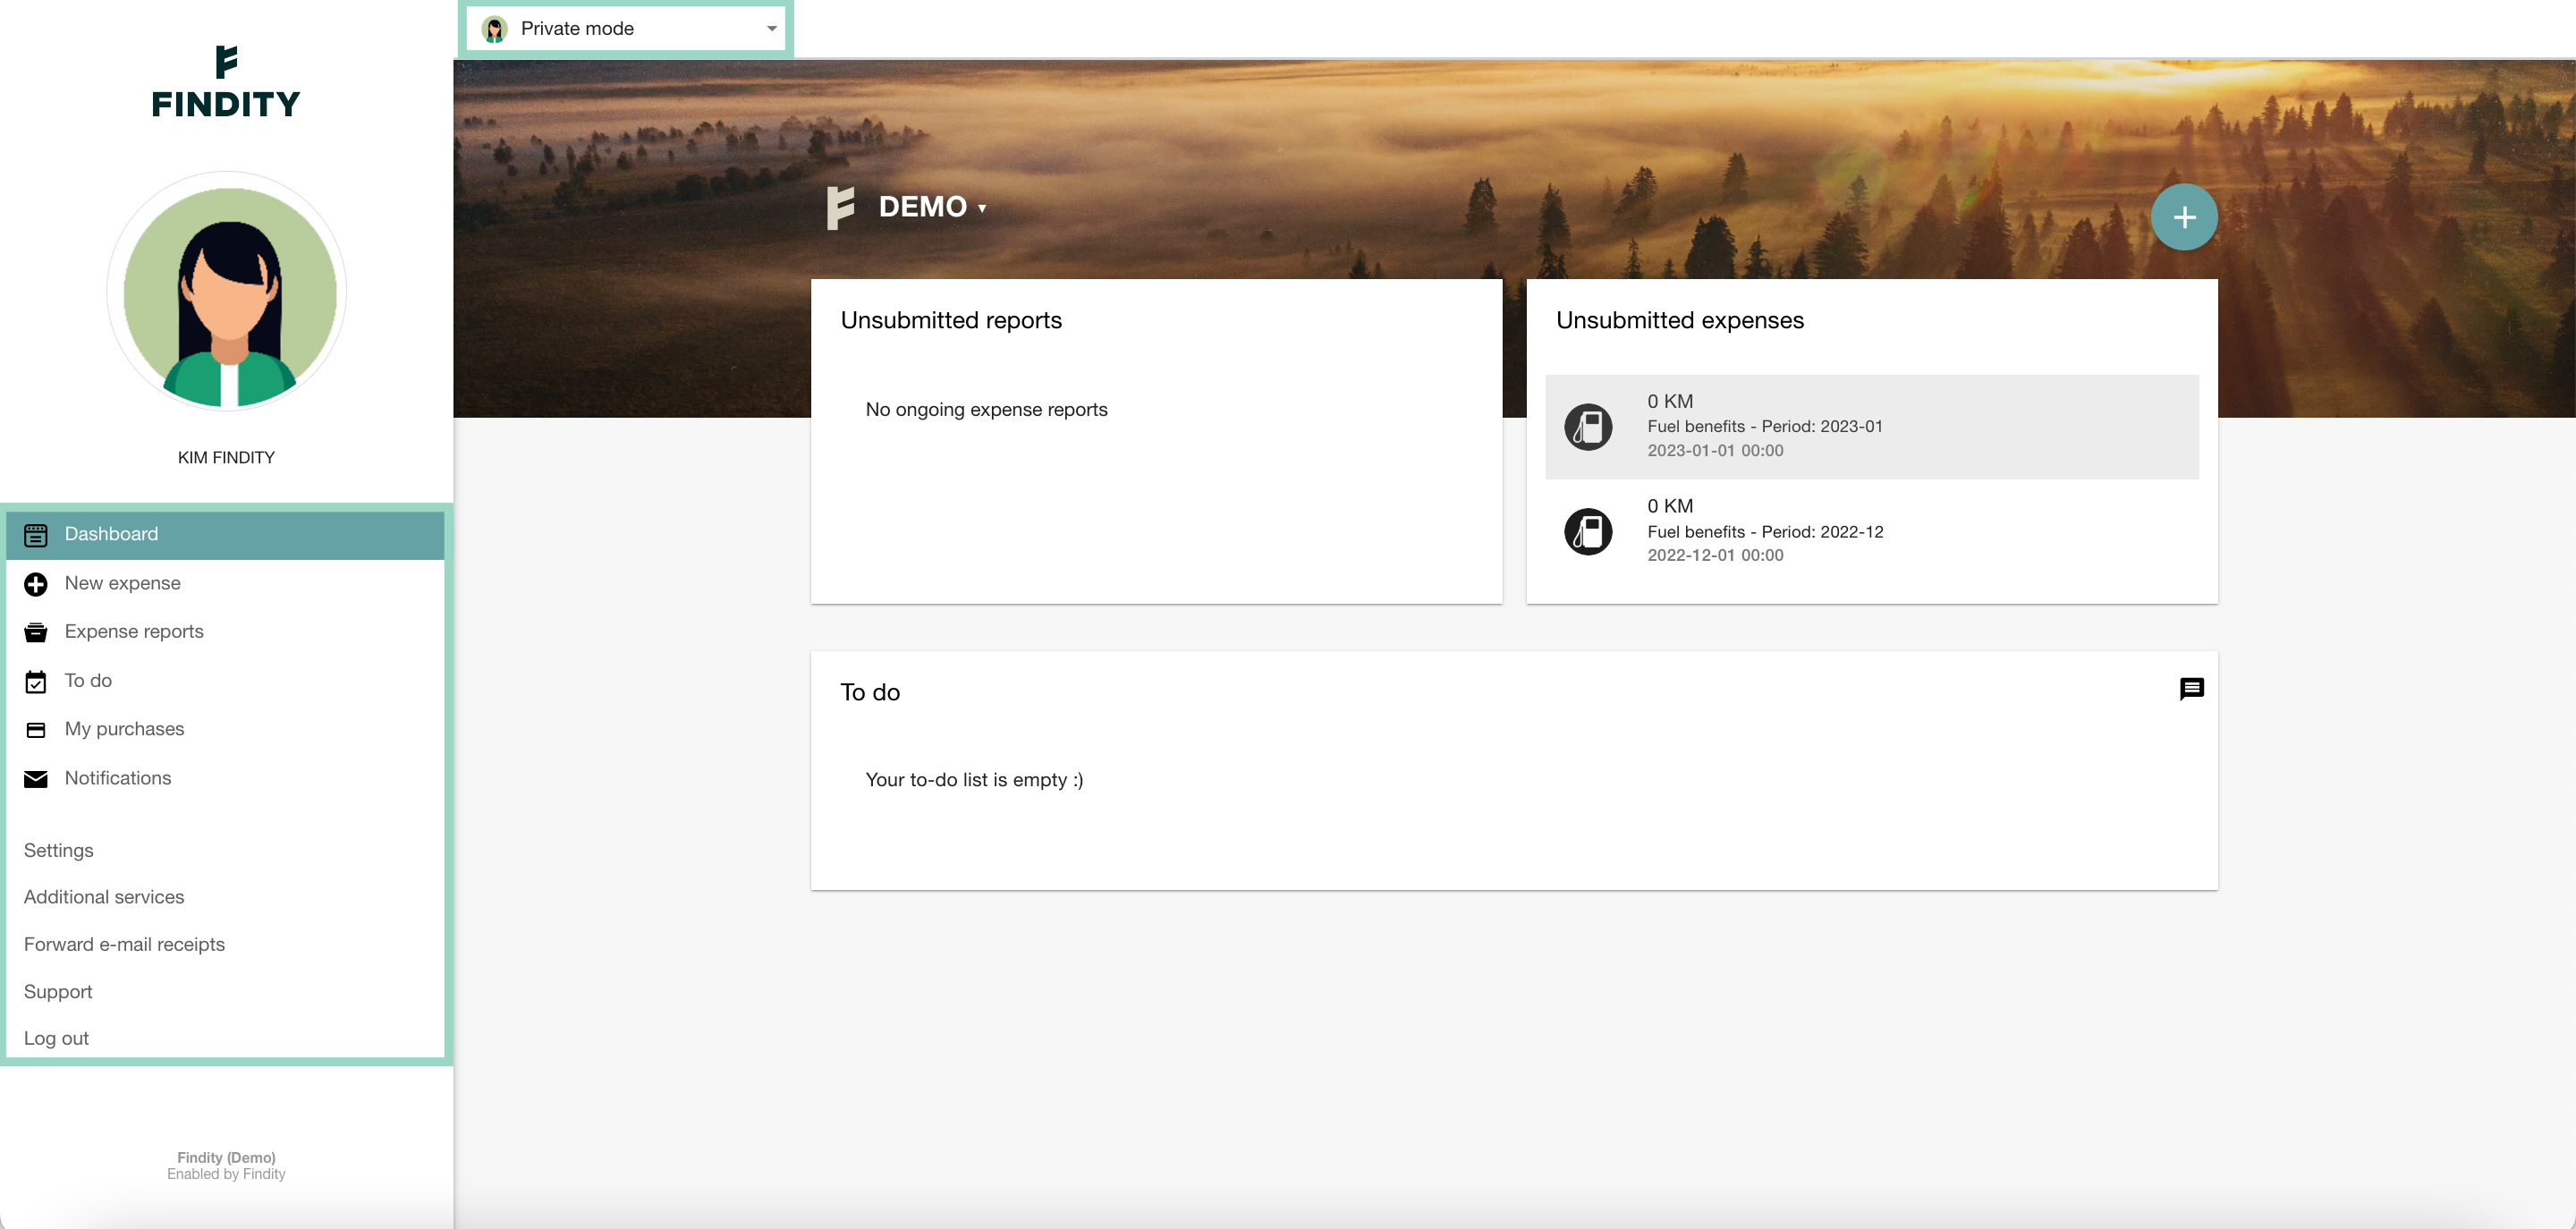
You will login in directly to Private mode. If you have Administrator-, Partner- or Proxy authorization you can change between these different views by clicking on Private mode in the top of the window and your different views will be shown in a drop-down list below.
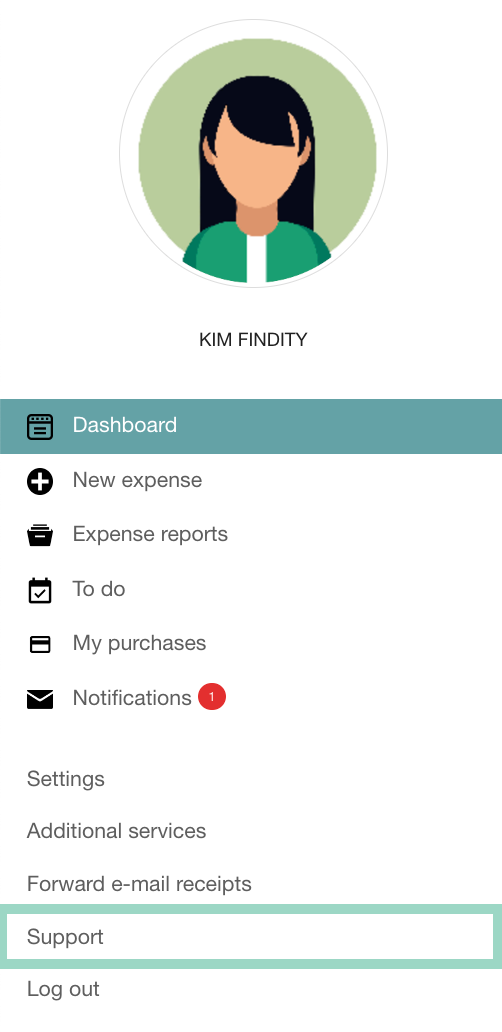
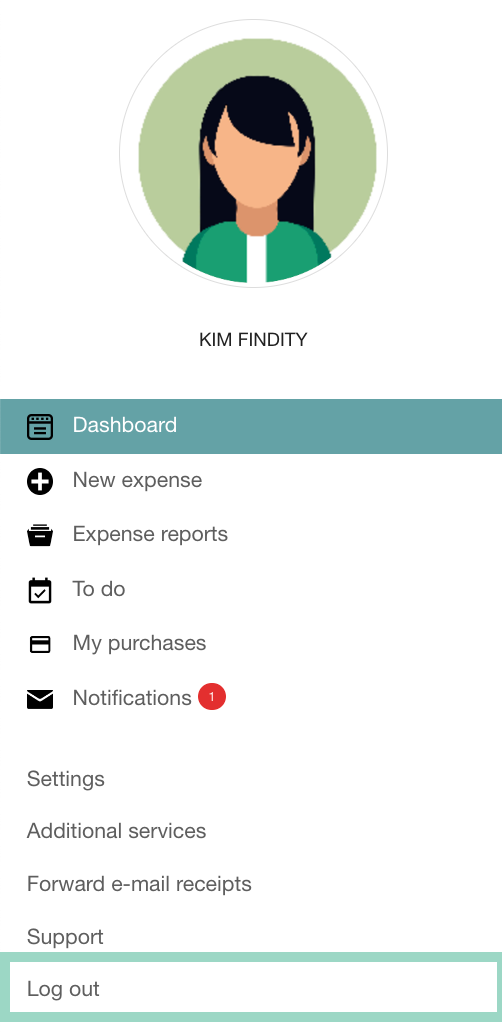
The left-hand side menu (under your profile picture) will always be visible in the private mode. Here is where you can navigate between the different features on your account. More information about those features follows here below.
Dashboard
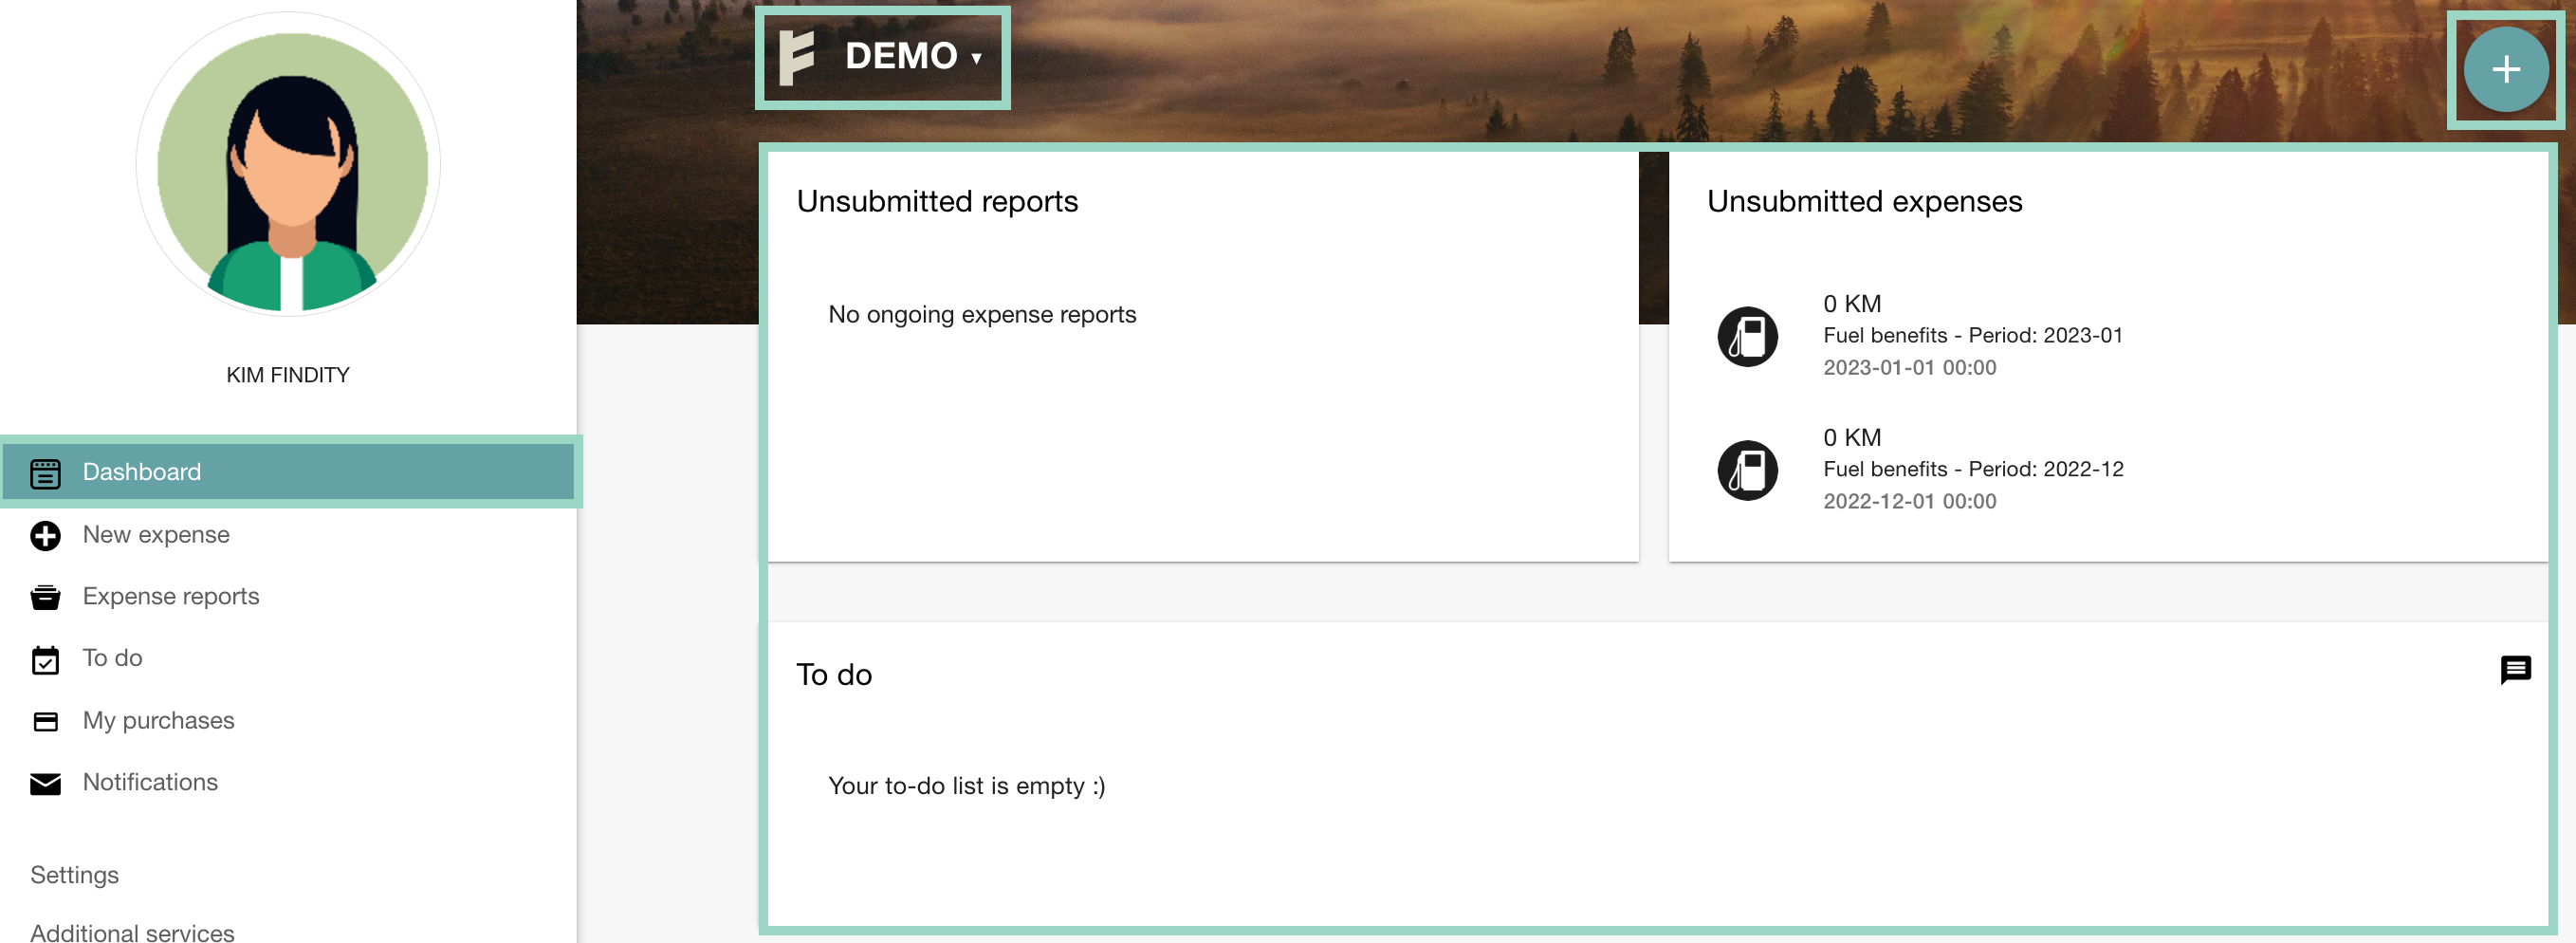
The Dashboard is the first view you will see after you login to your account. Here you can change between your different organizations (if you are a user in several organizations) by clicking on the current company name.
You can click on the plus-symbol on your right-hand side to add a new expense or expense report.
The main part of the dashboard is where you can see and handle your Unsubmitted reports and Unsubmitted expenses and your To do-list.
New expense
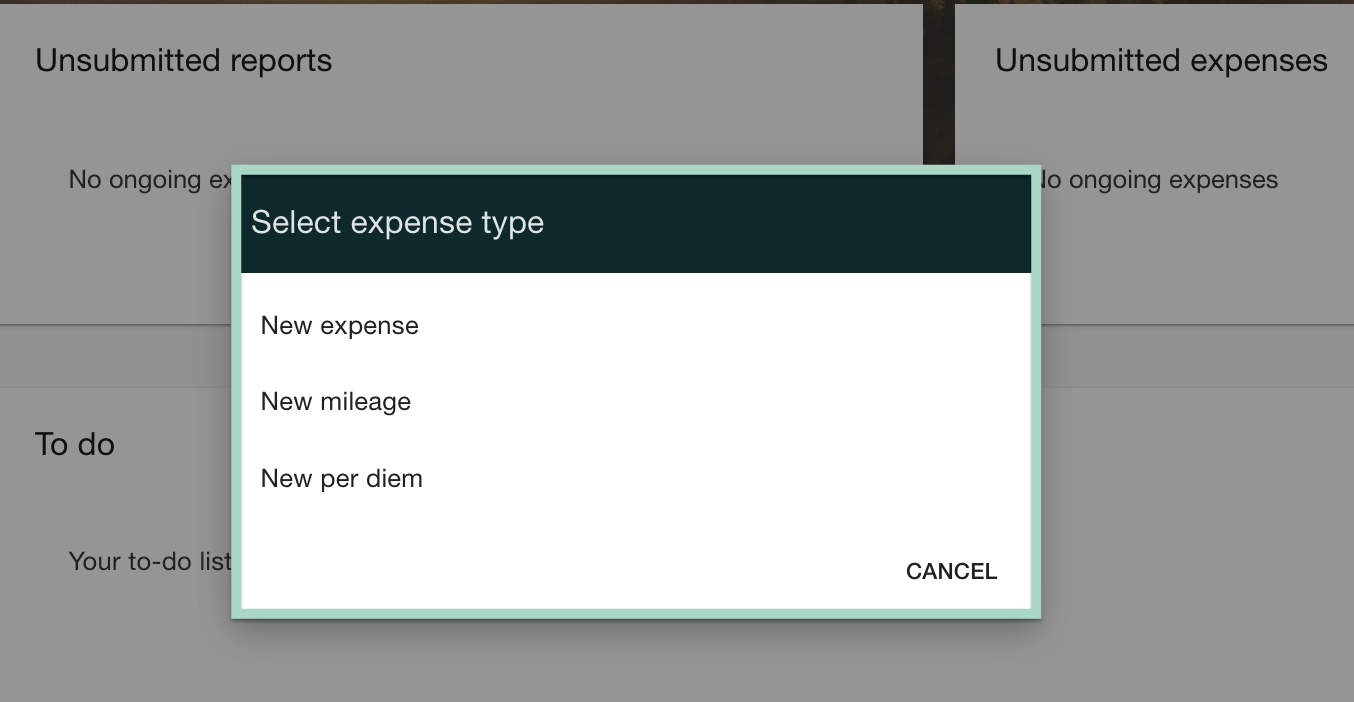
Next feature in the left-hand side menu is New expense. You can also click here to create a new expense (as well as on the plus-symbol). If you are connected to several organization you will start by choosing which organization to add the expense in. If you're only connected to one organization you will go directly to the coming step.
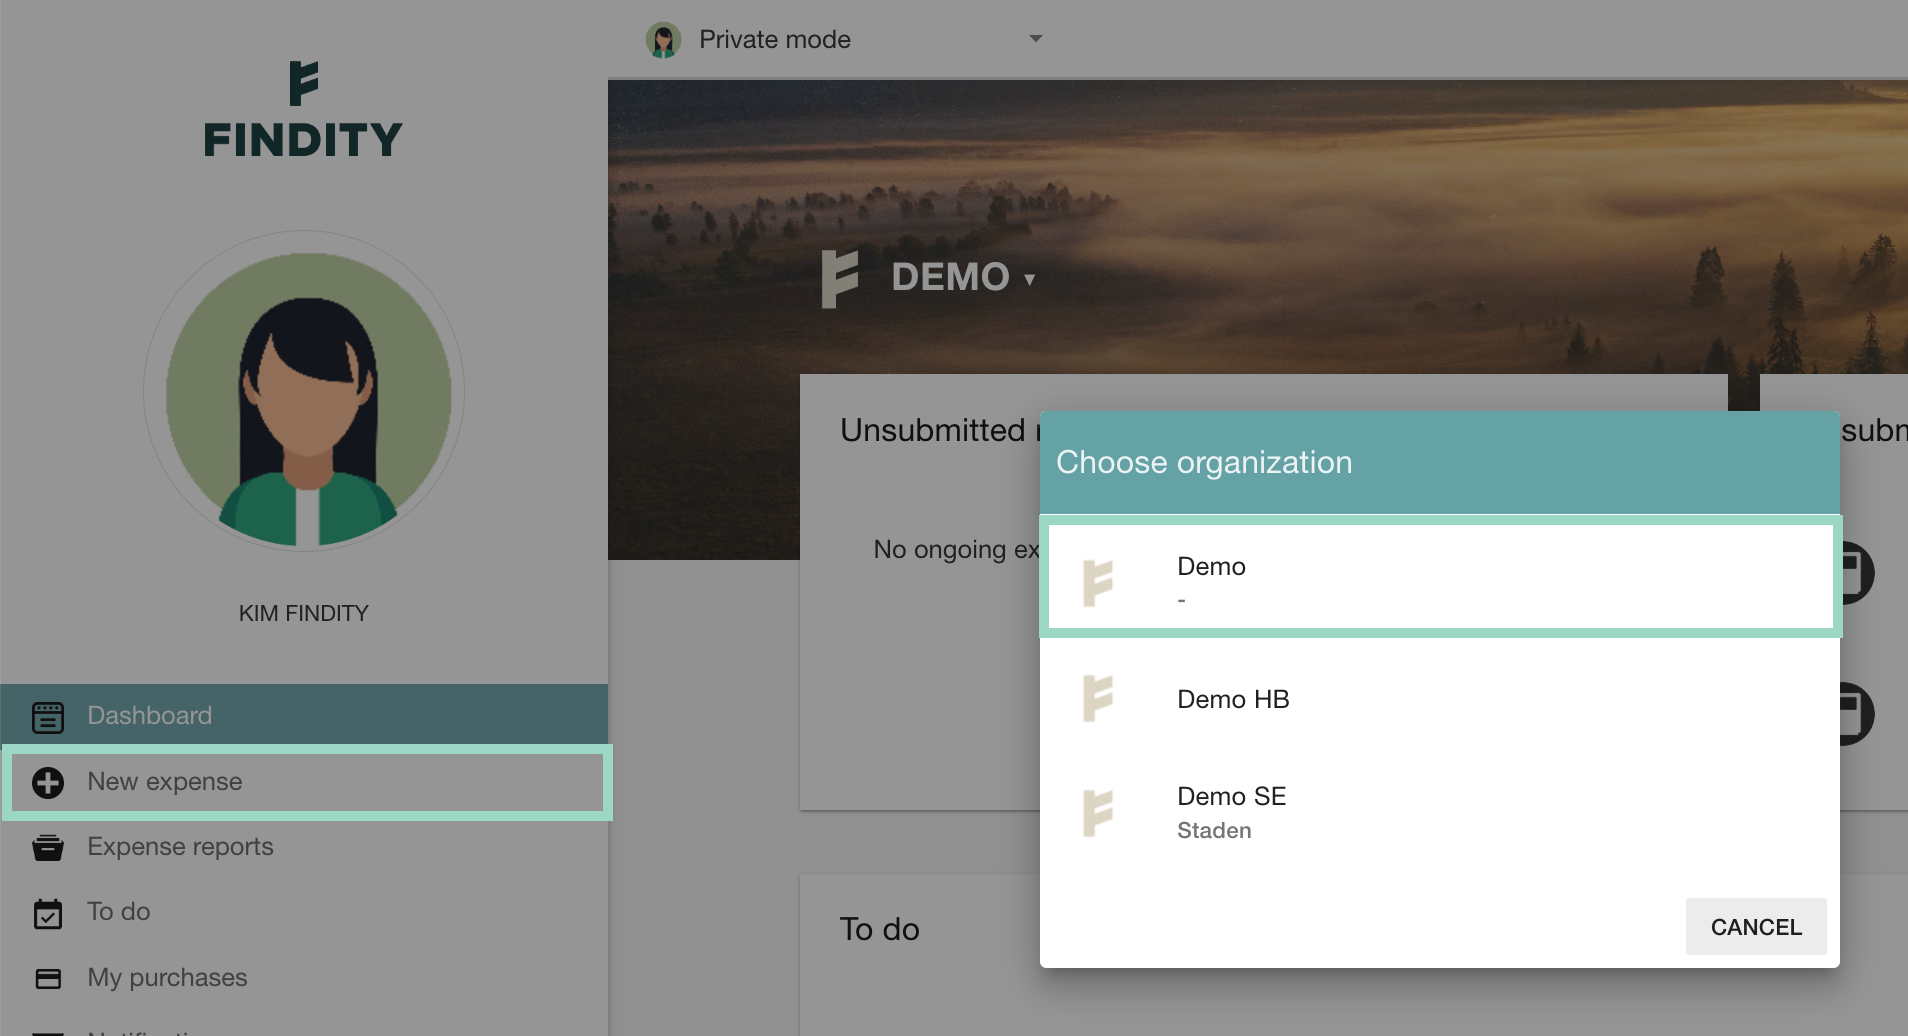
Here you will choose which expense type you would like to add.
Expense reports
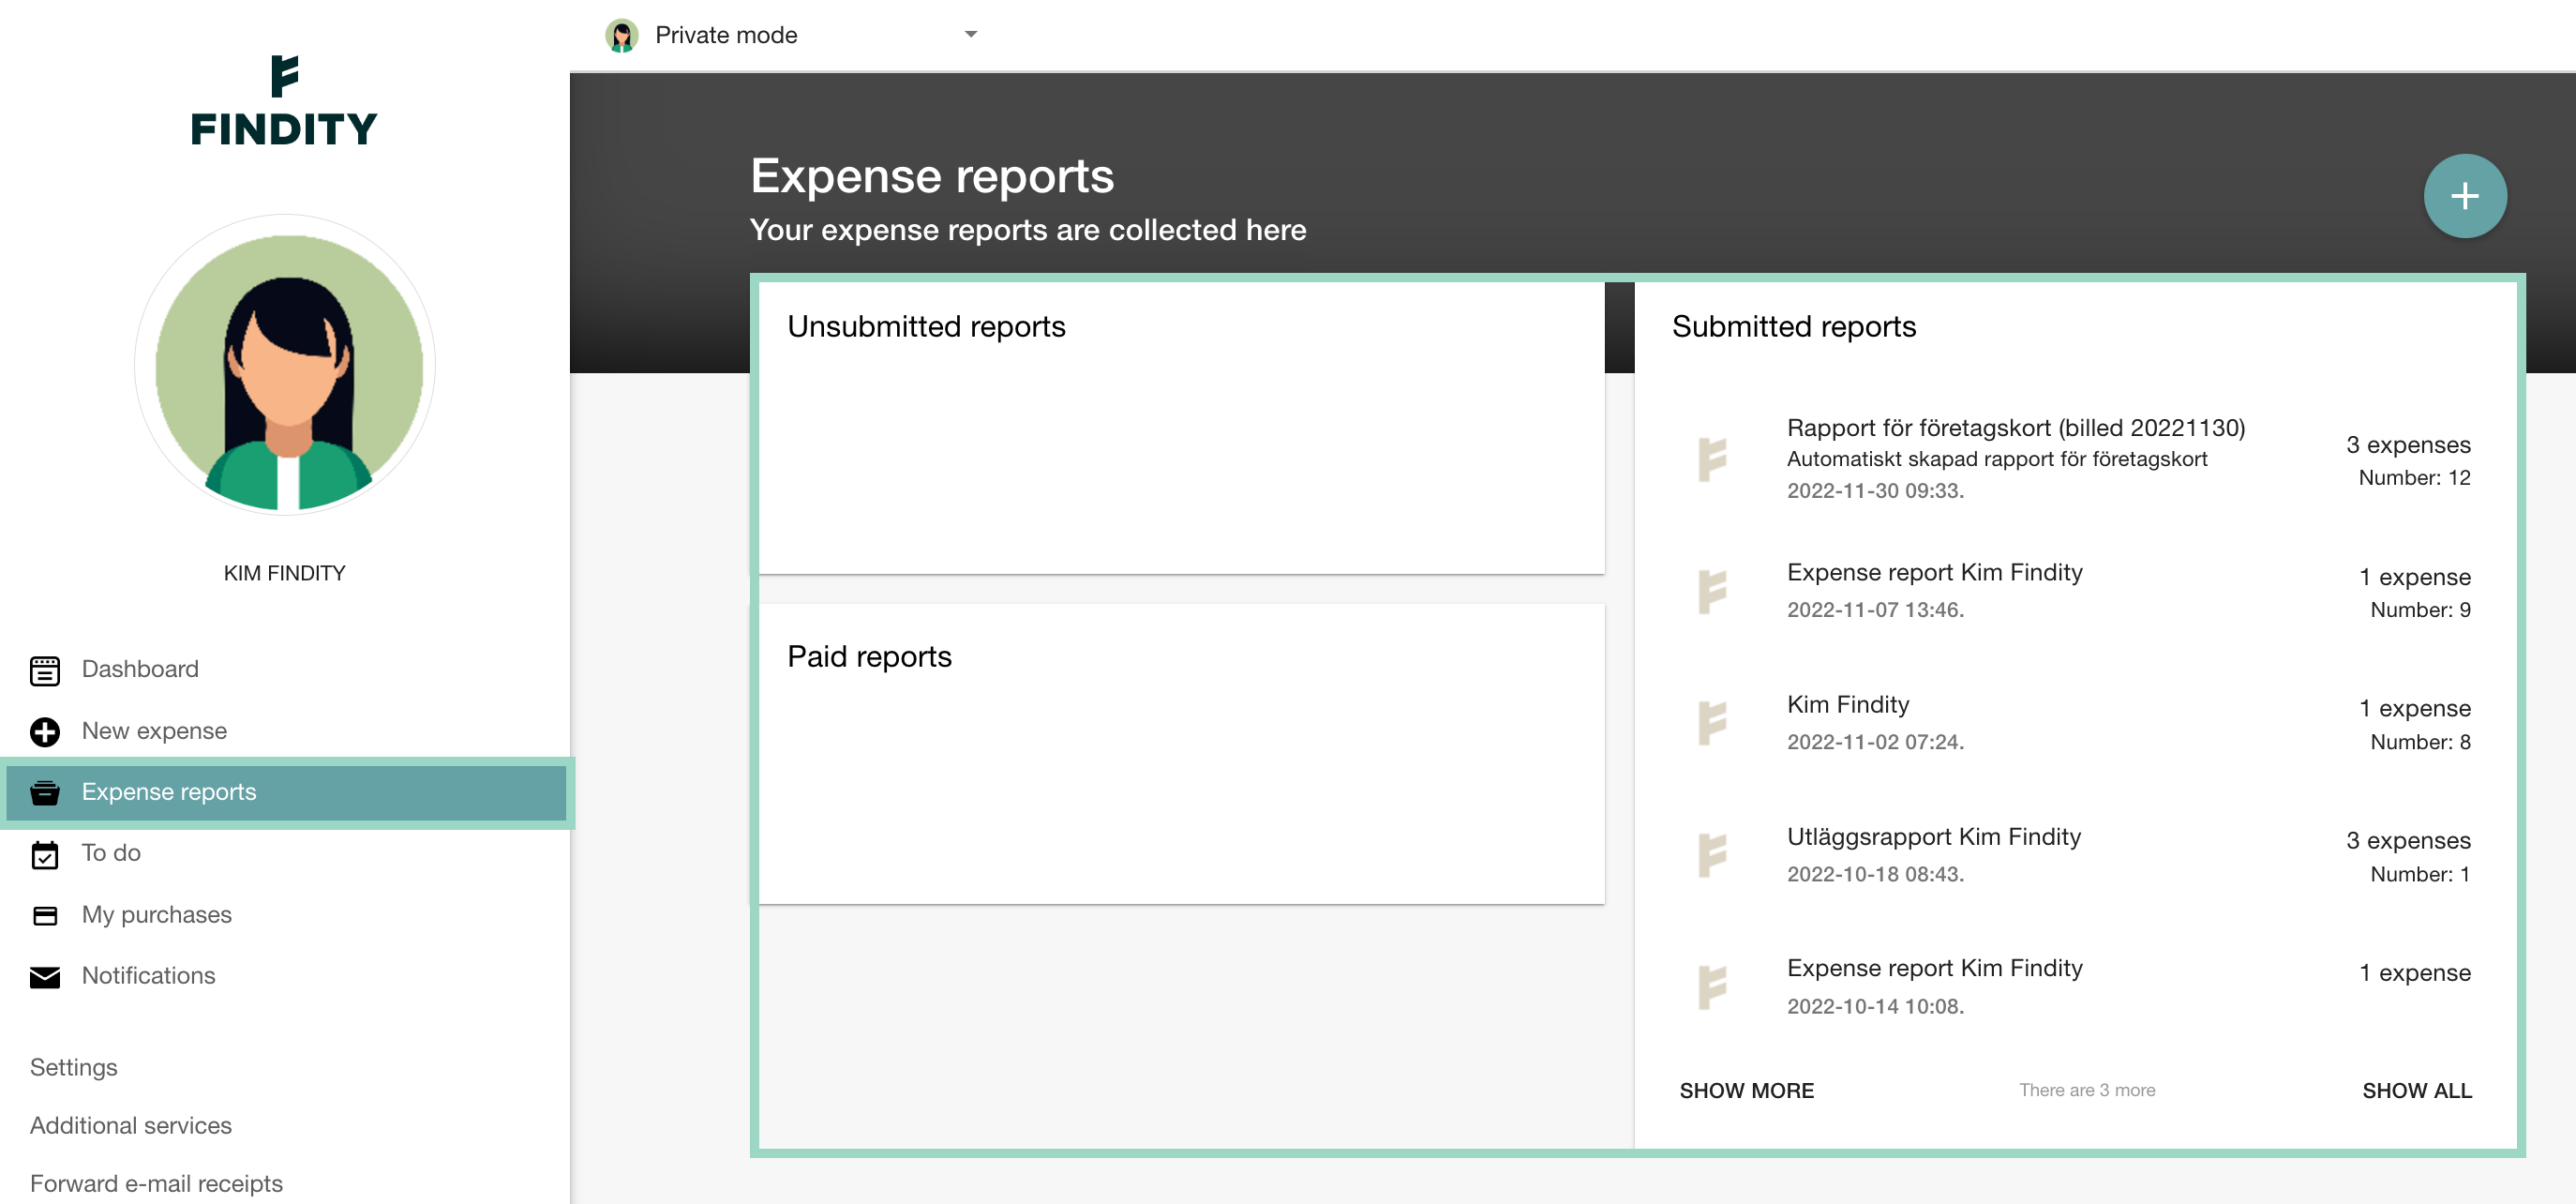
Your expense reports are collected here.
Unsubmitted reports - reports that you haven't yet submitted to your employer.
Submitted reports - reports that you have sent for approval/sent to you employer. If you click on a submitted report and scroll all the way down in the report, you can see the report history. In the report history you can for example see if the report has been approved or not. If it has been approved, you should see by whom.
Paid reports - If you organization has marked your report as paid, you will see those report in this box. Please be aware of that this box only is shown, if you organization has activated this function on organization level.
To do
This is your To-do items to take care of. If you have a new to-do, a red sign will show by the To do, in the menu. If you are an approver of other users expense reports, you will receive the reports to approve under your To do-list. When you have handled the report, it will appear under Done. If you have e-mailed a receipt to Findity and you are registered in several organizations, you will find the receipt under your To do-list, and from there connect it to the correct organization.


Notfications
Here you will see messages that is sent to you from the system or from your organization. You can for example get messages if your expense report has been approve or rejected.

Settings
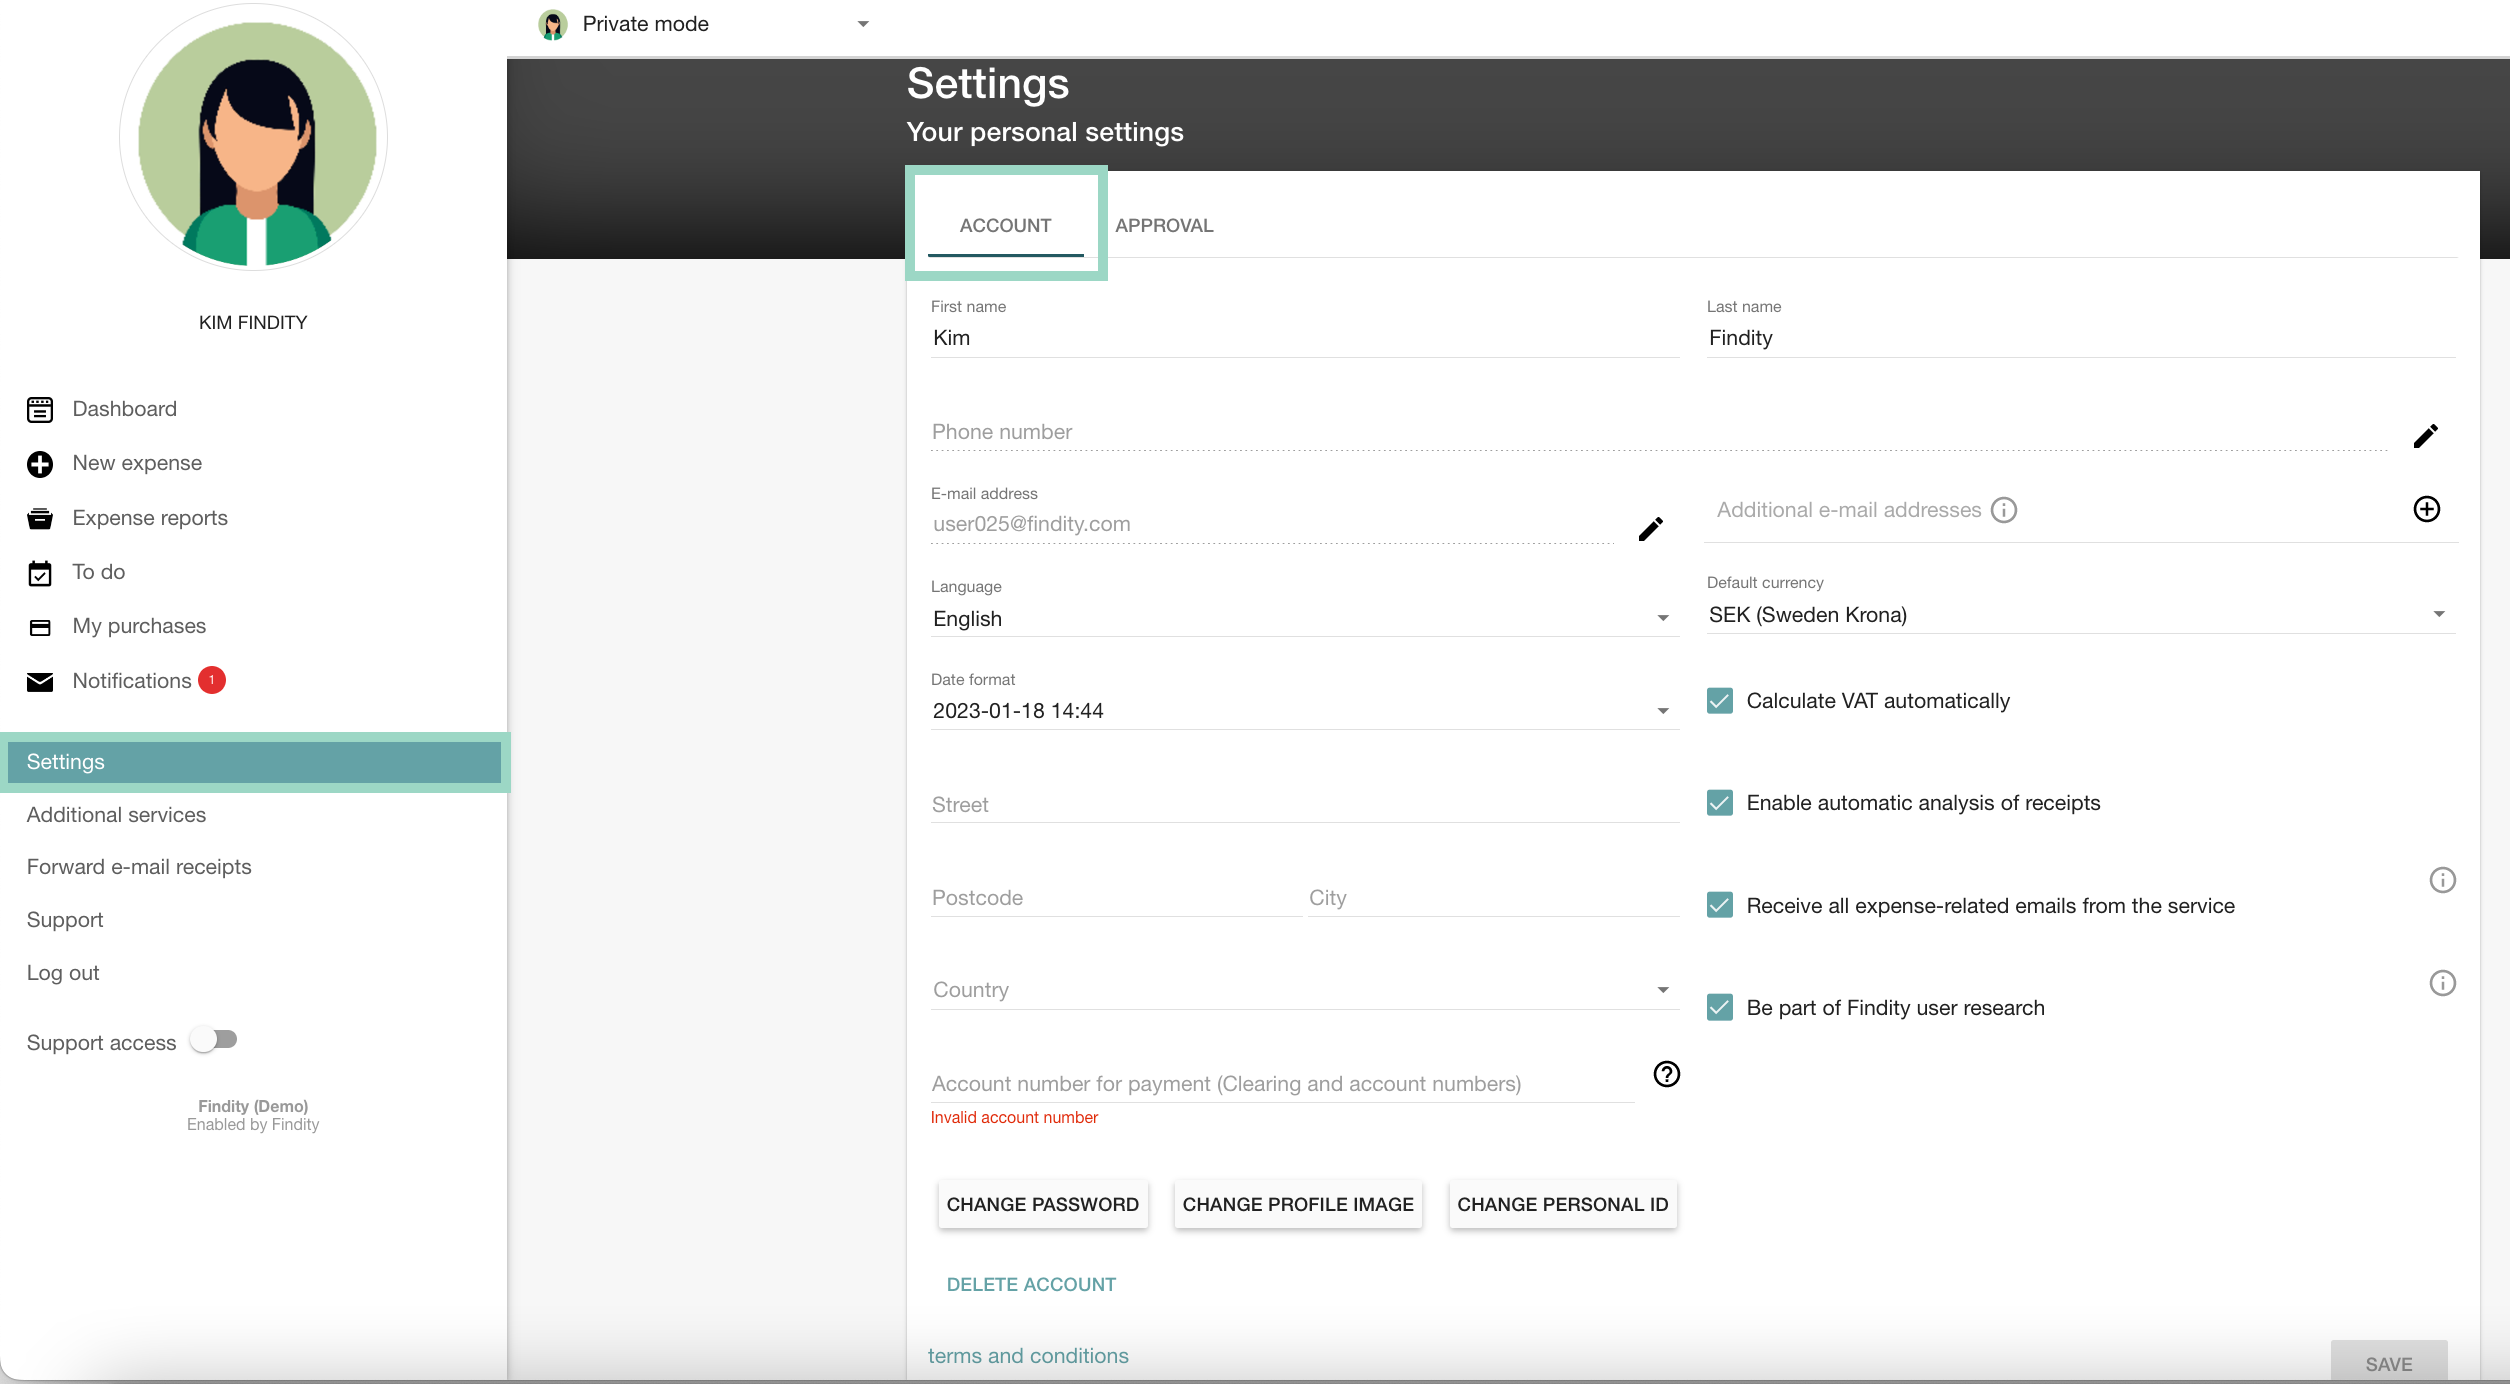
Here you change the settings of your personal user account. You can change the language and date format as well as change the password, email address or change/add a profile picture. You can also enable (or disable) automatic analysis of your receipts, which means that the app reads the amount, VAT and date automatically.
You can also turn on and off the function that automatically calculate VAT on your expenses after you fill in a total amount on the expense. There are also some settings for the camera view i the app.
You can add additional email addresses here (if you have several email addresses where you email your receipts from) and here is also where you add your personal account number for payments.
If you click on the question marks, you can read more about that specific input field or tick box.
Additional services
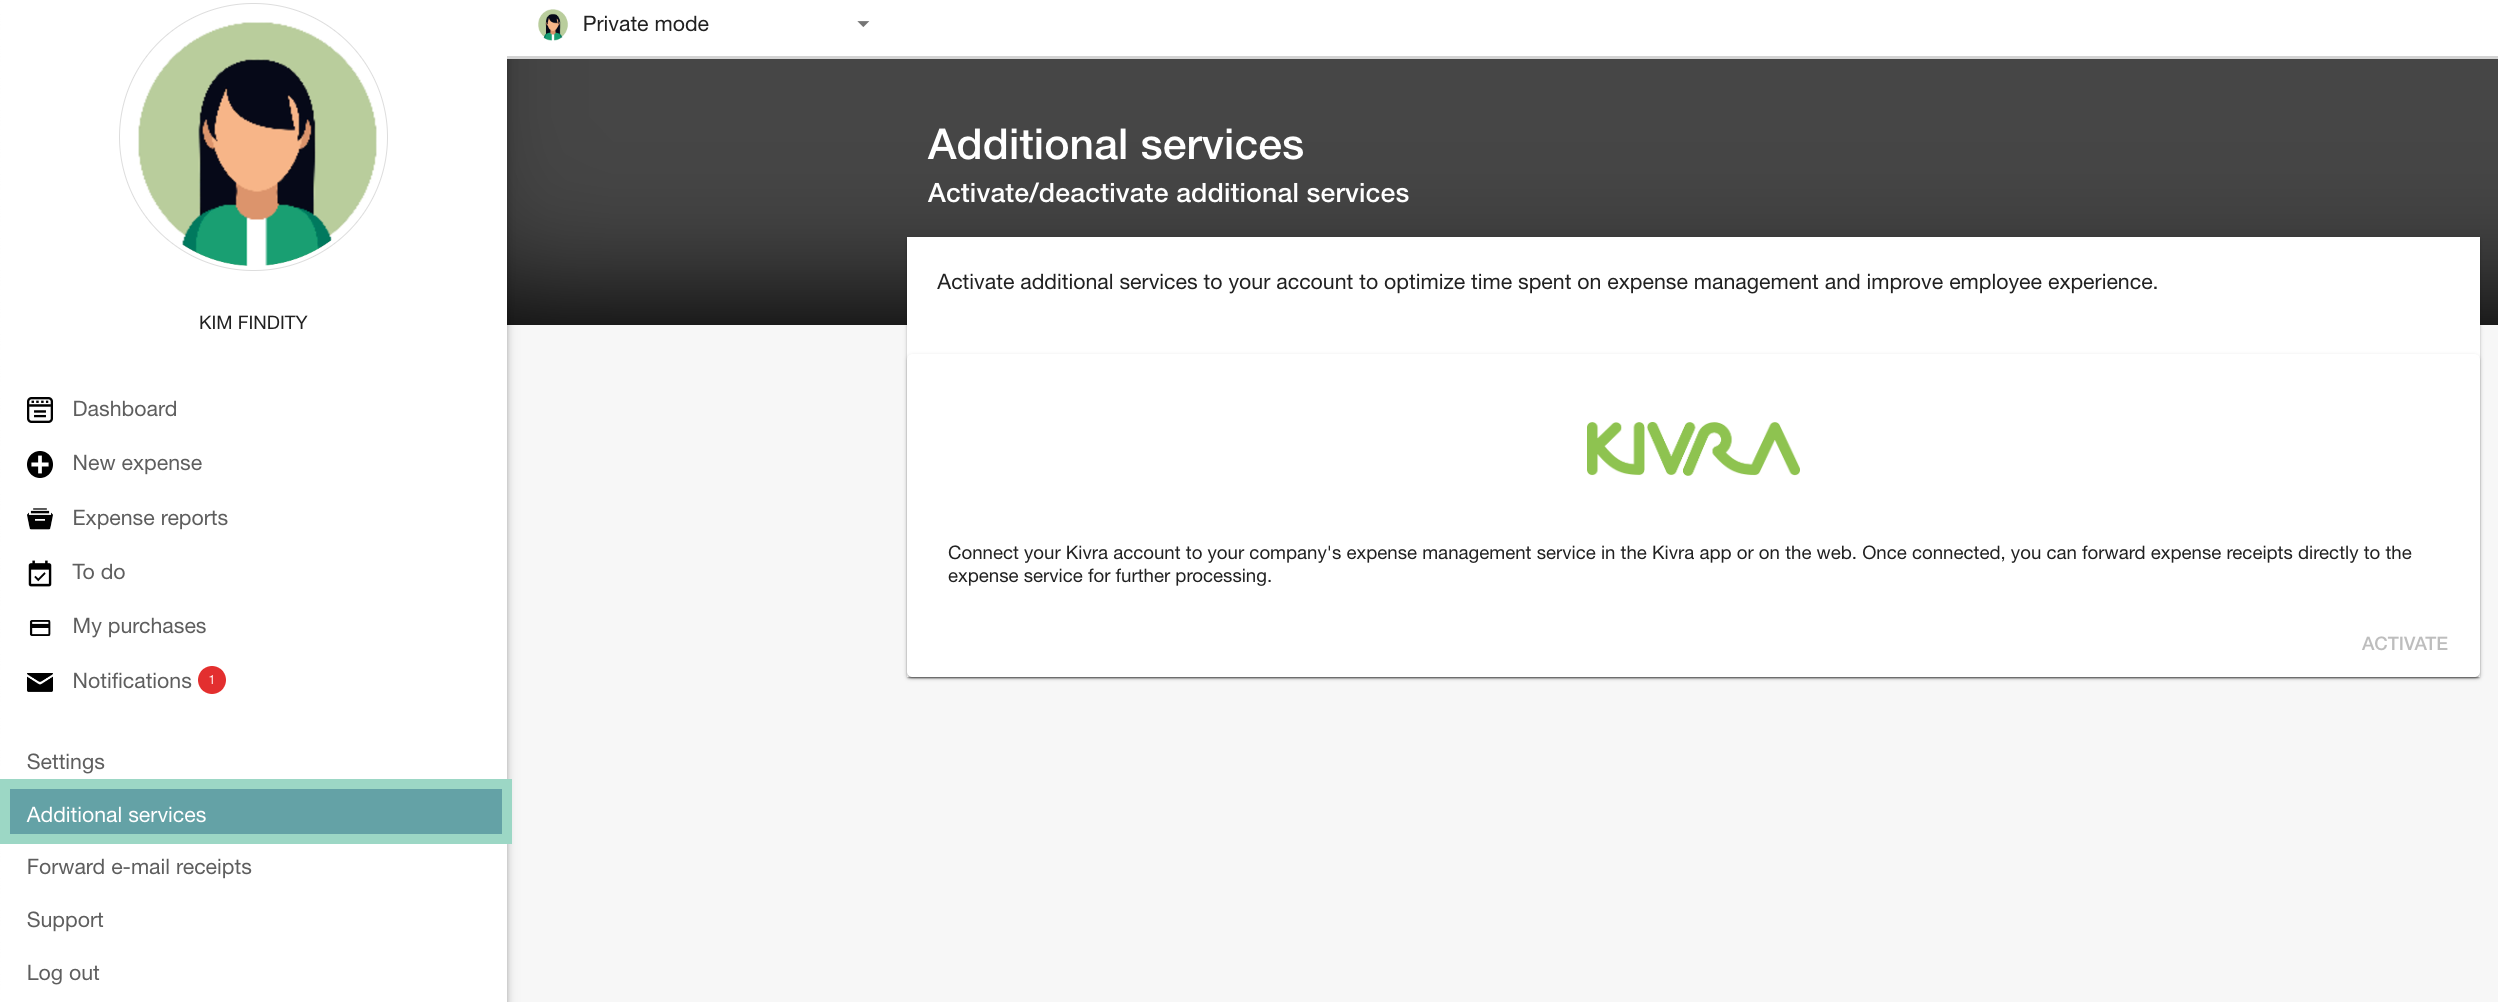
If your organization has activated some additional services, you will find them here and activate it for your user account.
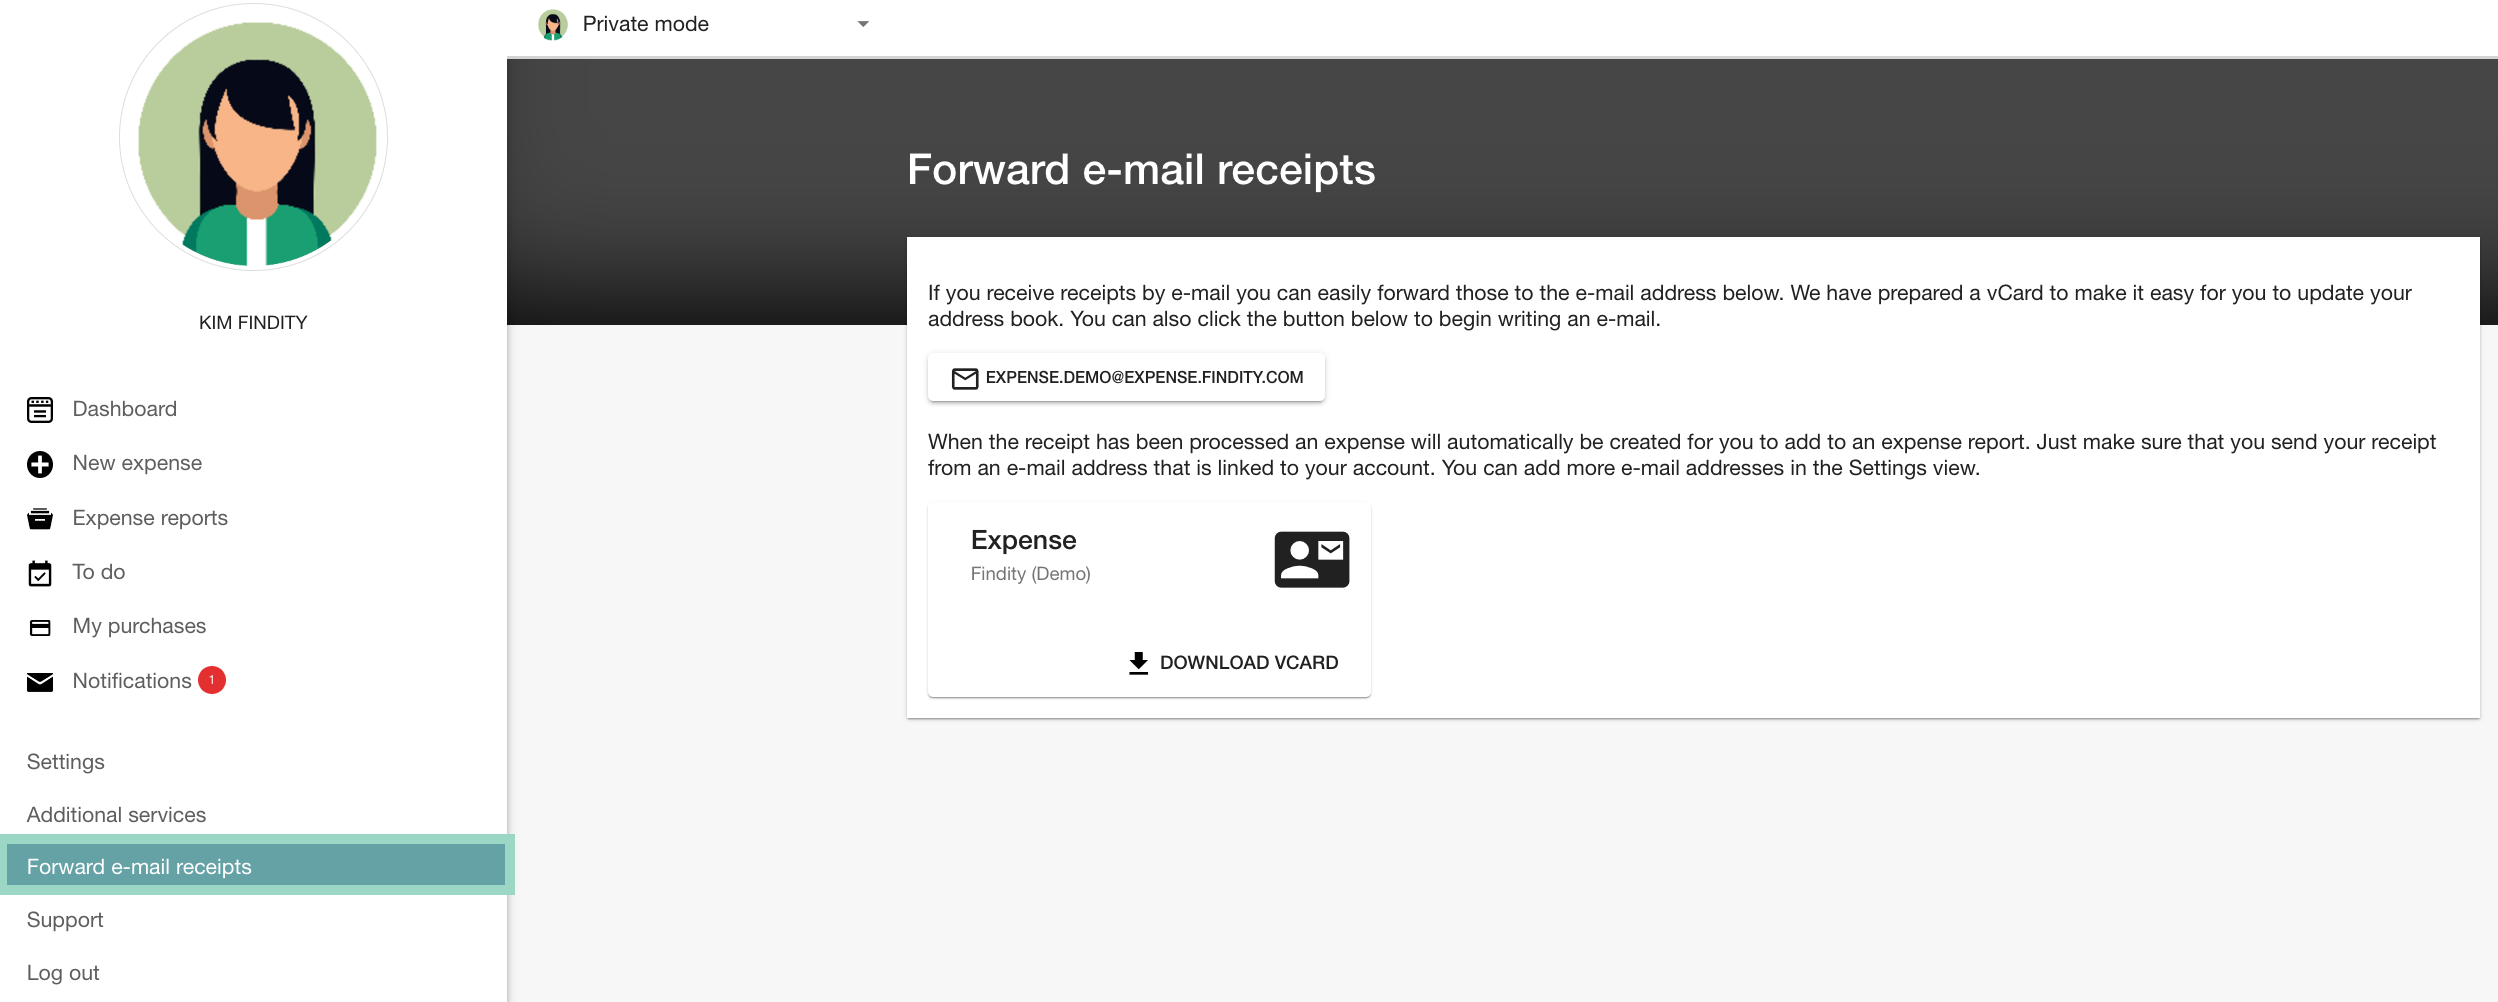
Forward e-mail receipt
Information about how you email your receipt to your account.
Support
When you click on Support, you will be directed to our Knowledge Base, where you are currently located. To contact our customer support for any questions you cannot find answers to here, please follow the instructions provided.
Log out
If you click on Log out, you will be logged out from your account directly.
Start to manage your expenses
Now you're ready to start managing your expenses on the web! Please see related articles on how to add different types of expenses and how to handle the different features and steps:
