I want to add a salary integration, what do I have to think of after adding it?

Written by Elin Ivarsson
Updated at November 10th, 2023
Table of Contents
This article applies to the following countries
- All countries
In this article, we will go through what is good to keep in mind when adding a salary integration for the first time, and what settings are needed for a salary integration to work.
Let's start with adding the integration.
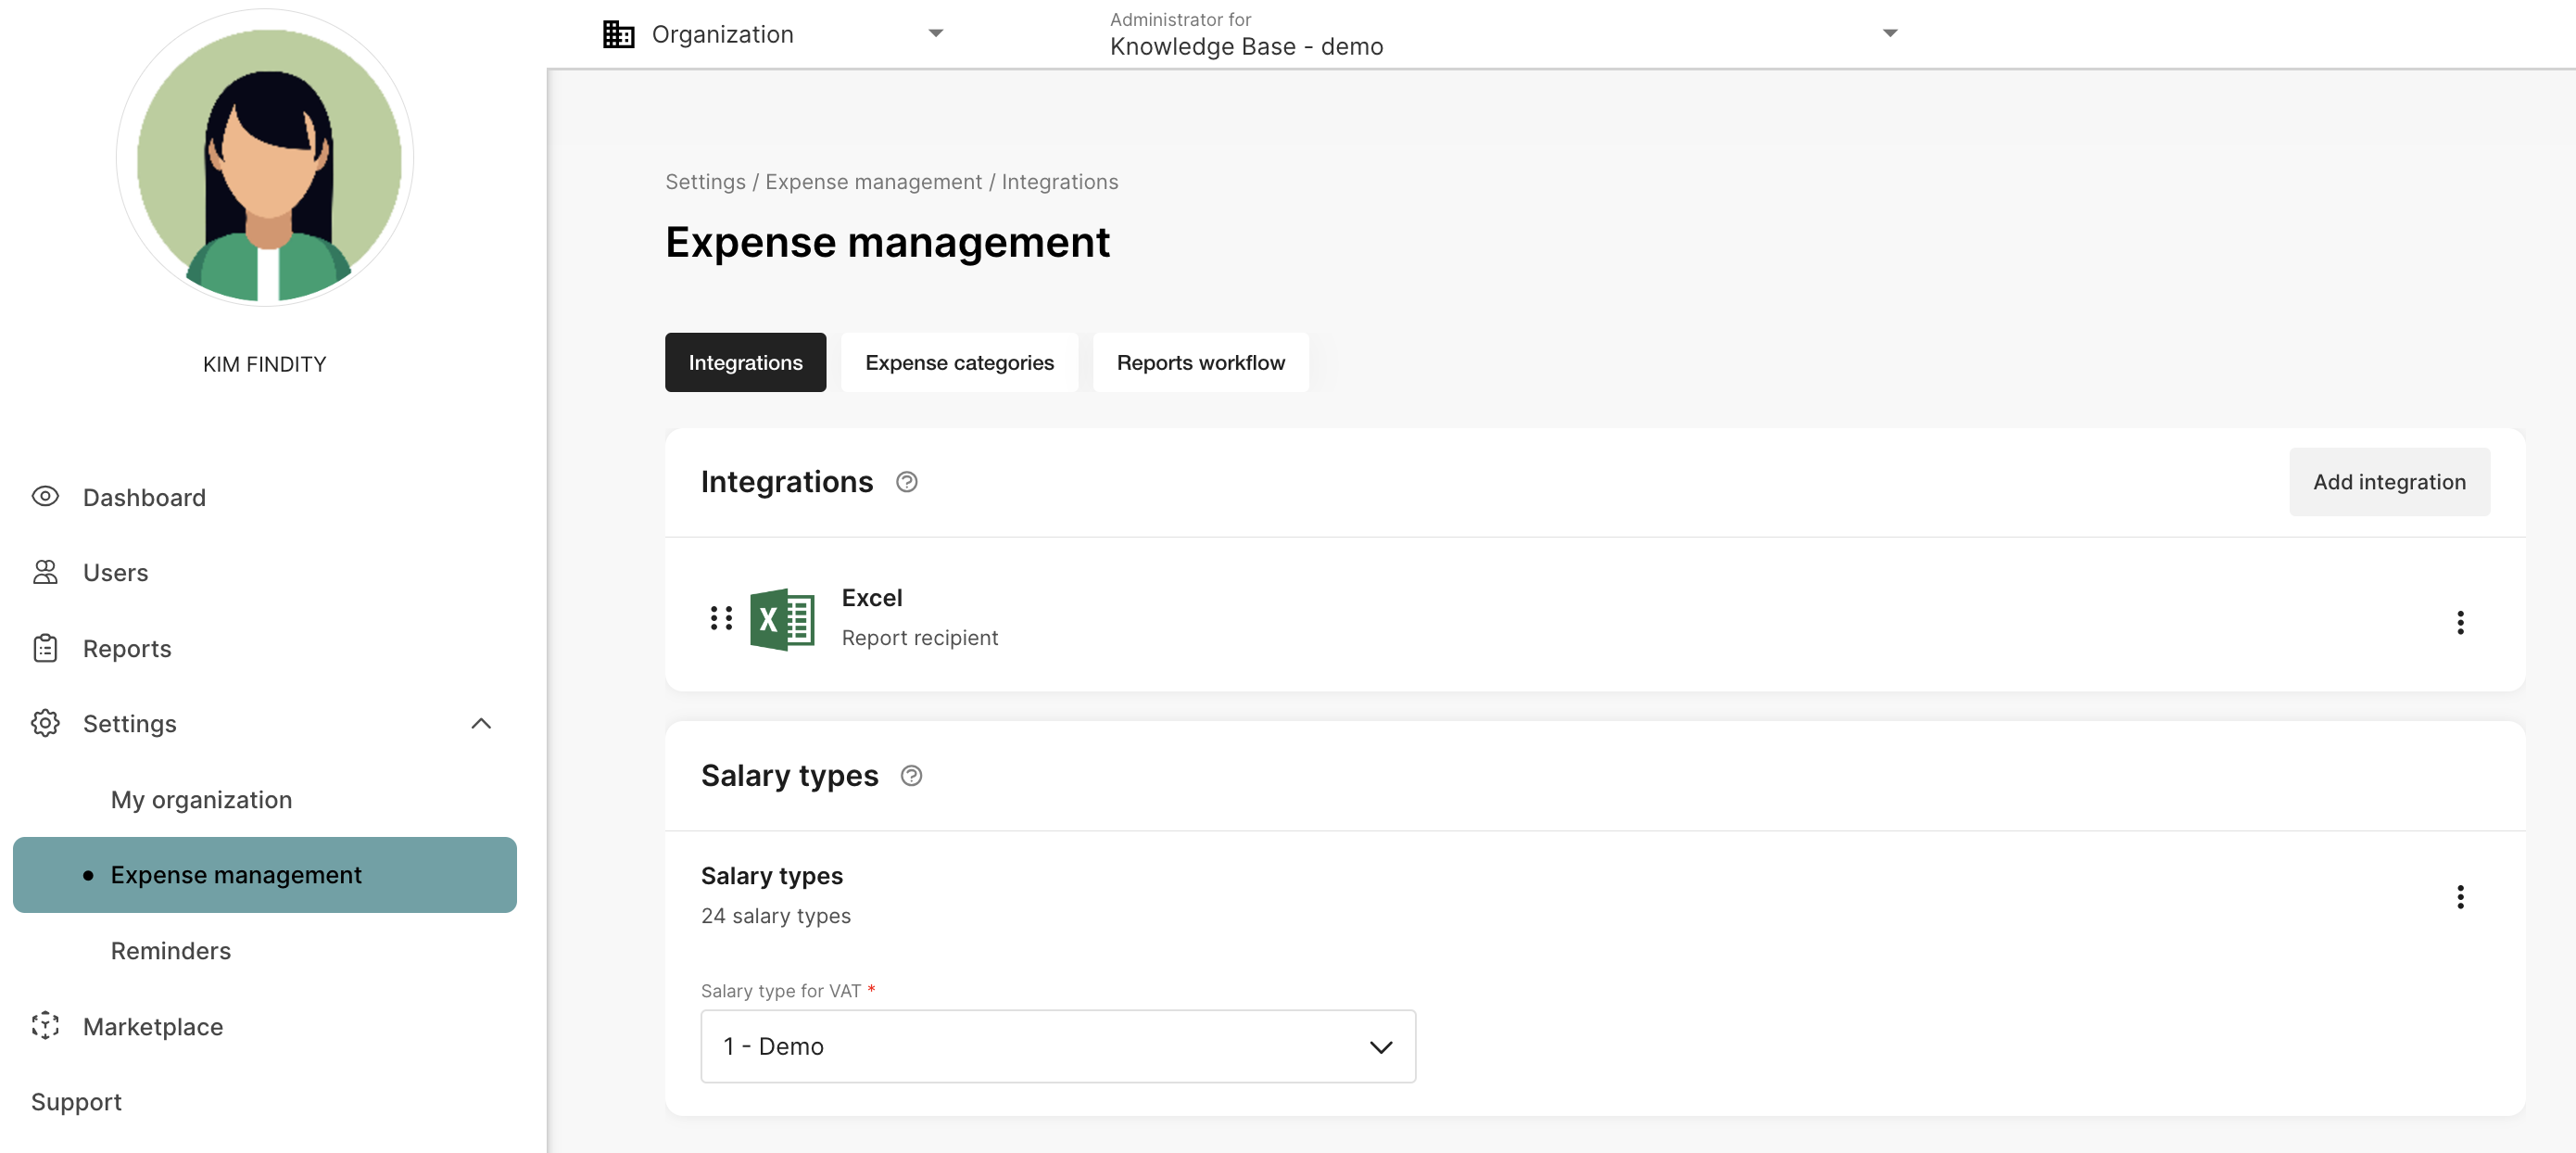
Go to the tab Settings - Expense management - Integrations - Add integration. In this example we added the integration Excel.
The red lines on the page indicate settings are missing and need to be added.
Integration and Salay type are fields you need to go through to add the settings.
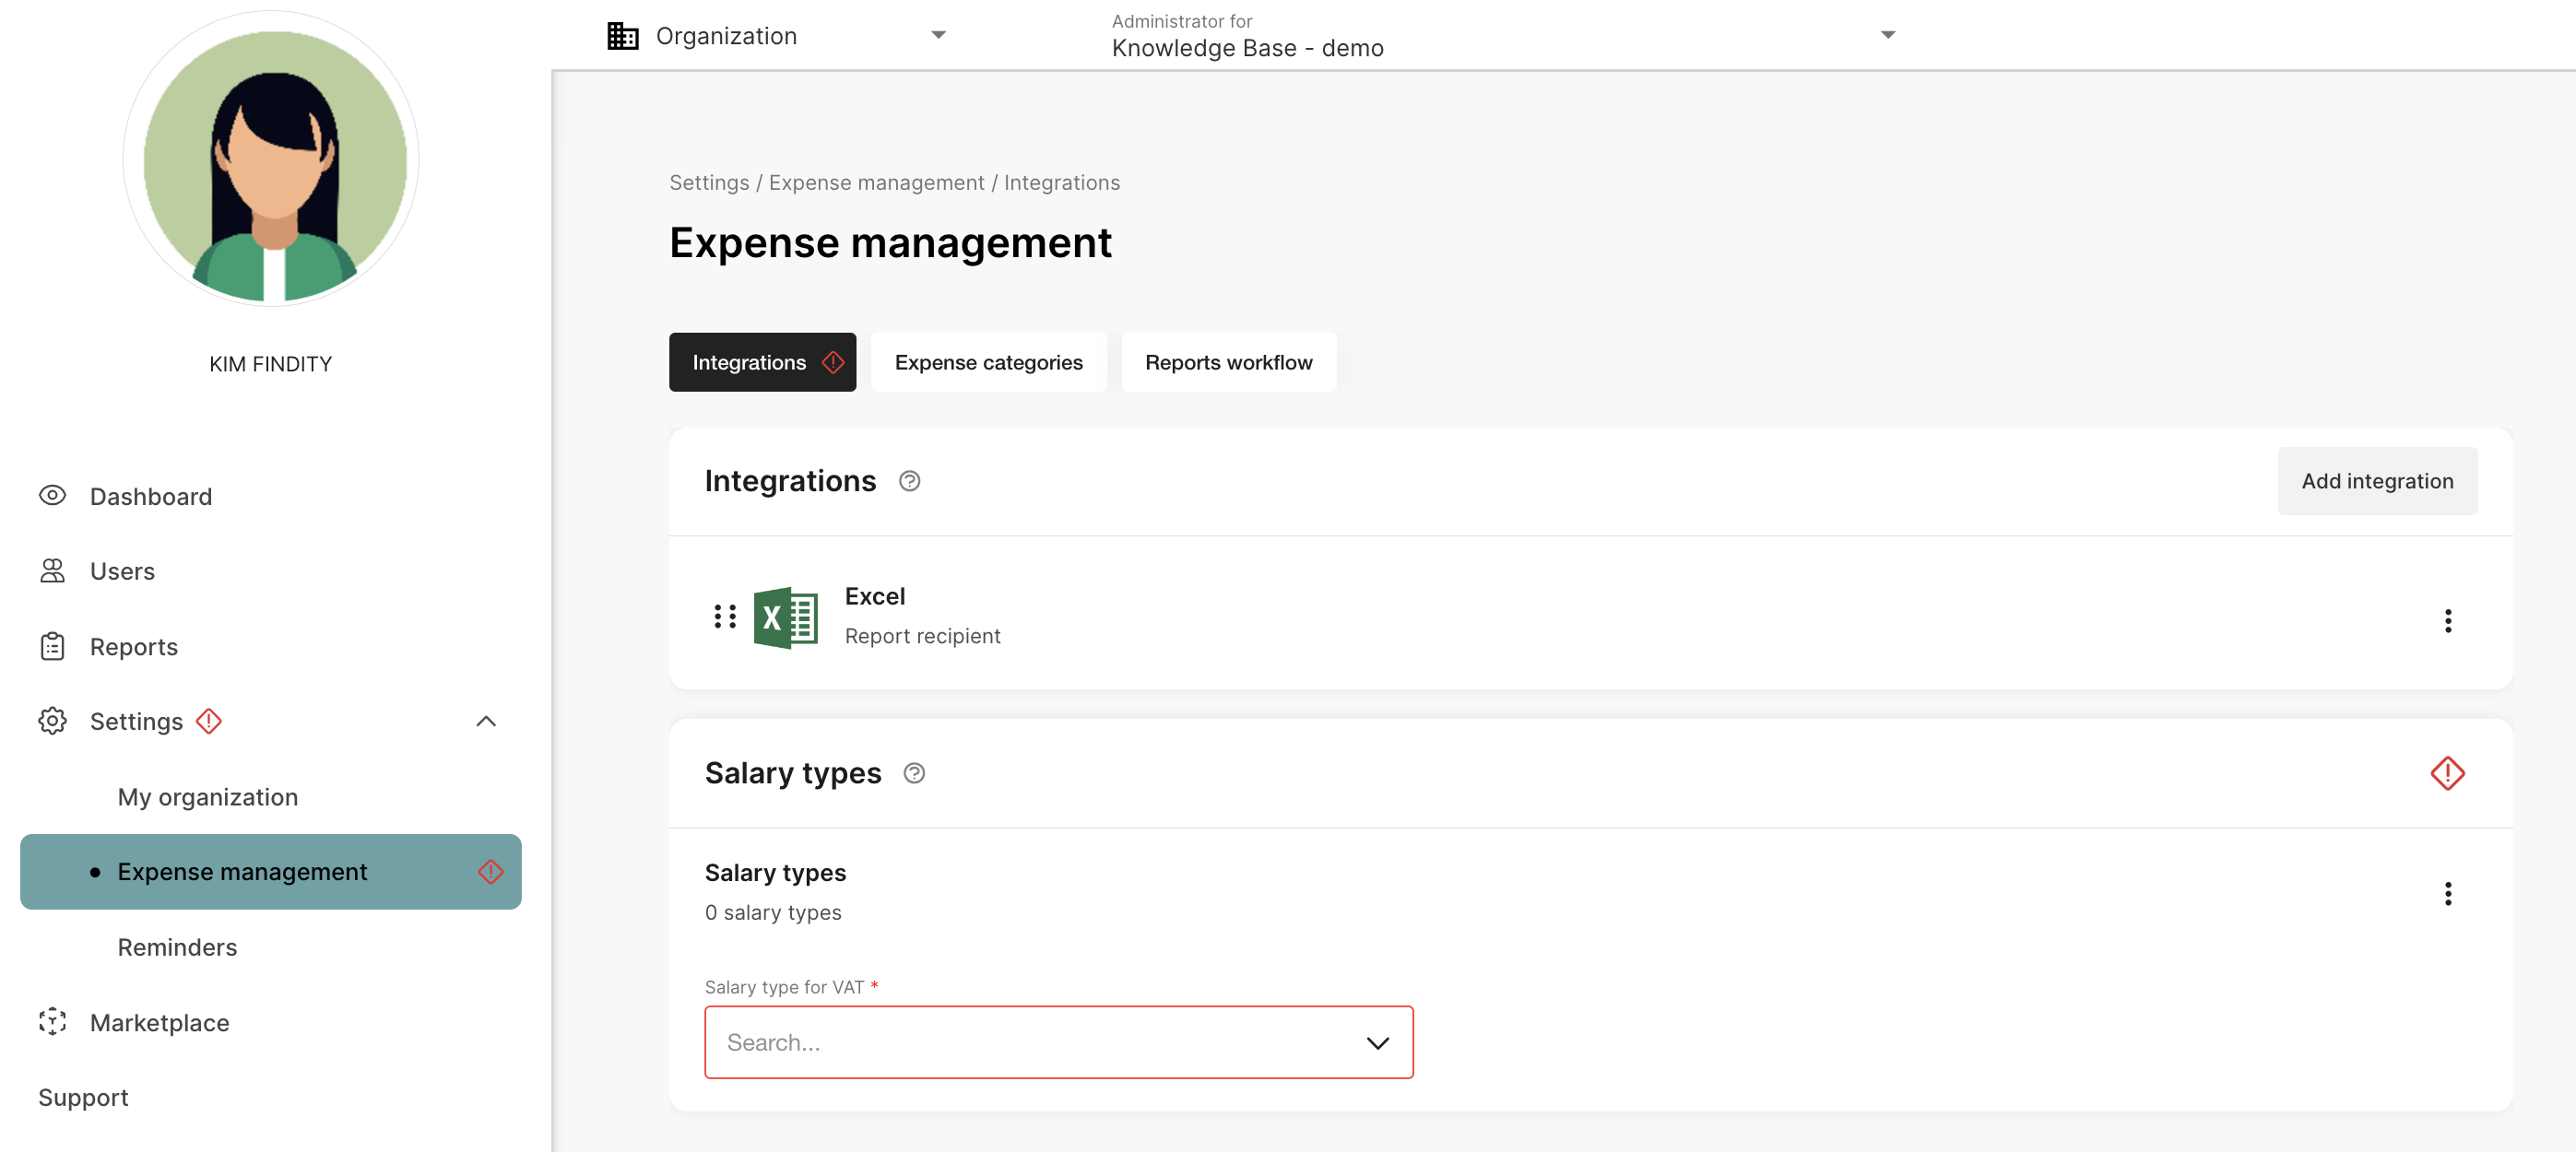
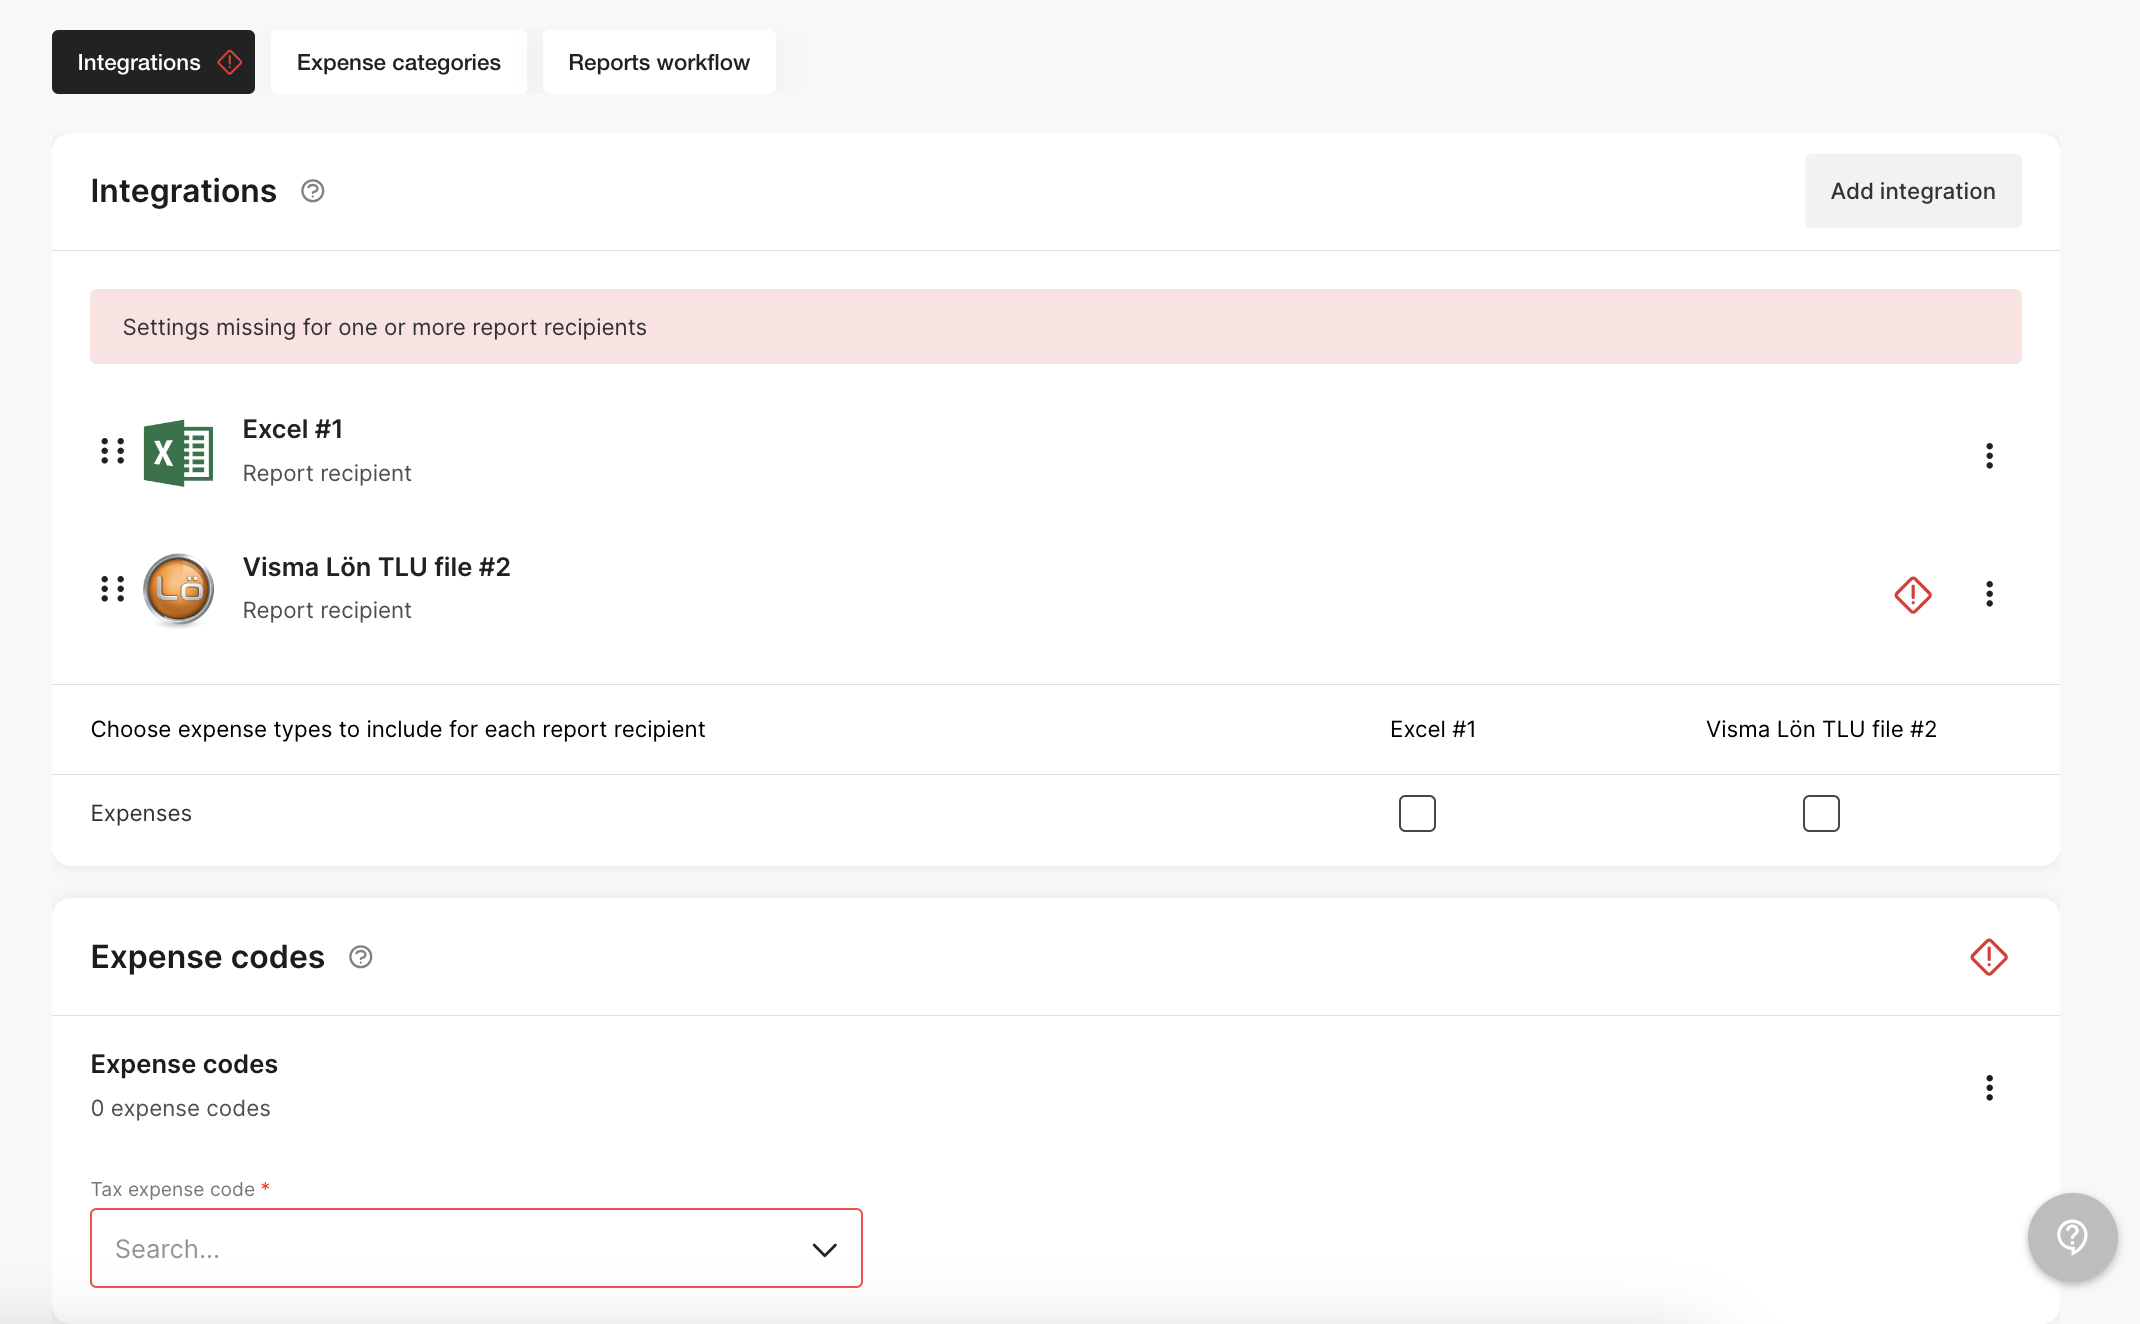
This page with settings may look different depending on your organizations settings. For example, if we add the integration Visma TLU-file, we will see the field Expense codes instead of salary types.
We will continue this article with our setting Excel as an integration. Click on the line for Excel. 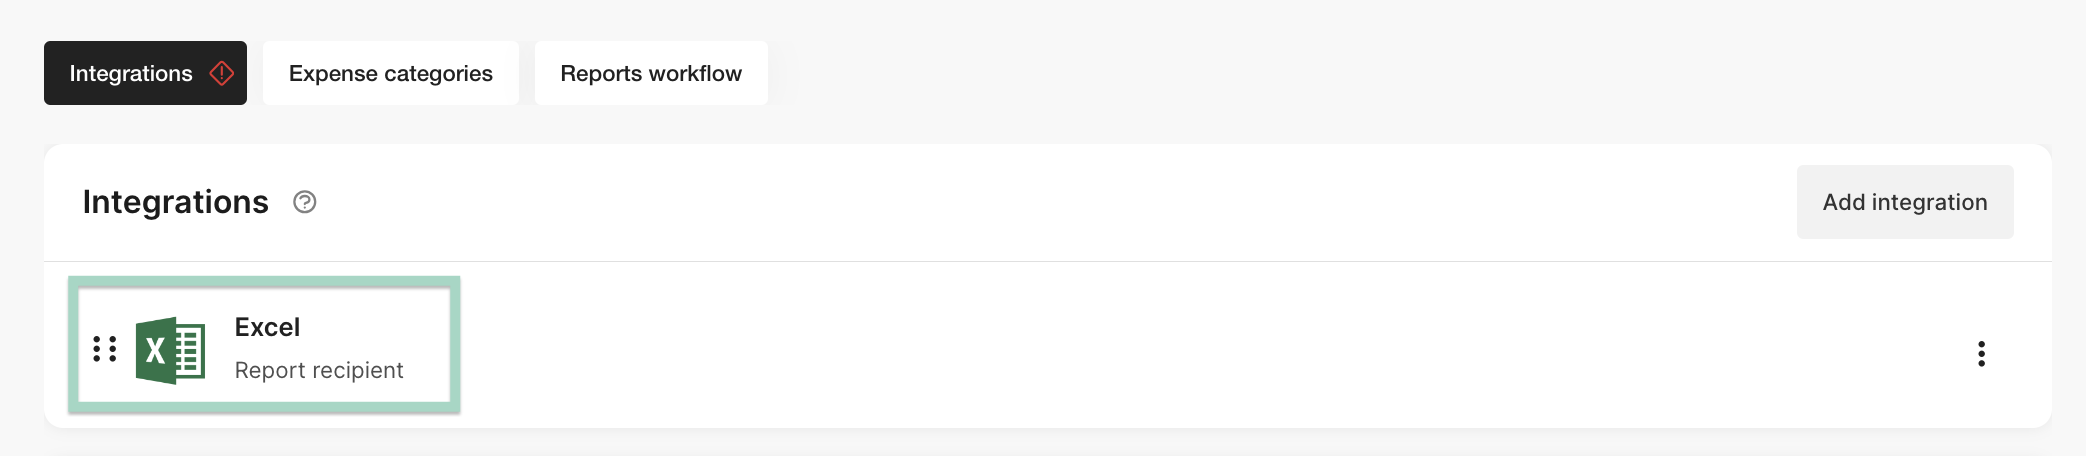
A new box with settings will pop-up on your page. Fill in the information in the fields.
If you want to read more about Use review mode and how it works in Findity, click here to read more:
Add the setting “Use review mode”
Manage reports under the tab “Ready to send”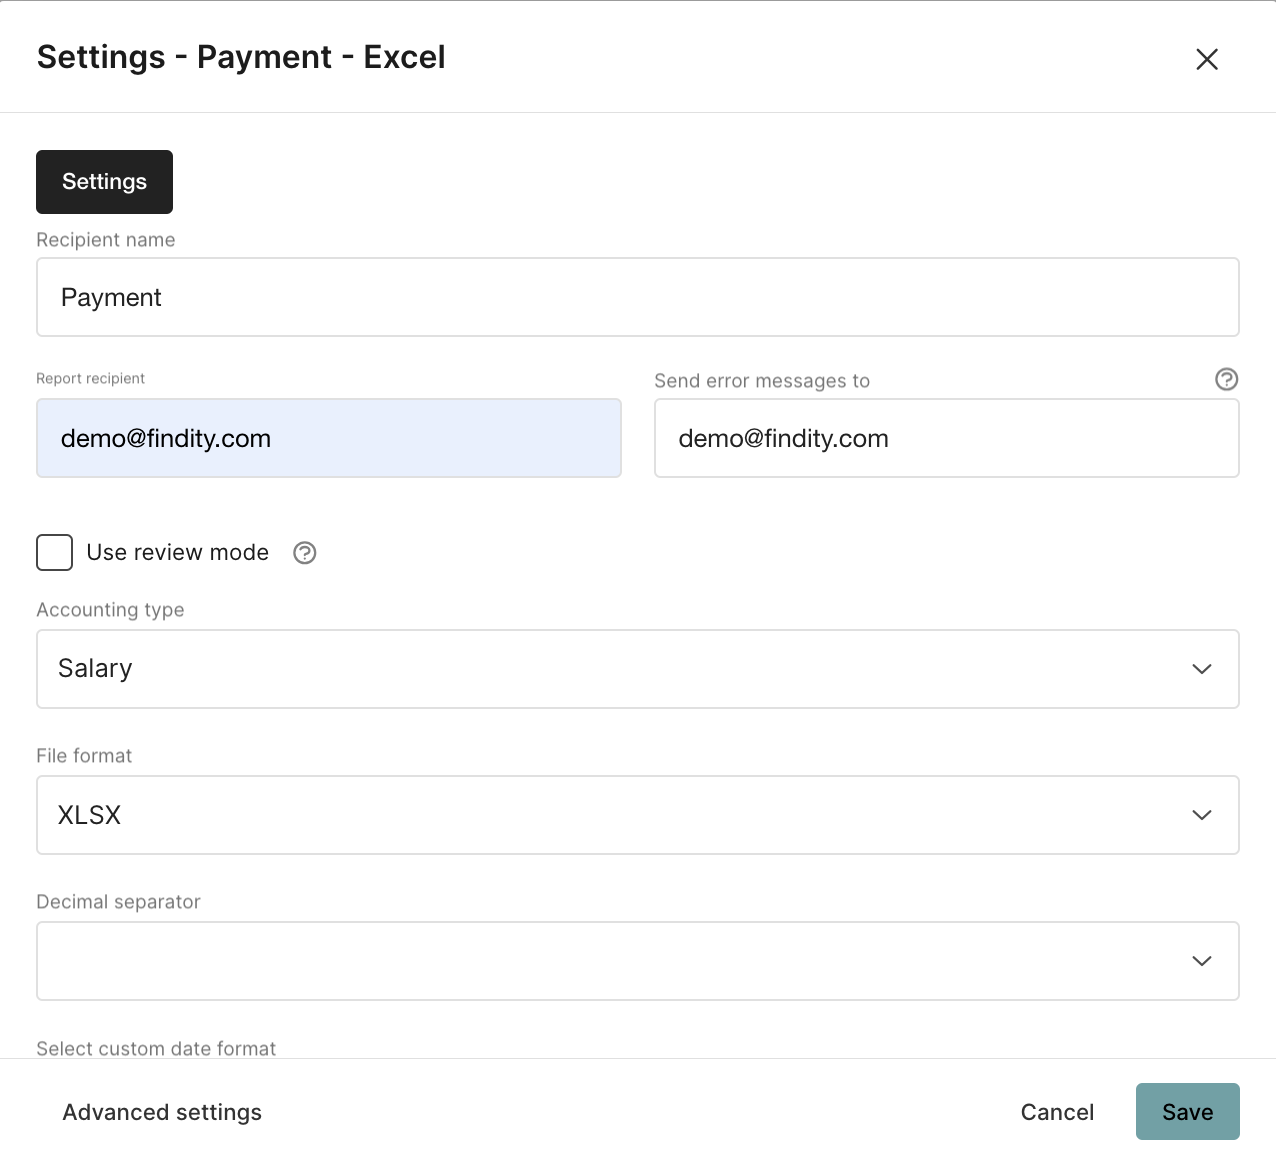
The button for Advanced settings gives you an opportunity to add how you want VAT to be send/included in the file.
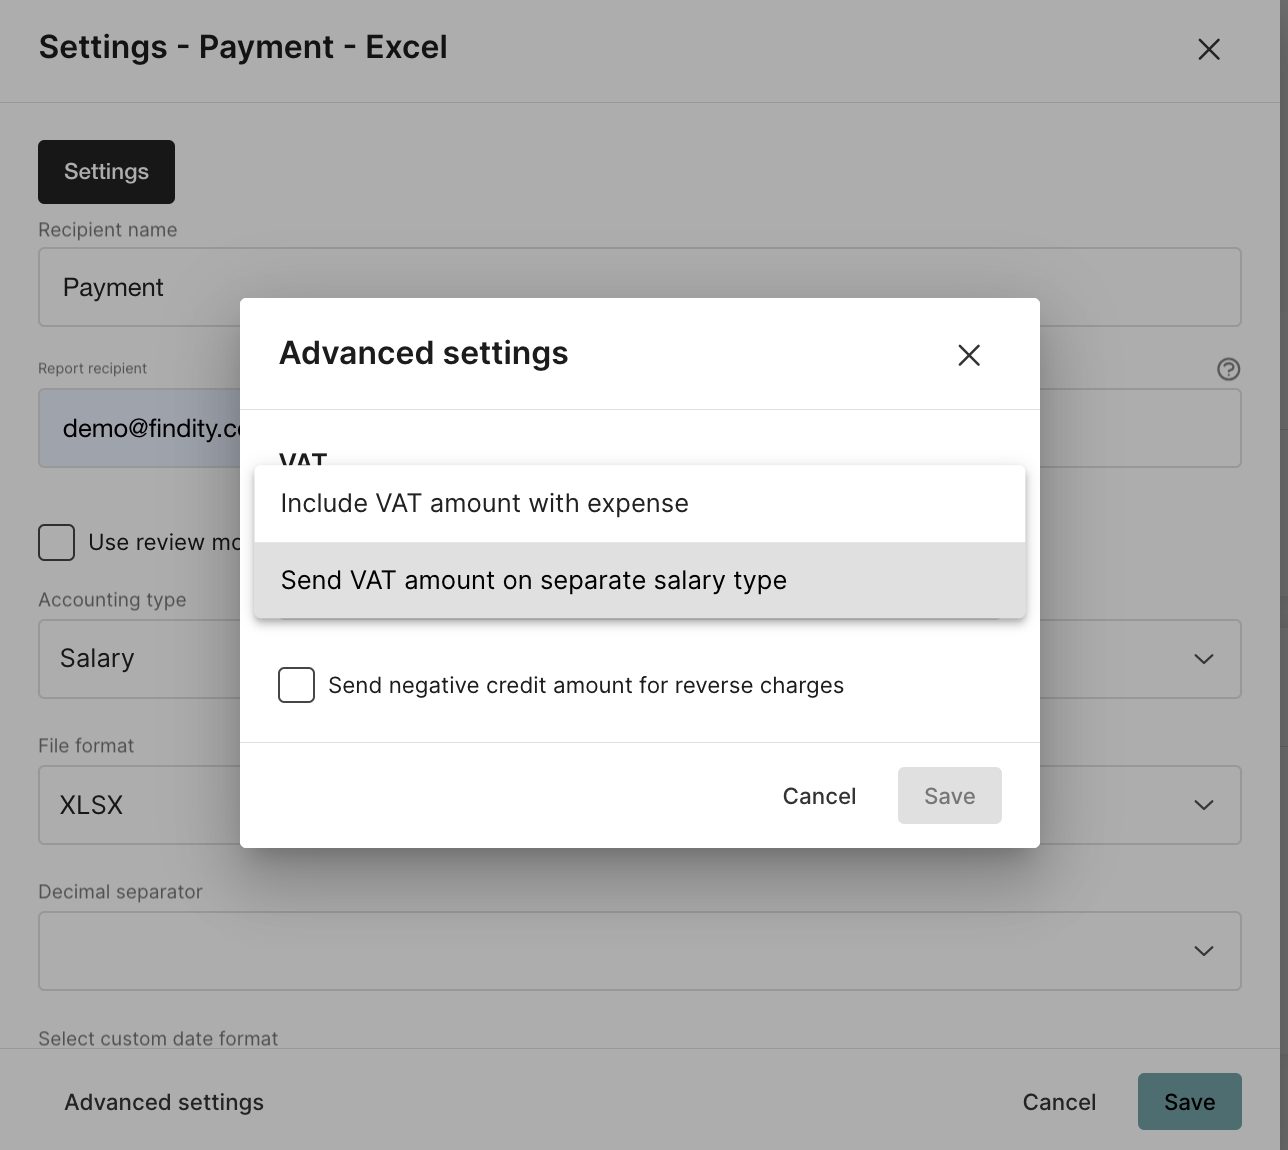
Press Save when you are done with the settings.
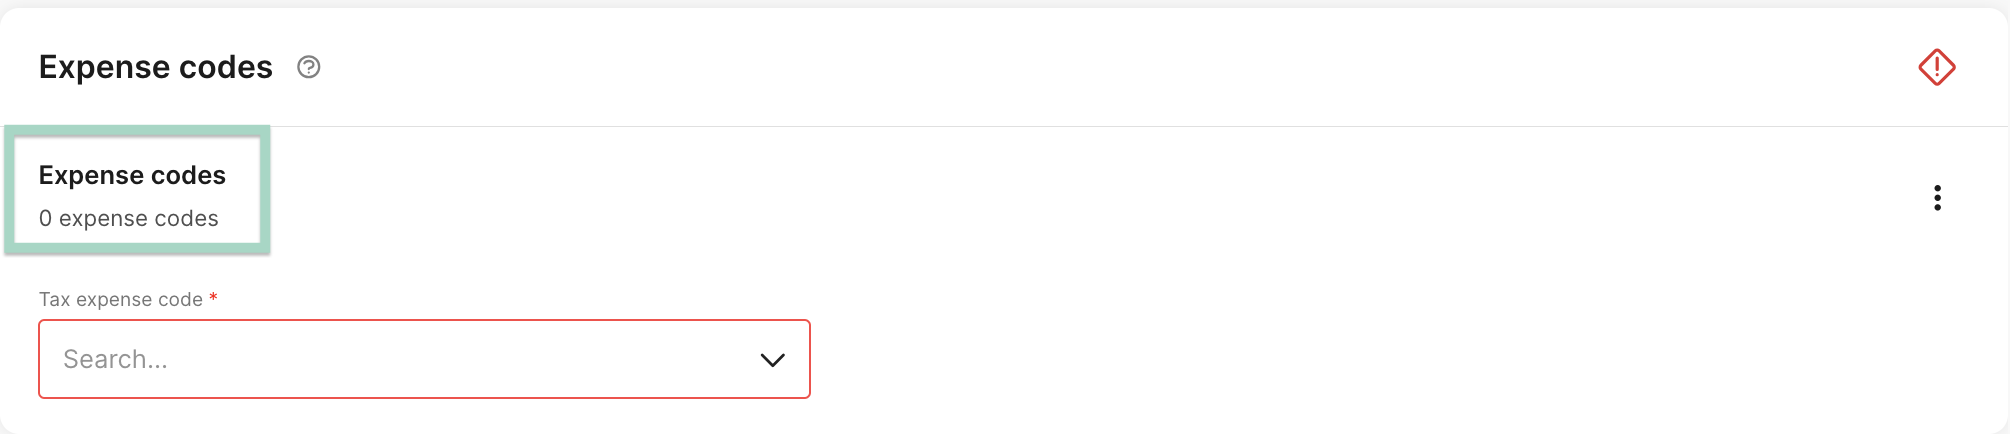
The next setting to add is Expense codes. Click here to add the settings.
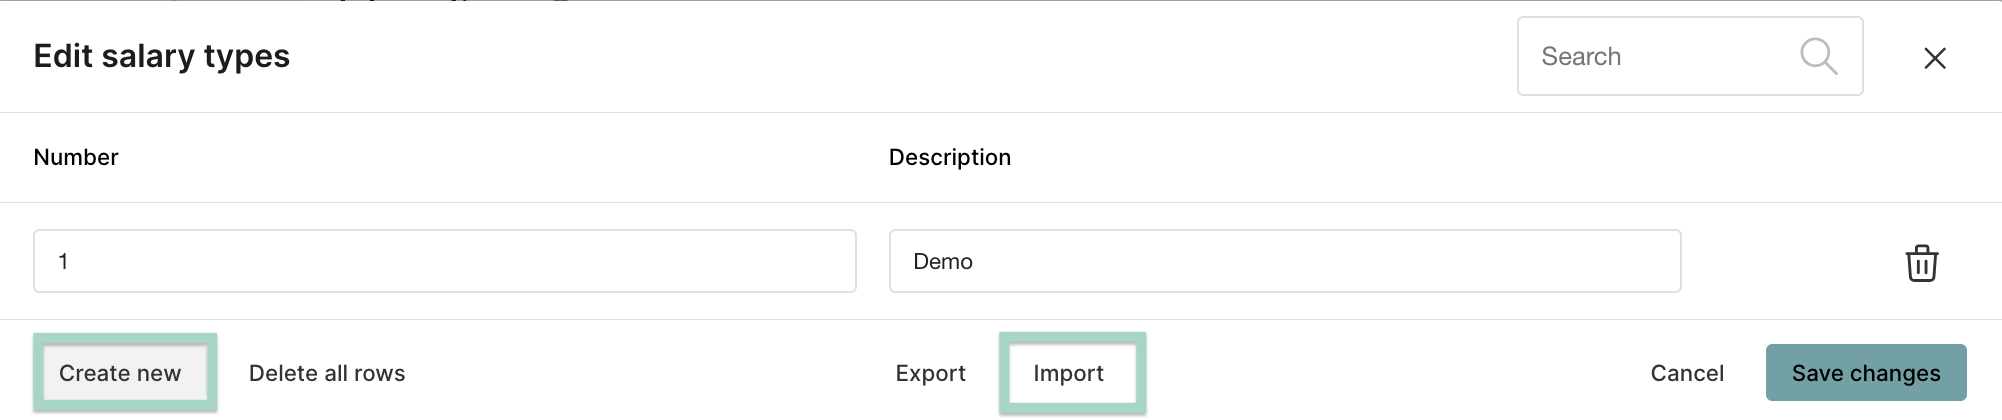
You can choose to Create New, add a number and description or Import salary types.
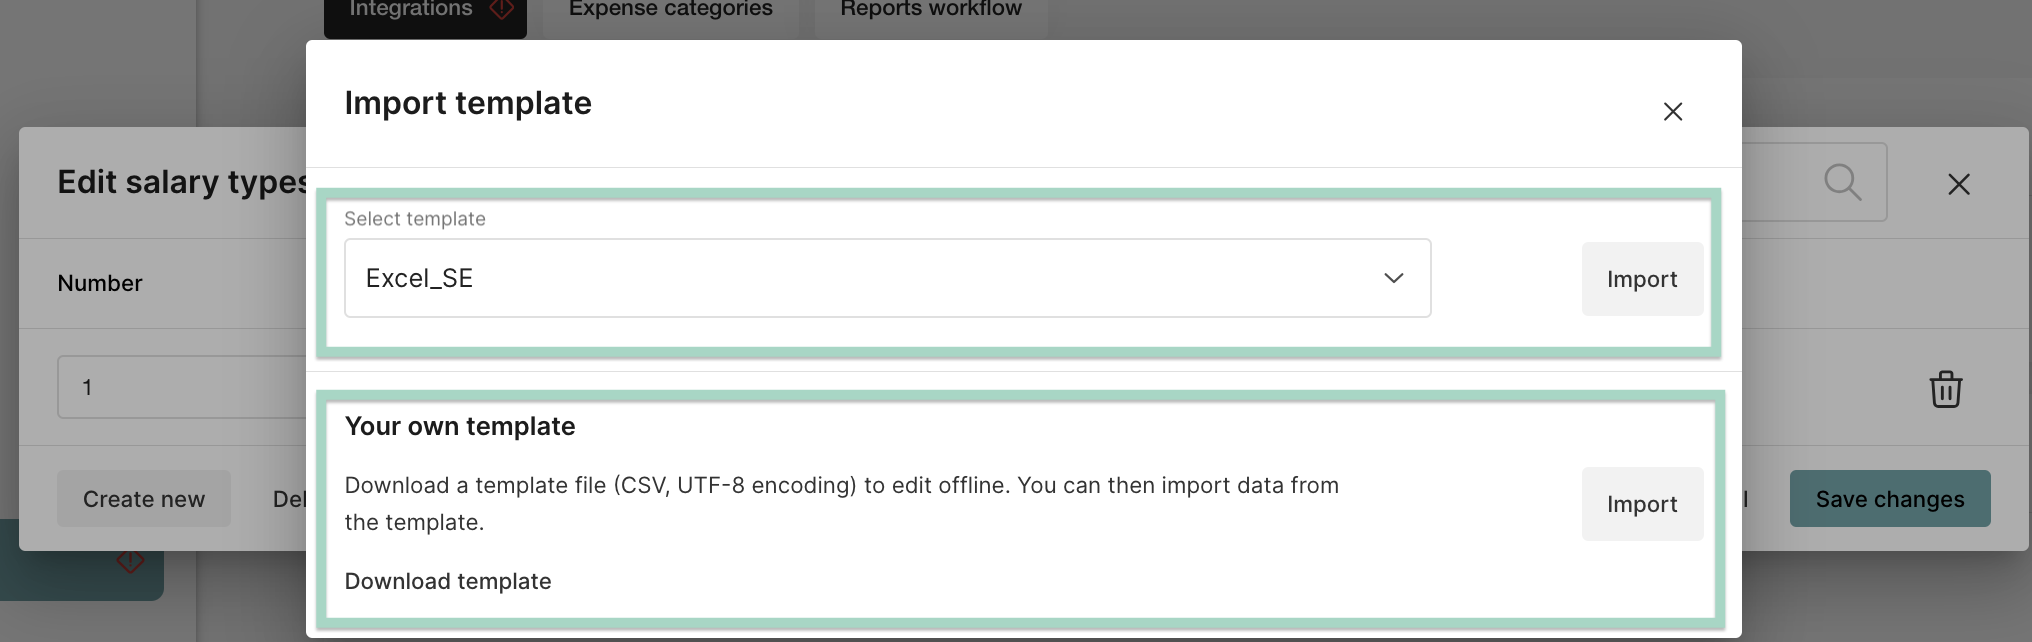
You can import from a template or your own template.
If you choose to Import from your own template, start by download the template. Add the salary types in the file, save the file on your computer and choose to Import the file in Findity.
In this example, we will add the selected template Excel_SE.
Confirm the import by press the button Yes.
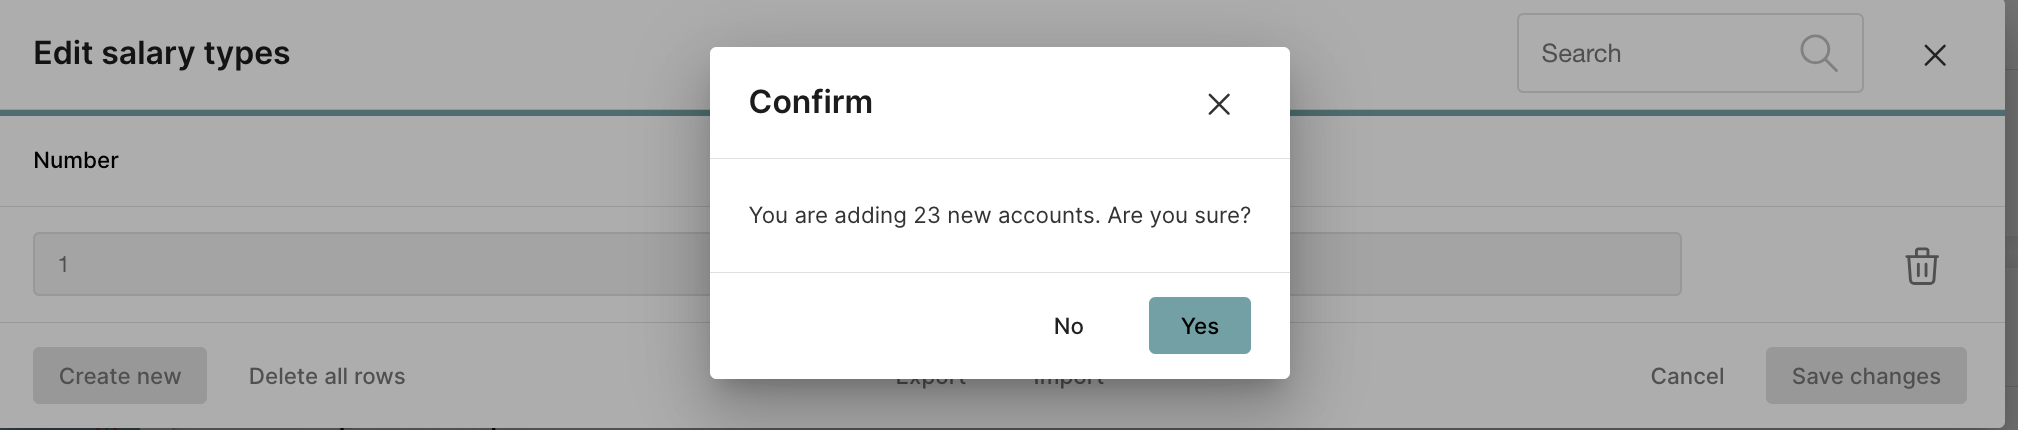
Press Save Changes when you are done.

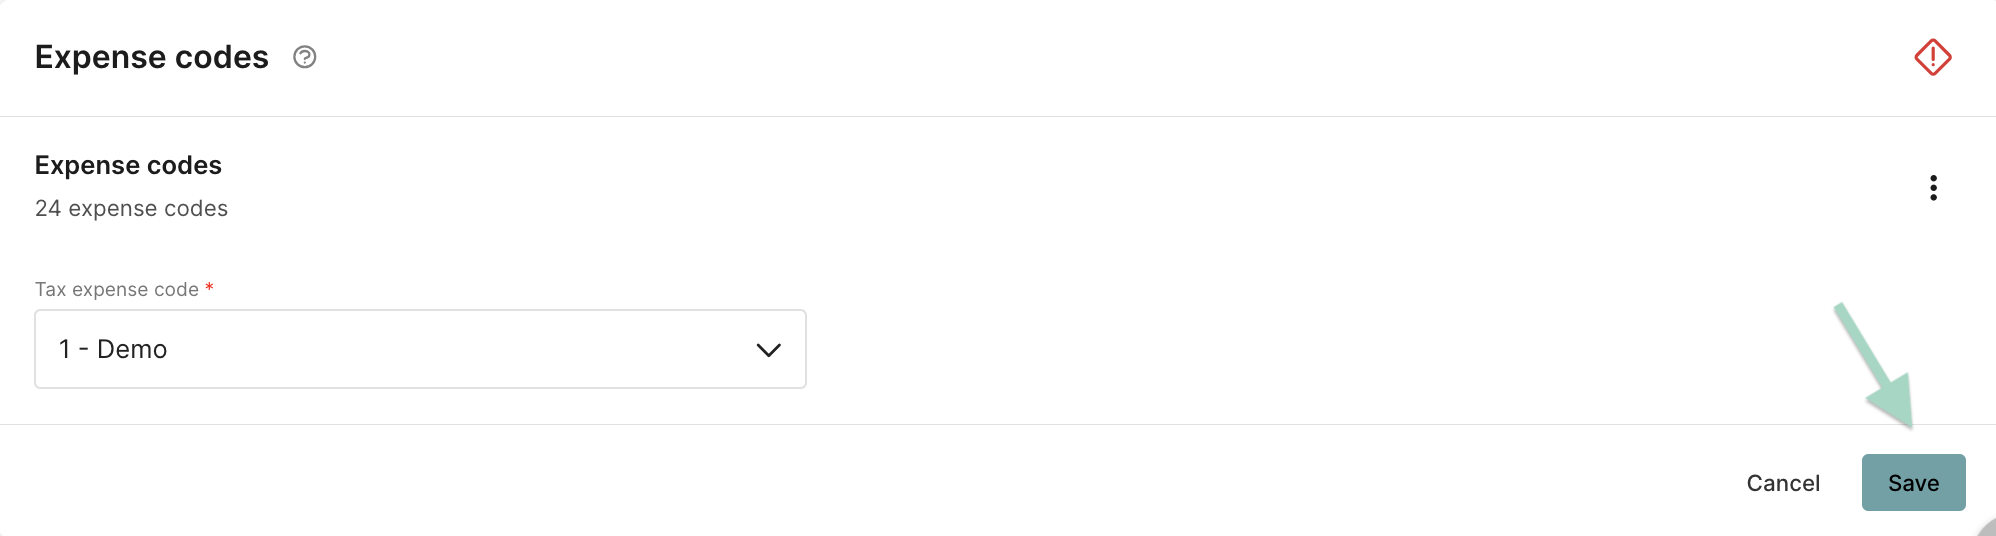
Now it's time to add the Tax expense code. Click in the box for Search and choose the code you want to add. 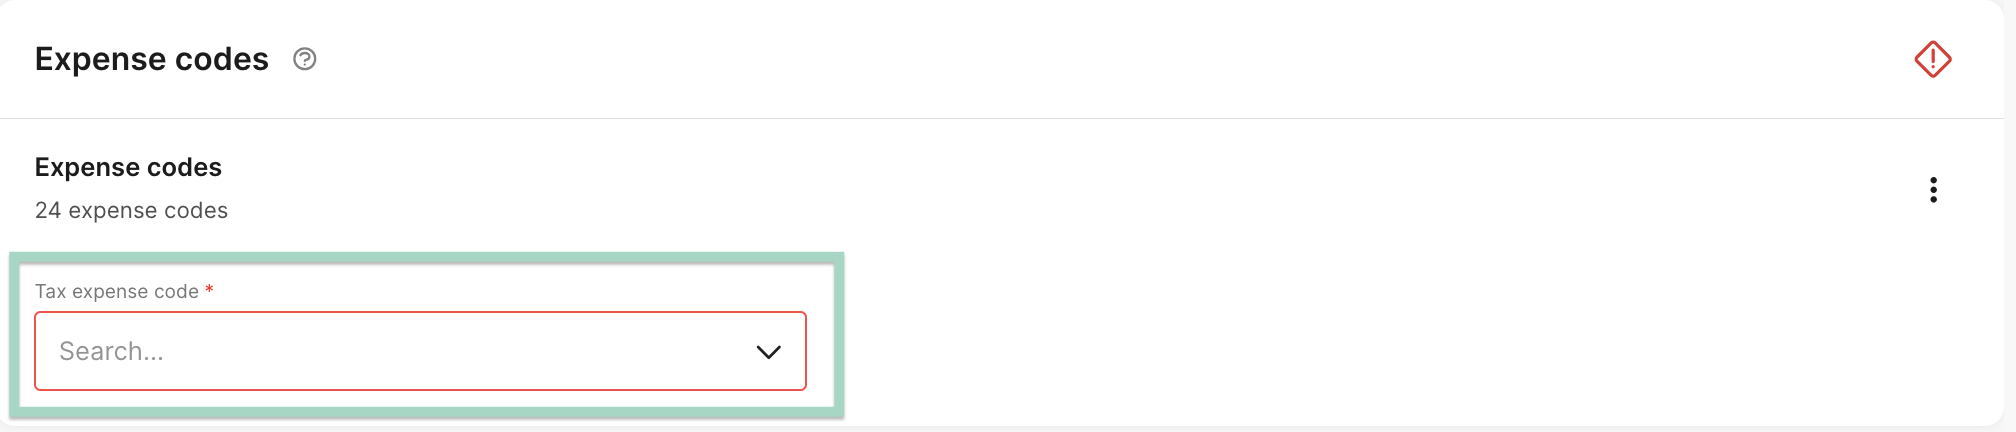
Press Save when you are done.
Also, Remember to add the expense codes under the settings for Expense categories.
The settings for the integration are now done and all the red lines and warnings are gone.
Different integration may require different settings by users. For example, if we had added the integration ISO payment-file, all users should update IBAN and BIC-number on their user account.
Click on this article to read more about how to get started with Findity
And click here to read more about settings for dimensions and how to connect this to the file