US English (US)
GB English (UK)
SE Swedish

Contact Us

If you still have questions or prefer to get help directly from an agent, please submit a request.
We’ll get back to you as soon as possible.

Please fill out the contact form below and we will reply as soon as possible.

  • Contact Us
English (UK)
US English (US)
GB English (UK)
SE Swedish
  • Home
  • For administrators
  • Settings – Administrator

Activate fuel benefits

Written by Elin Ivarsson

Updated at February 5th, 2025

Contact Us

If you still have questions or prefer to get help directly from an agent, please submit a request.
We’ll get back to you as soon as possible.

Please fill out the contact form below and we will reply as soon as possible.

  • For users (New app)
    Get started - Users Settings - Users Expense and reports - Users Corporate cards - Users Other - Users What is new in the new app?
  • For users
    Settings – Users Expense and reports – Users
  • For administrators
    Get started – Administrator Settings – Administrator Expense and reports – Administrator Corporate cards – Administrator Other – Administrator
  • For Partner administrator
    Settings – Partners Consultant – Partners Other – Partners
  • Other
  • Videos
+ More

Table of Contents

This applies to the following countries 
Delete

This applies to the following countries 

  • Sweden 


This article describes how you can activate the function Fuel benefits on your organization. 

Go to the tab Marketplace and select the category Functions. Click on the box for Fuel benefits. 


Choose to Activate service. 

The function is now activated. We will move on to the settings now. 
Go to the tab Settings - Expense management - Fuel benefits. 

Fuel benefit settings
Go to the setting Calculation type. From the calculation type drop-down list, select Based on fuel costs or Standard calculation. In this example we have select the type Based on fuel cost. If you choose Standard calculation you need to enter the standard prices for each type of fuel and also add the users. 

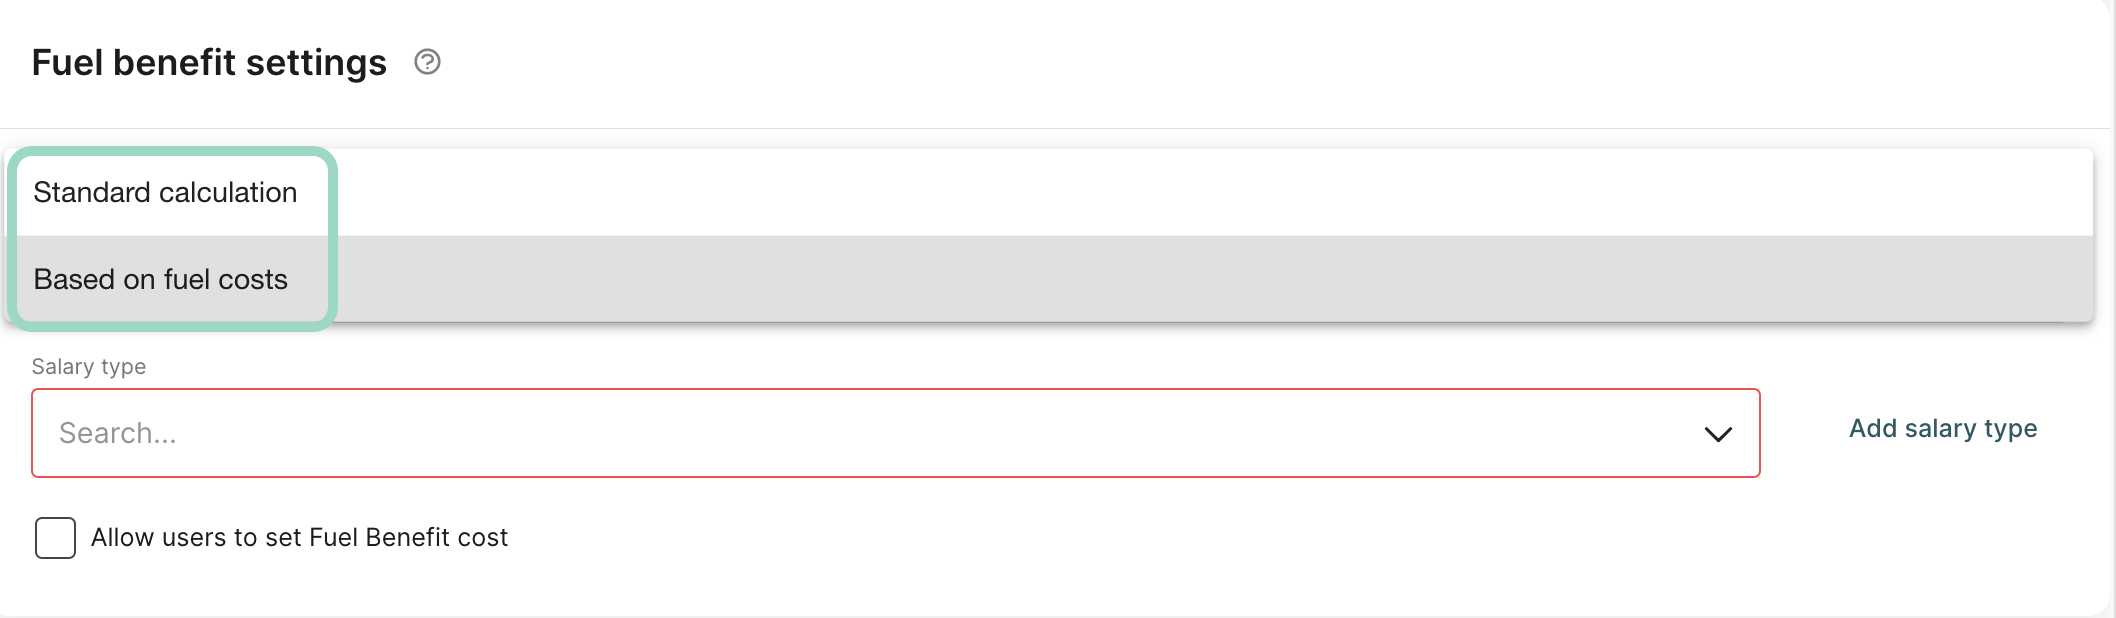
Now, from the Salary code drop-down list, select the salary code. If you need to, you can add a new salary code. Press Save.

Users
Now it's time to add the users who will report fuel benefits. Click on Add user and select a user from the list.

 Select their Vehicle type and when the First period reporting fuel benefits is. Press Save.

Fuel benefit costs
The Fuel Benefit Costs tab is where the actual cost for fuel that your company has paid per user and period is reported. This means that you or another administrator must update the amount users are taxed on every month. For each user and period, in Fuel benefit costs, enter the amount. 


The settings are now complete.

Findity Expense will now automatically create expenses for fuel benefits from the selected start period every month. Users can find them under Not submitted expenses. Users manage their expenses by entering start and end meter readings for the period, and the number of kilometers they have driven for work and then submitting their expenses.

activate fuel benefit fuel benefit settings

Was this article helpful?

Yes
No
Give feedback about this article

Related Articles

  • How do I manage my fuel benefit?
  • How do I import/set up new salary types?
  • Product
    • Expense claims
    • Per diem
    • Mileage
    • Integrations
    • White label
    • Reseller
  • Partner solution
    • Accounting & Payroll
    • Financial Software
    • Card Providers
  • Why Findity
    • Contact
    • Newsroom
    • Careers
  • Resources
    • Blog
    • Integration & API
    • Terms of Use
  • Pricing
    • Pay per user, not by license. Scale up and down as you need.
  • Facebook
  • LinkedIn
  • Privacy policy
  • Privacy policy UK
  • Support

Knowledge Base Software powered by Helpjuice

Expand